Is this thing on? 10 Dec 2024 10:49 AM (10 months ago)
Blowing the dust off here, so in case you see this somewhere, HI! Yes, we will try and start writing again, for various reasons.
Right now the immediate issue is Ron. He’s had lifelong gastric issues but they have really escalated over the past couple of years. This has resulted in his health getting bad enough he was finally admitted to the hospital where they found he has a neuroendocrine tumor of the small bowel.
He is scheduled for surgery on December 17th 2024. The surgeon has a few options, but we will know more after further imaging, and she will know more when she opens him up and is able to have a good look.
That’s the short version.
There’s a million details between then and now, but prognosis for him is good and recovery is likely to be long.


Make your Water and Well jokes here 31 Aug 2015 8:18 AM (10 years ago)
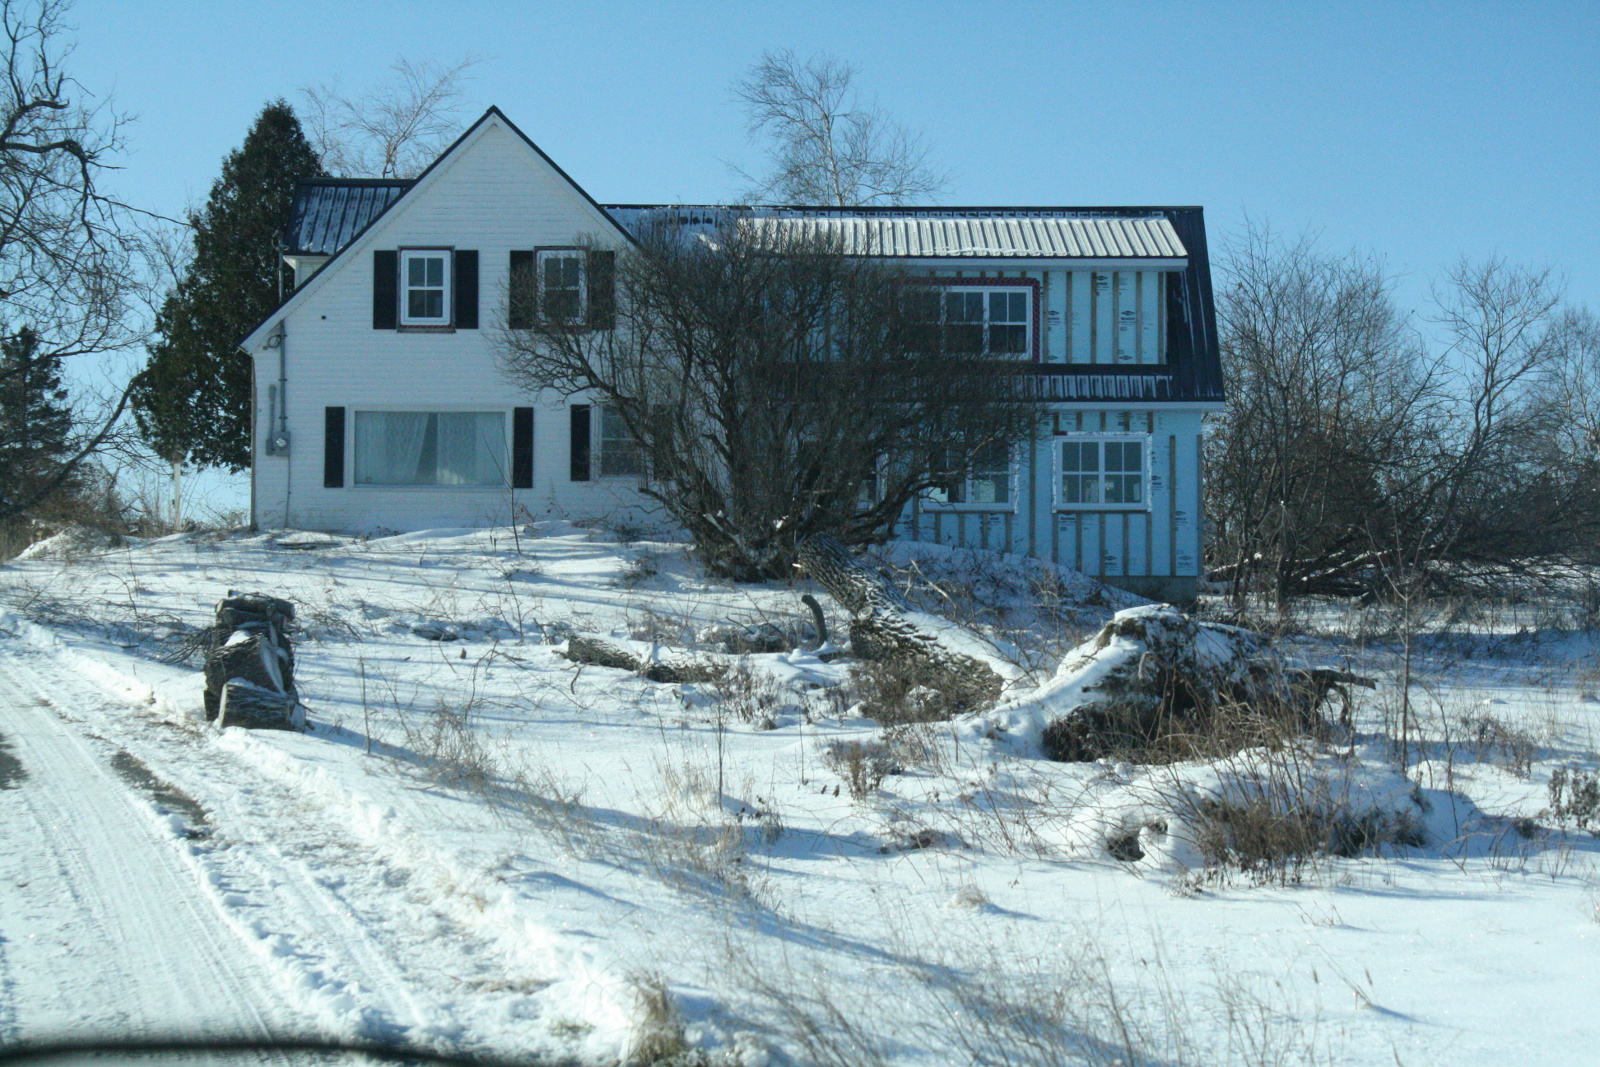
So, when we bought this house, we assumed a couple things, like:
– the well was old, but water likely good
– the septic tank would need replacing
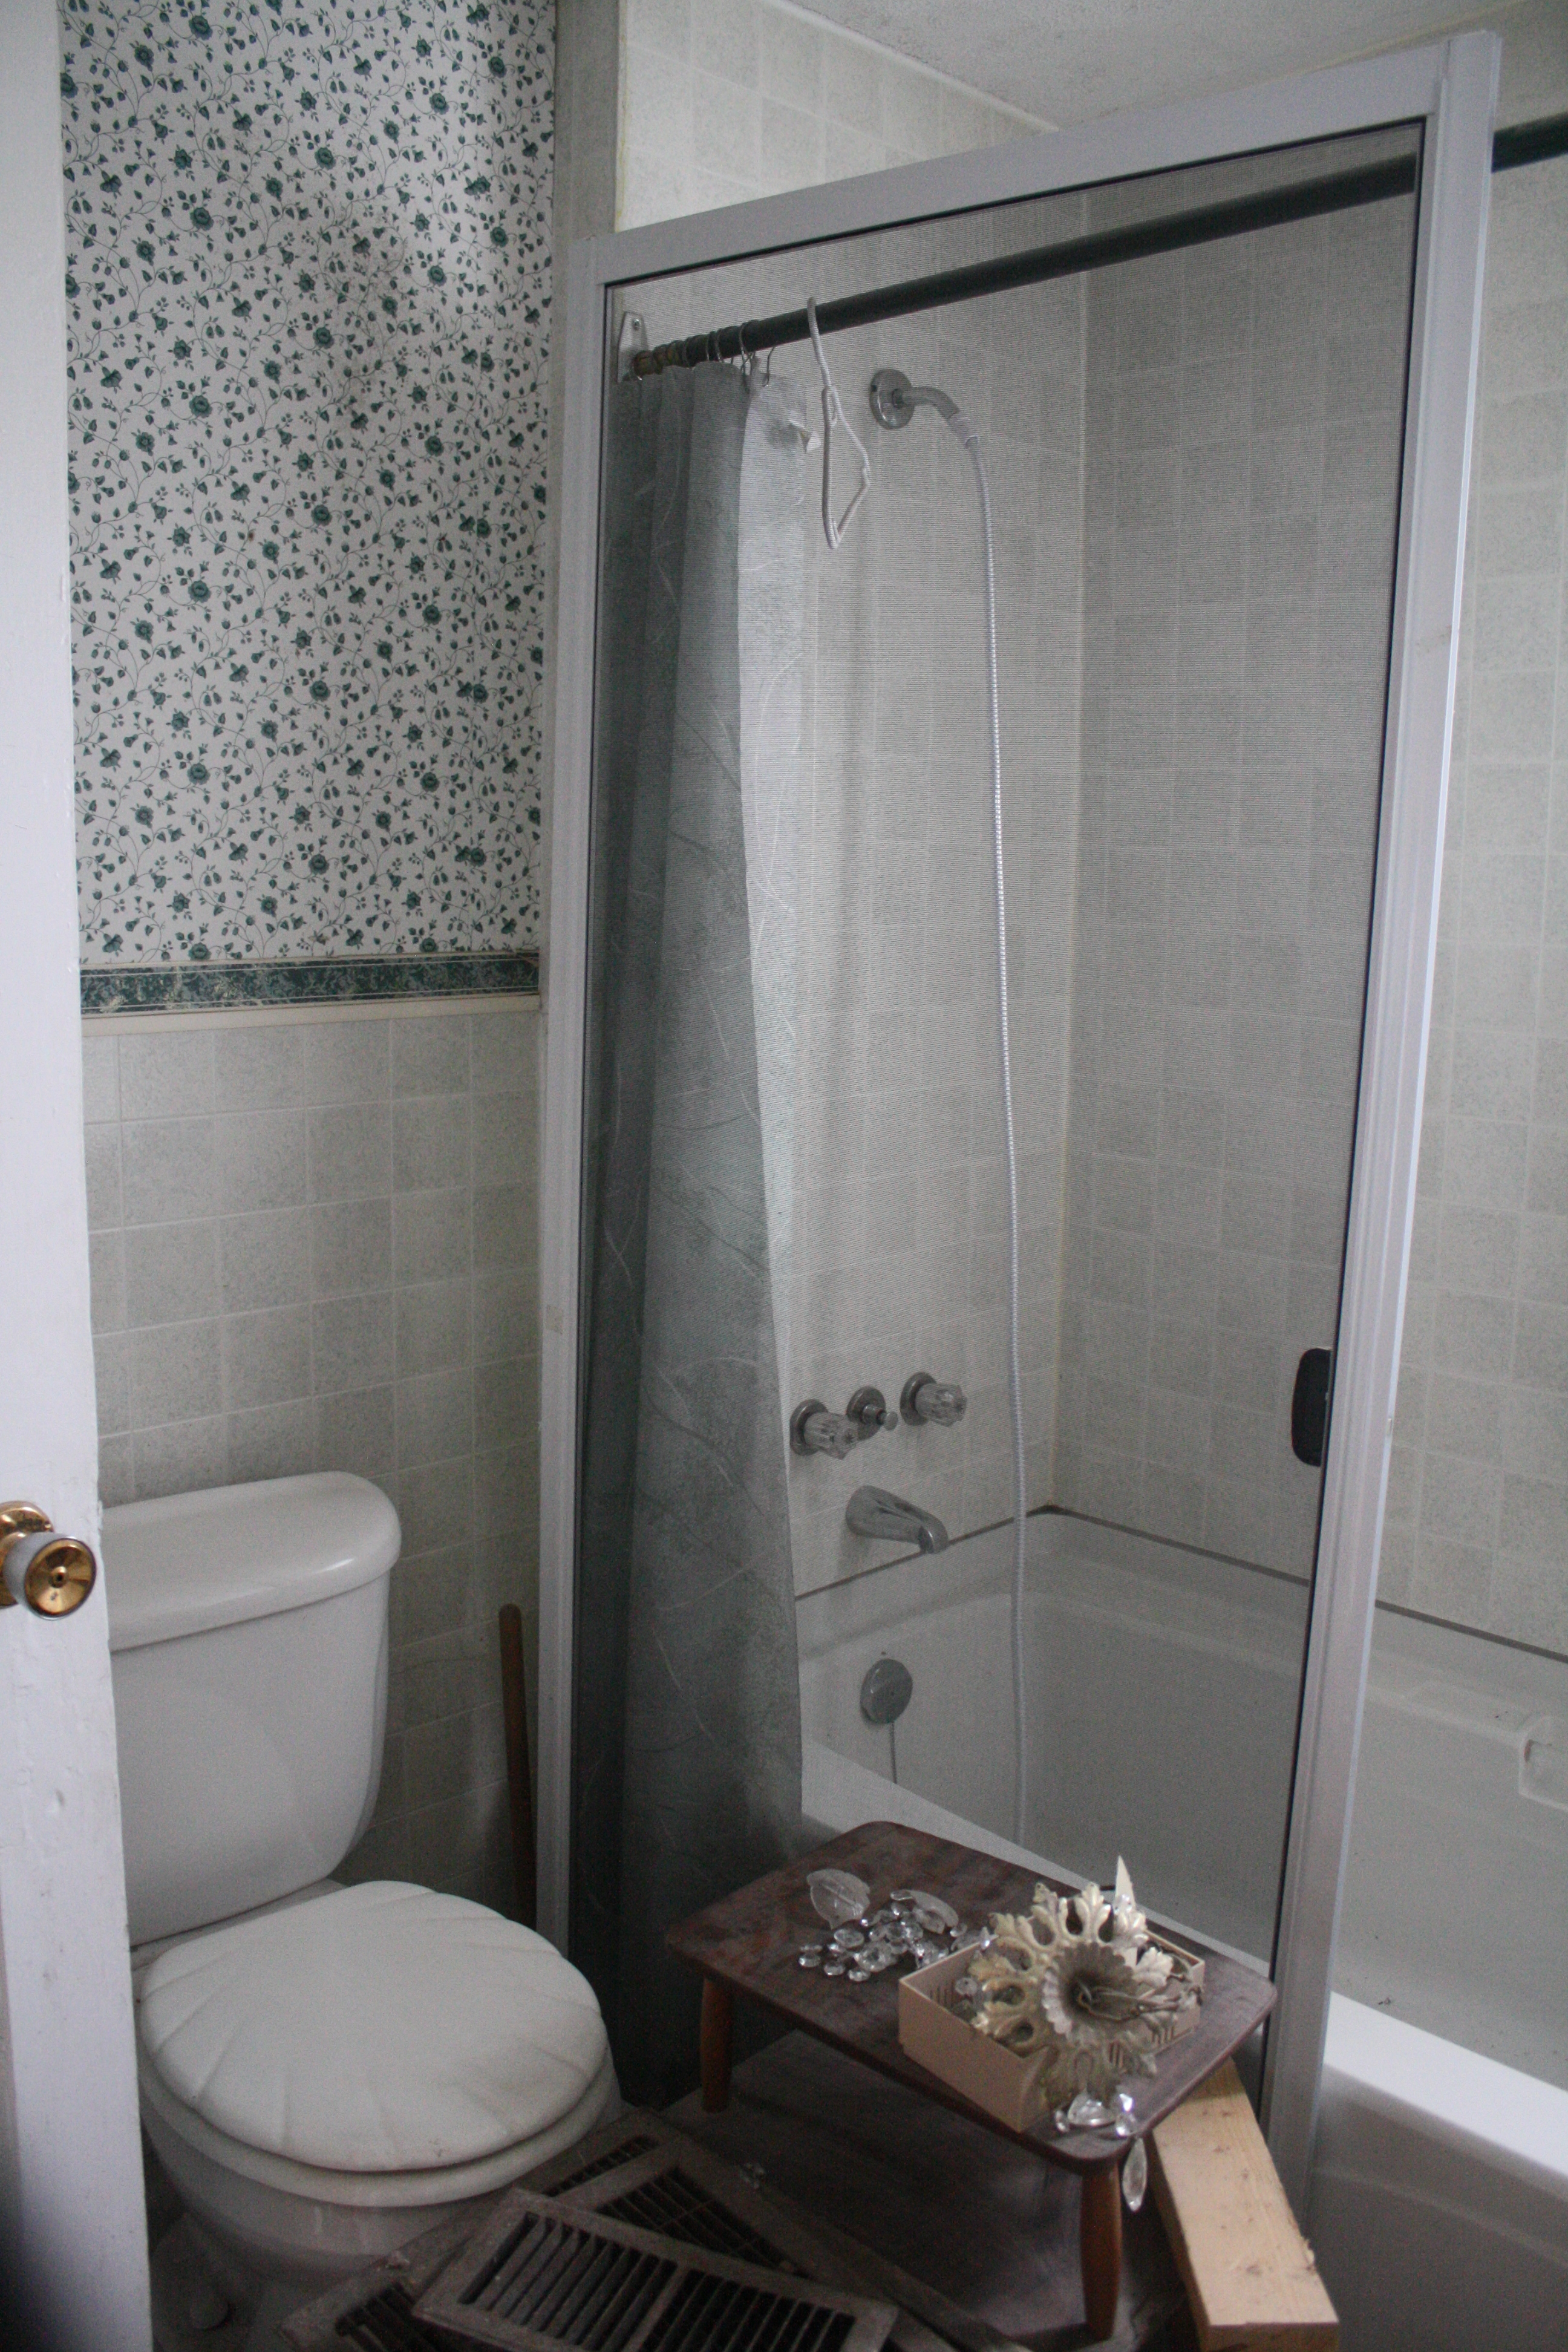
I should also mention that since the previous owners had started renovations, plumbing had been completely gutted. There was a couple pipes leaving the kitchen and some leaving the new master bath upstairs, but other than than, the only plumbing left was in an original bathroom that had seen much better days. It also included a toilet with a hole in the bowl.
There is a small shed near the house and we assumed it was the well house, given the age of everything. It was also full of junk. We eventually cleared enough out to try and find a well, but alas – NOTHING. So we were lost. Was there a well to start with? Was it filled in? Turns out the teeny little well-looking building we thought was part of the house NEXT to us was our well. The property line jogs over to encompass it.
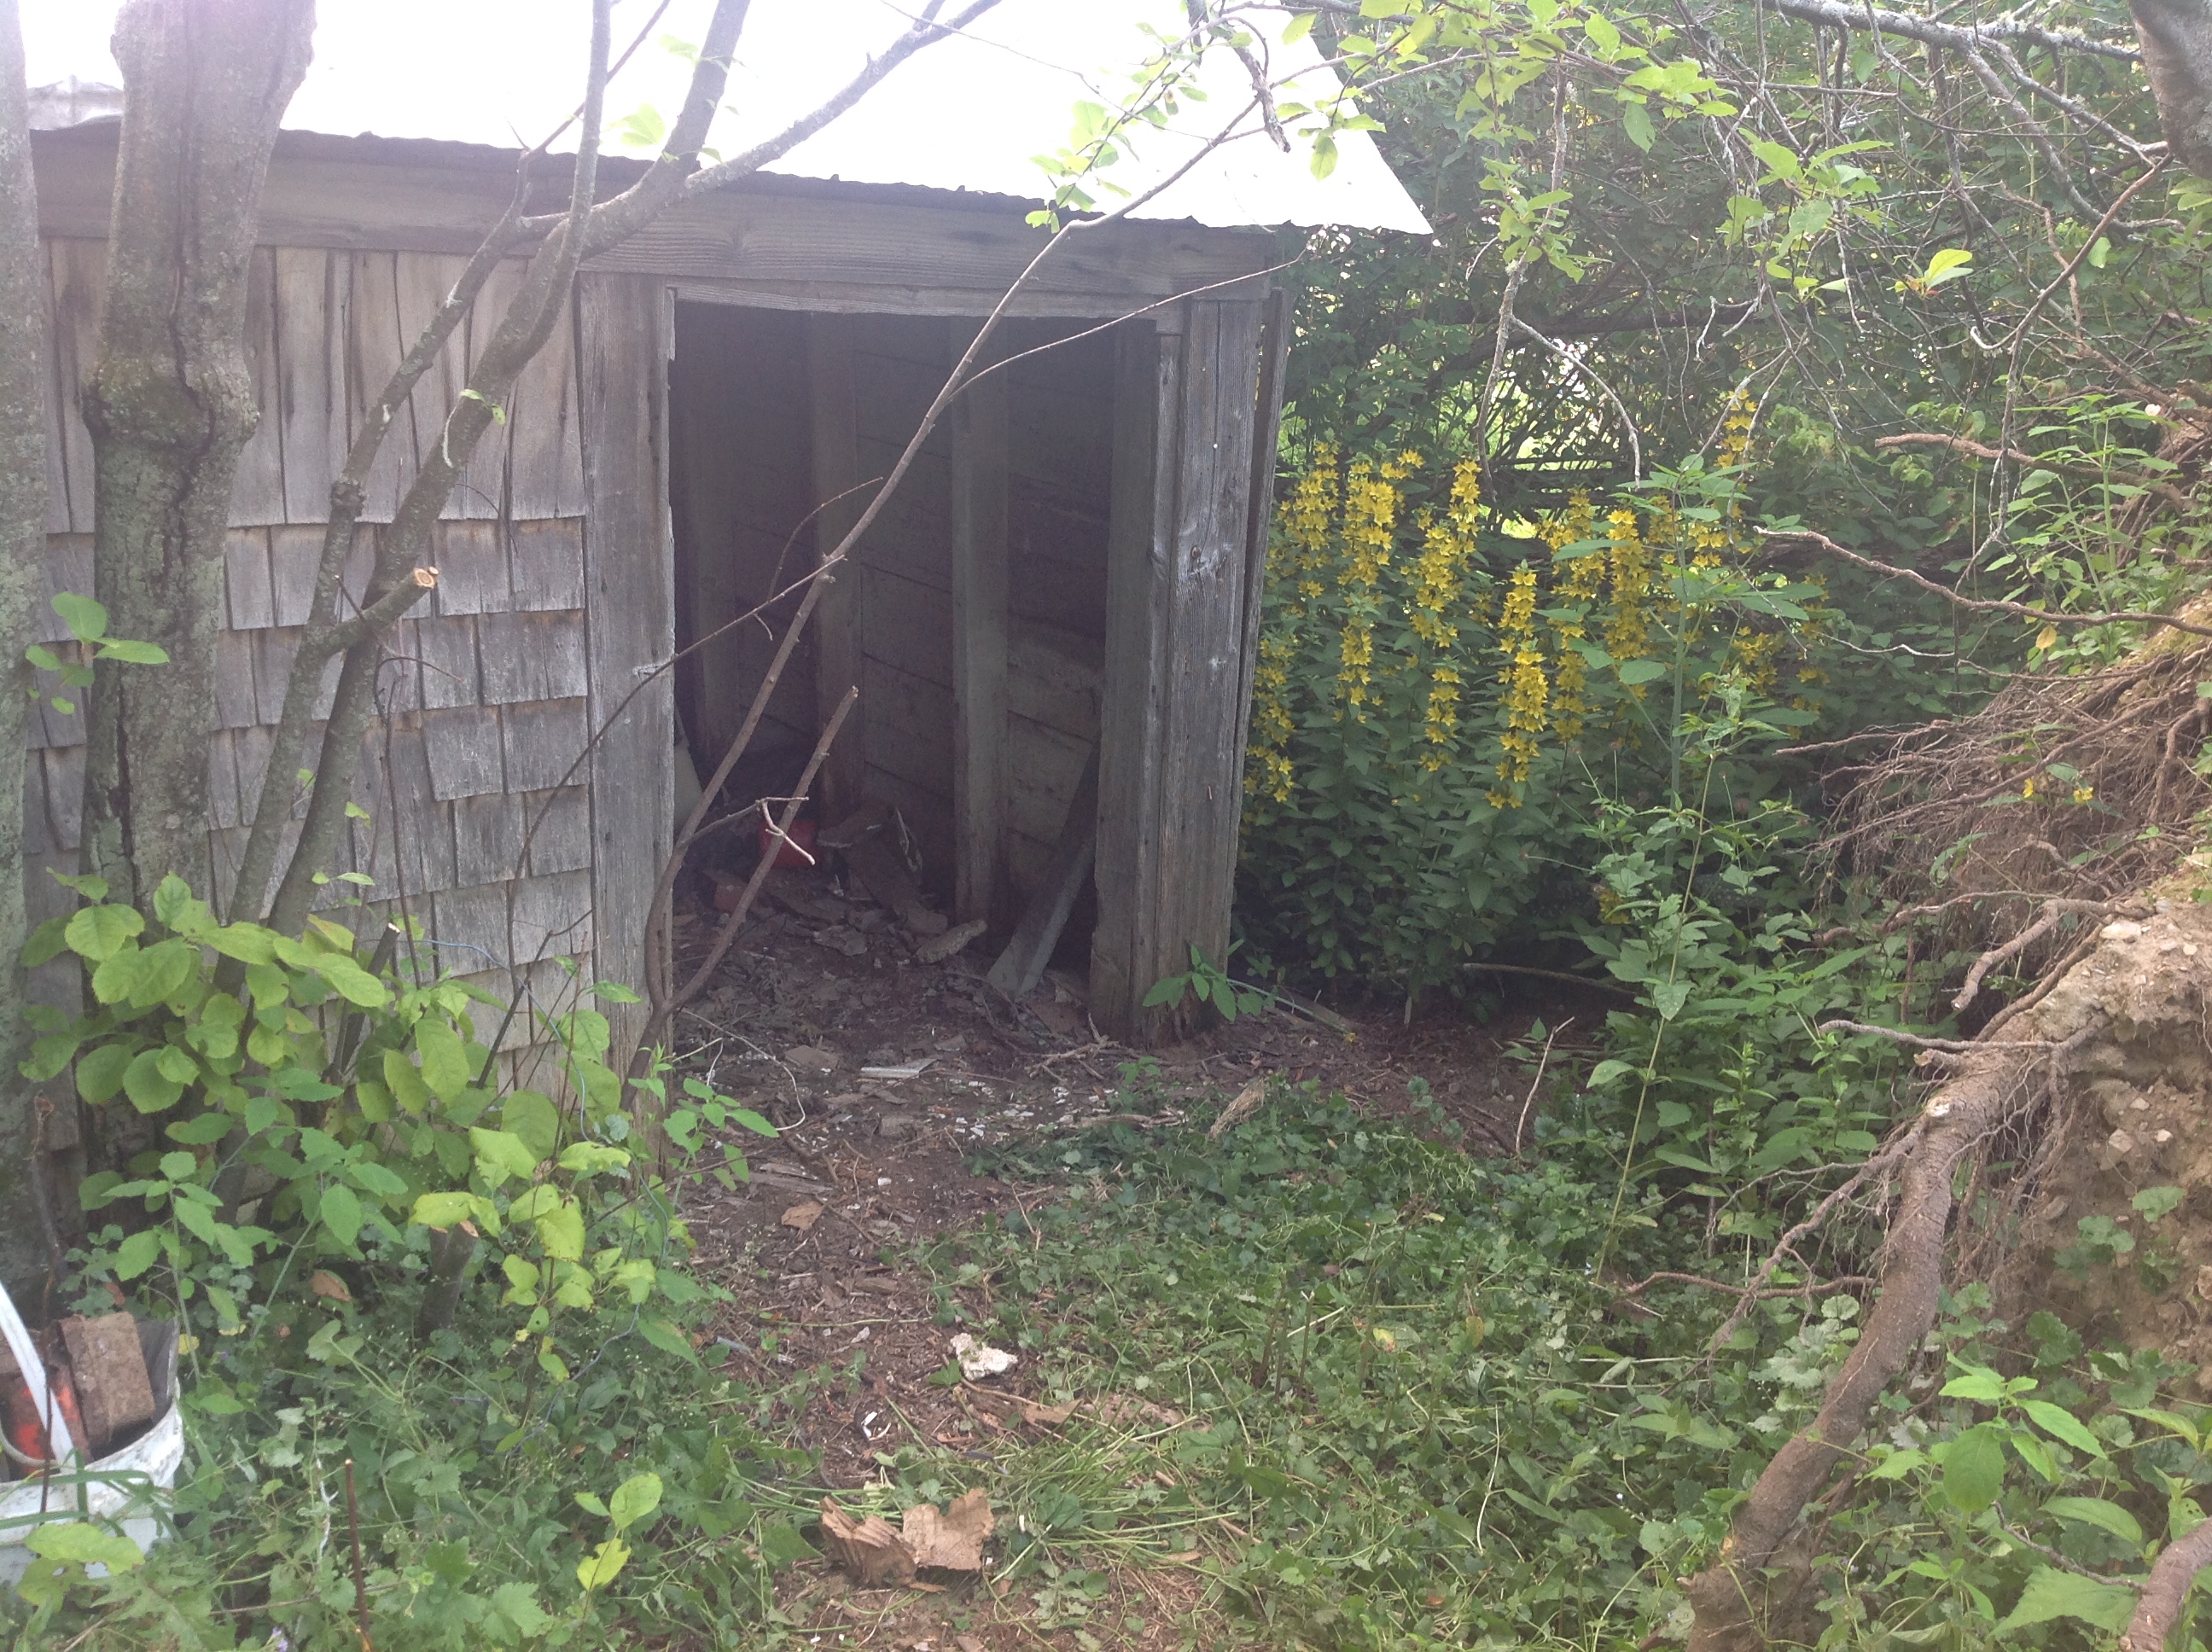
Not the well house, oops.
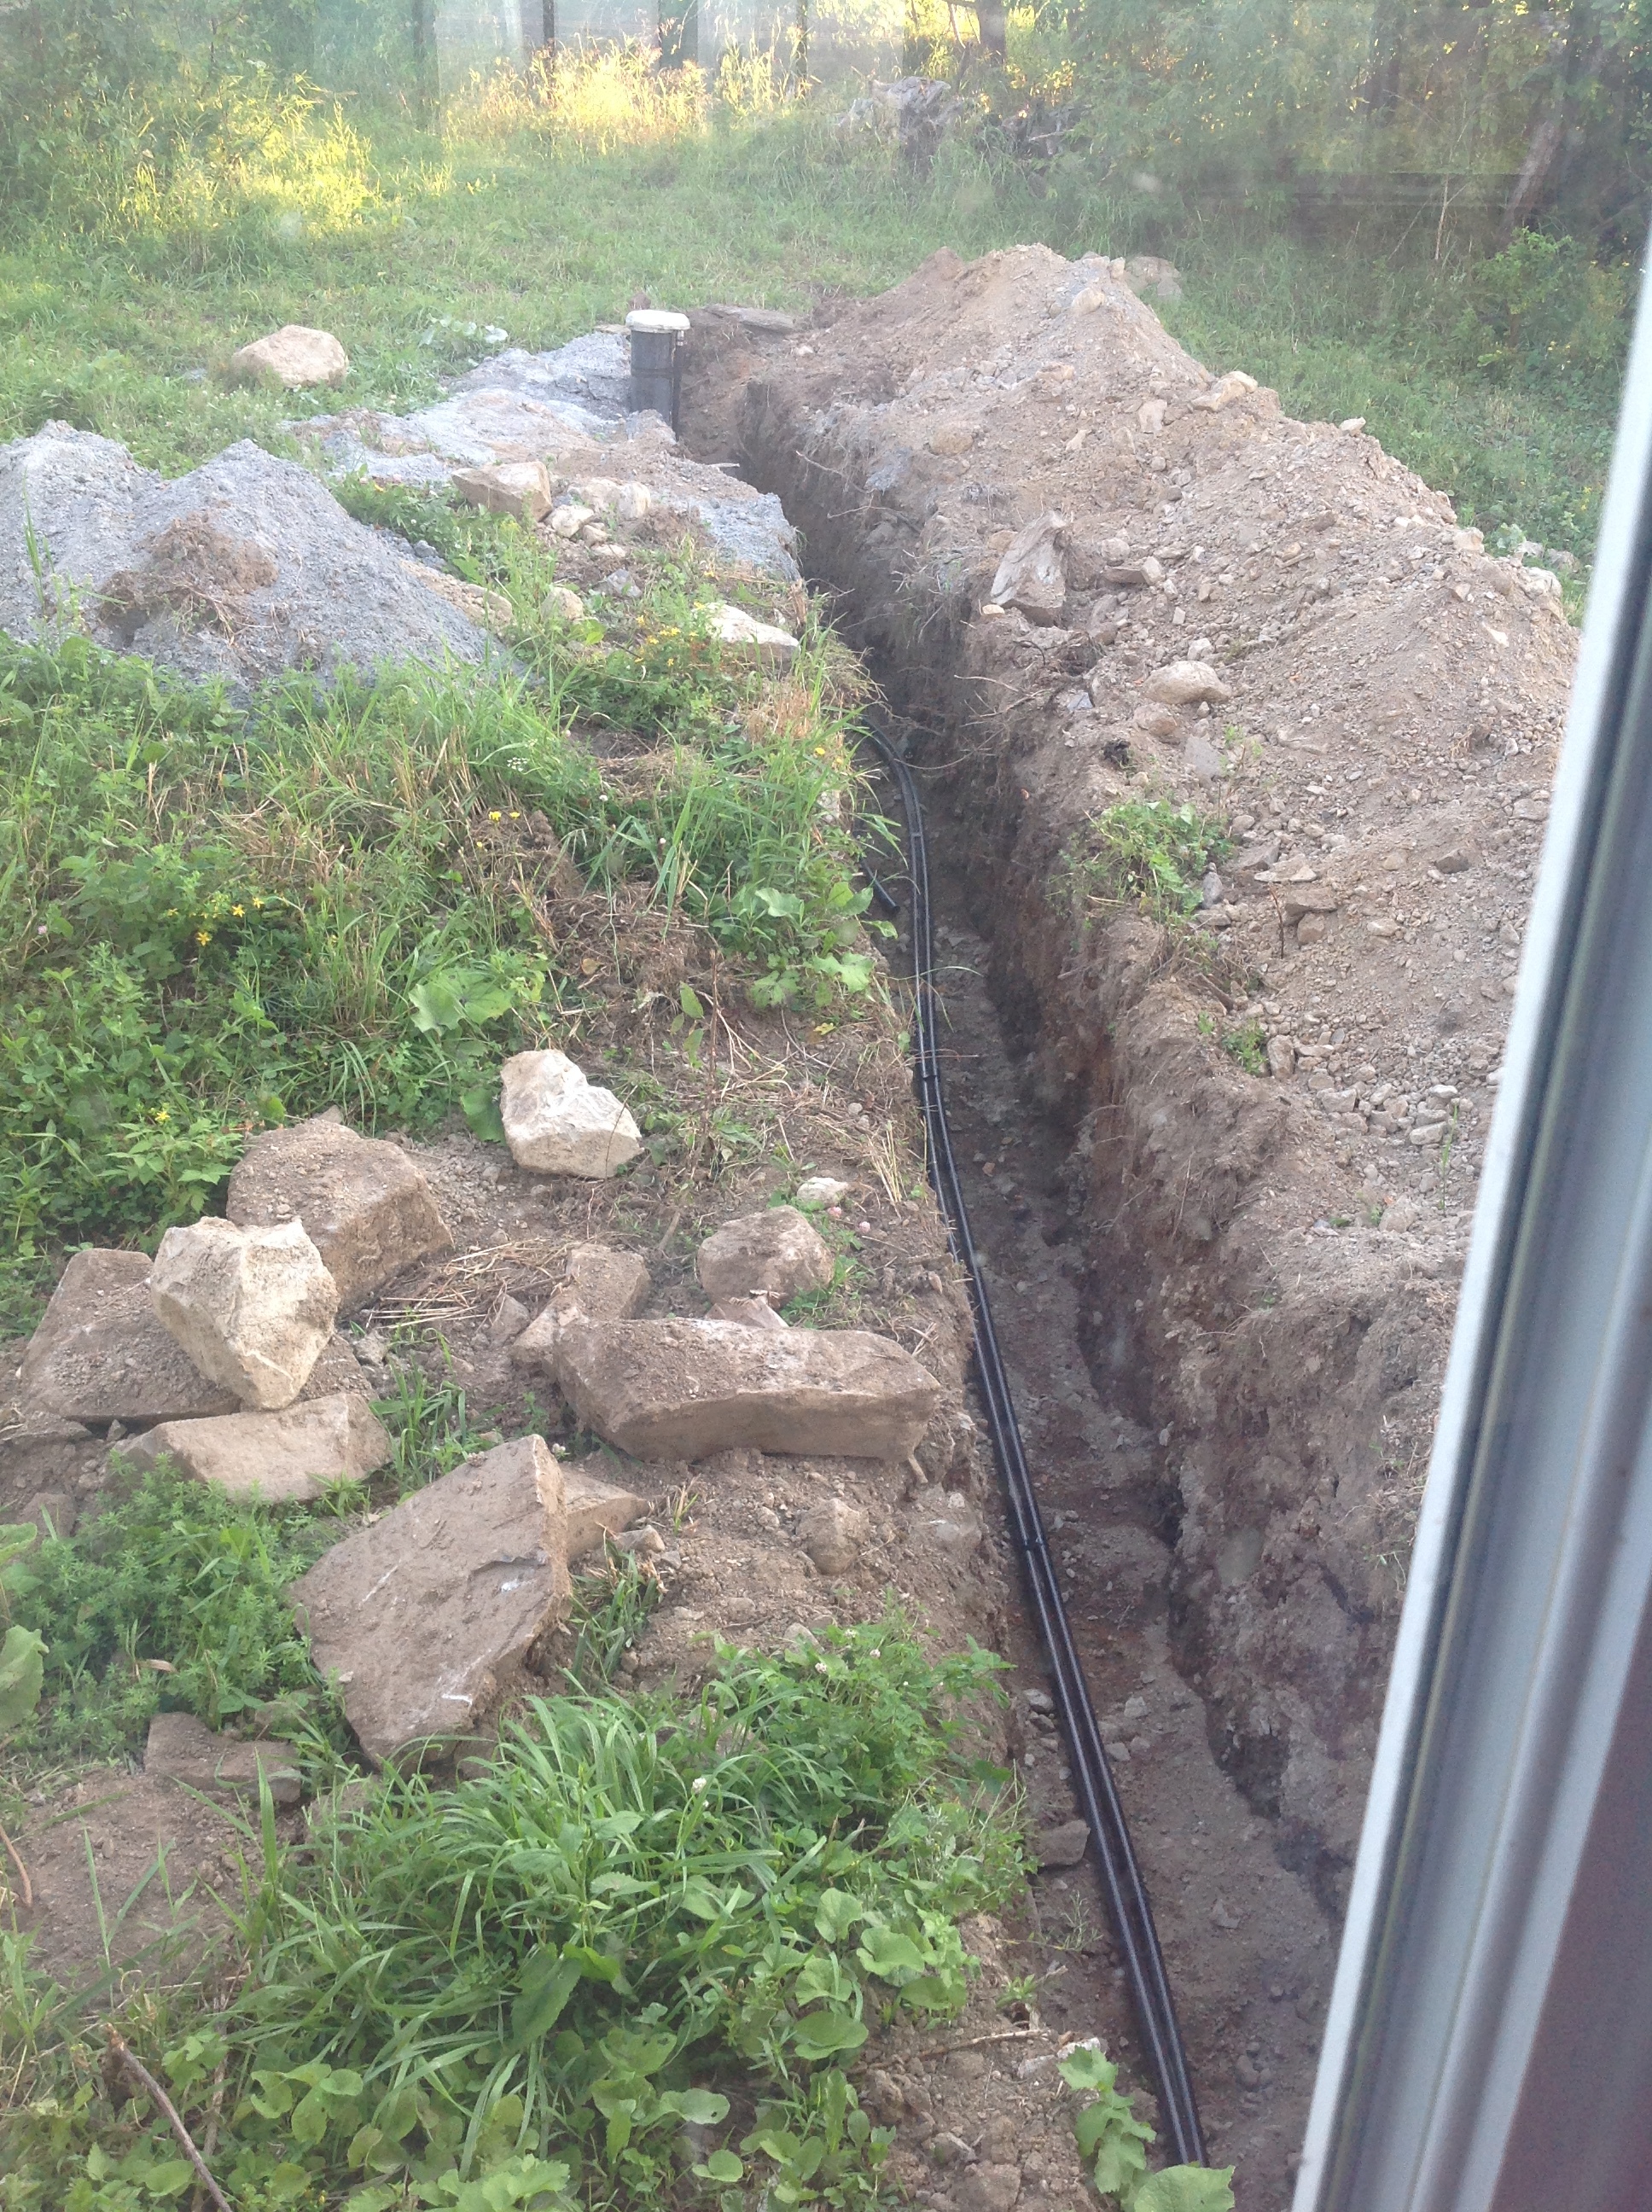
By this point, not knowing what the well was like, and knowing any pipes went under the driveway to the house, we had already decided to drill a new well in a better location at the back of the house.
We also decided the new well pipes would come into the house in the new basement and not the old one under the original section of the house.
Yes, we have two basements, sort of. The old one under the kitchen / dining area is rock wall, barely head height and super creepy. It also had a could missing sections where a friendly gopher wanted to camp out. Finally got rid of him and we definitely need some repair work to the hole before winter and snow get in. So, we didn’t want any water equipment down there where it is also more likely to freeze. The door to this is on the kitchen side, under the main staircase.
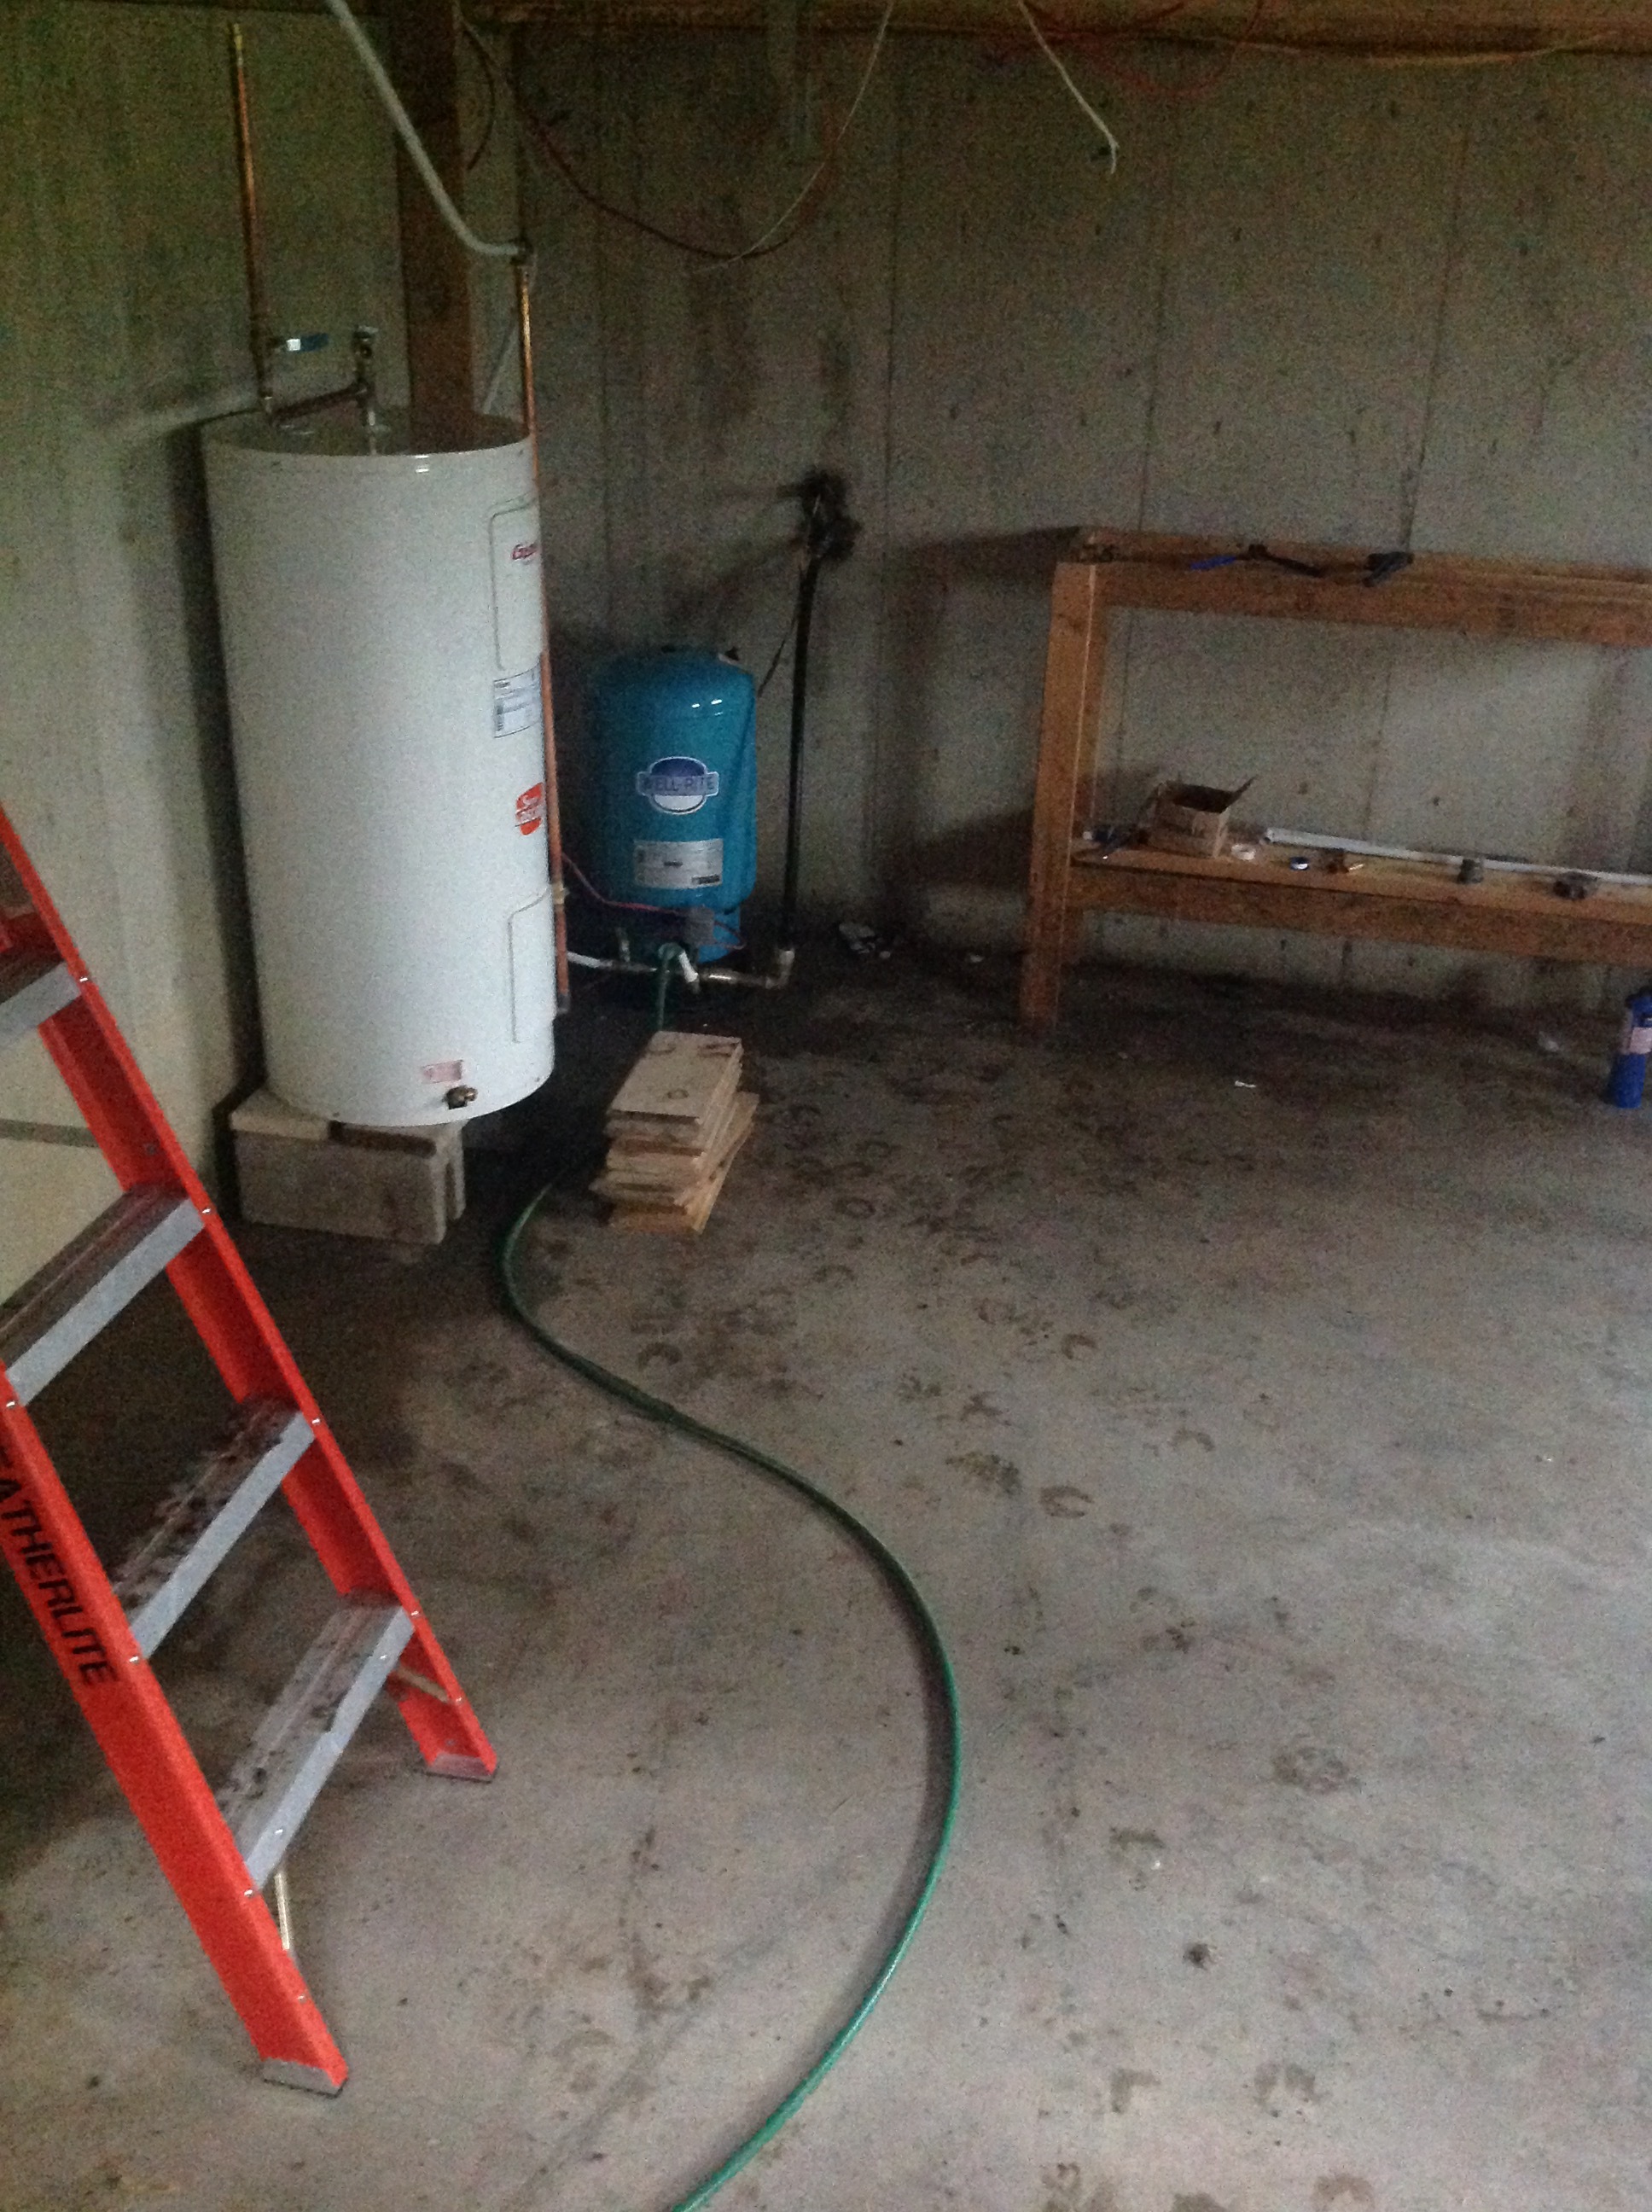
In the new section of the house, under the great room, is a full basement that will eventually be my craft / sewing room. It is large enough there is plenty of space in a corner to make a closet to hold the pressure tank and hot water tank.
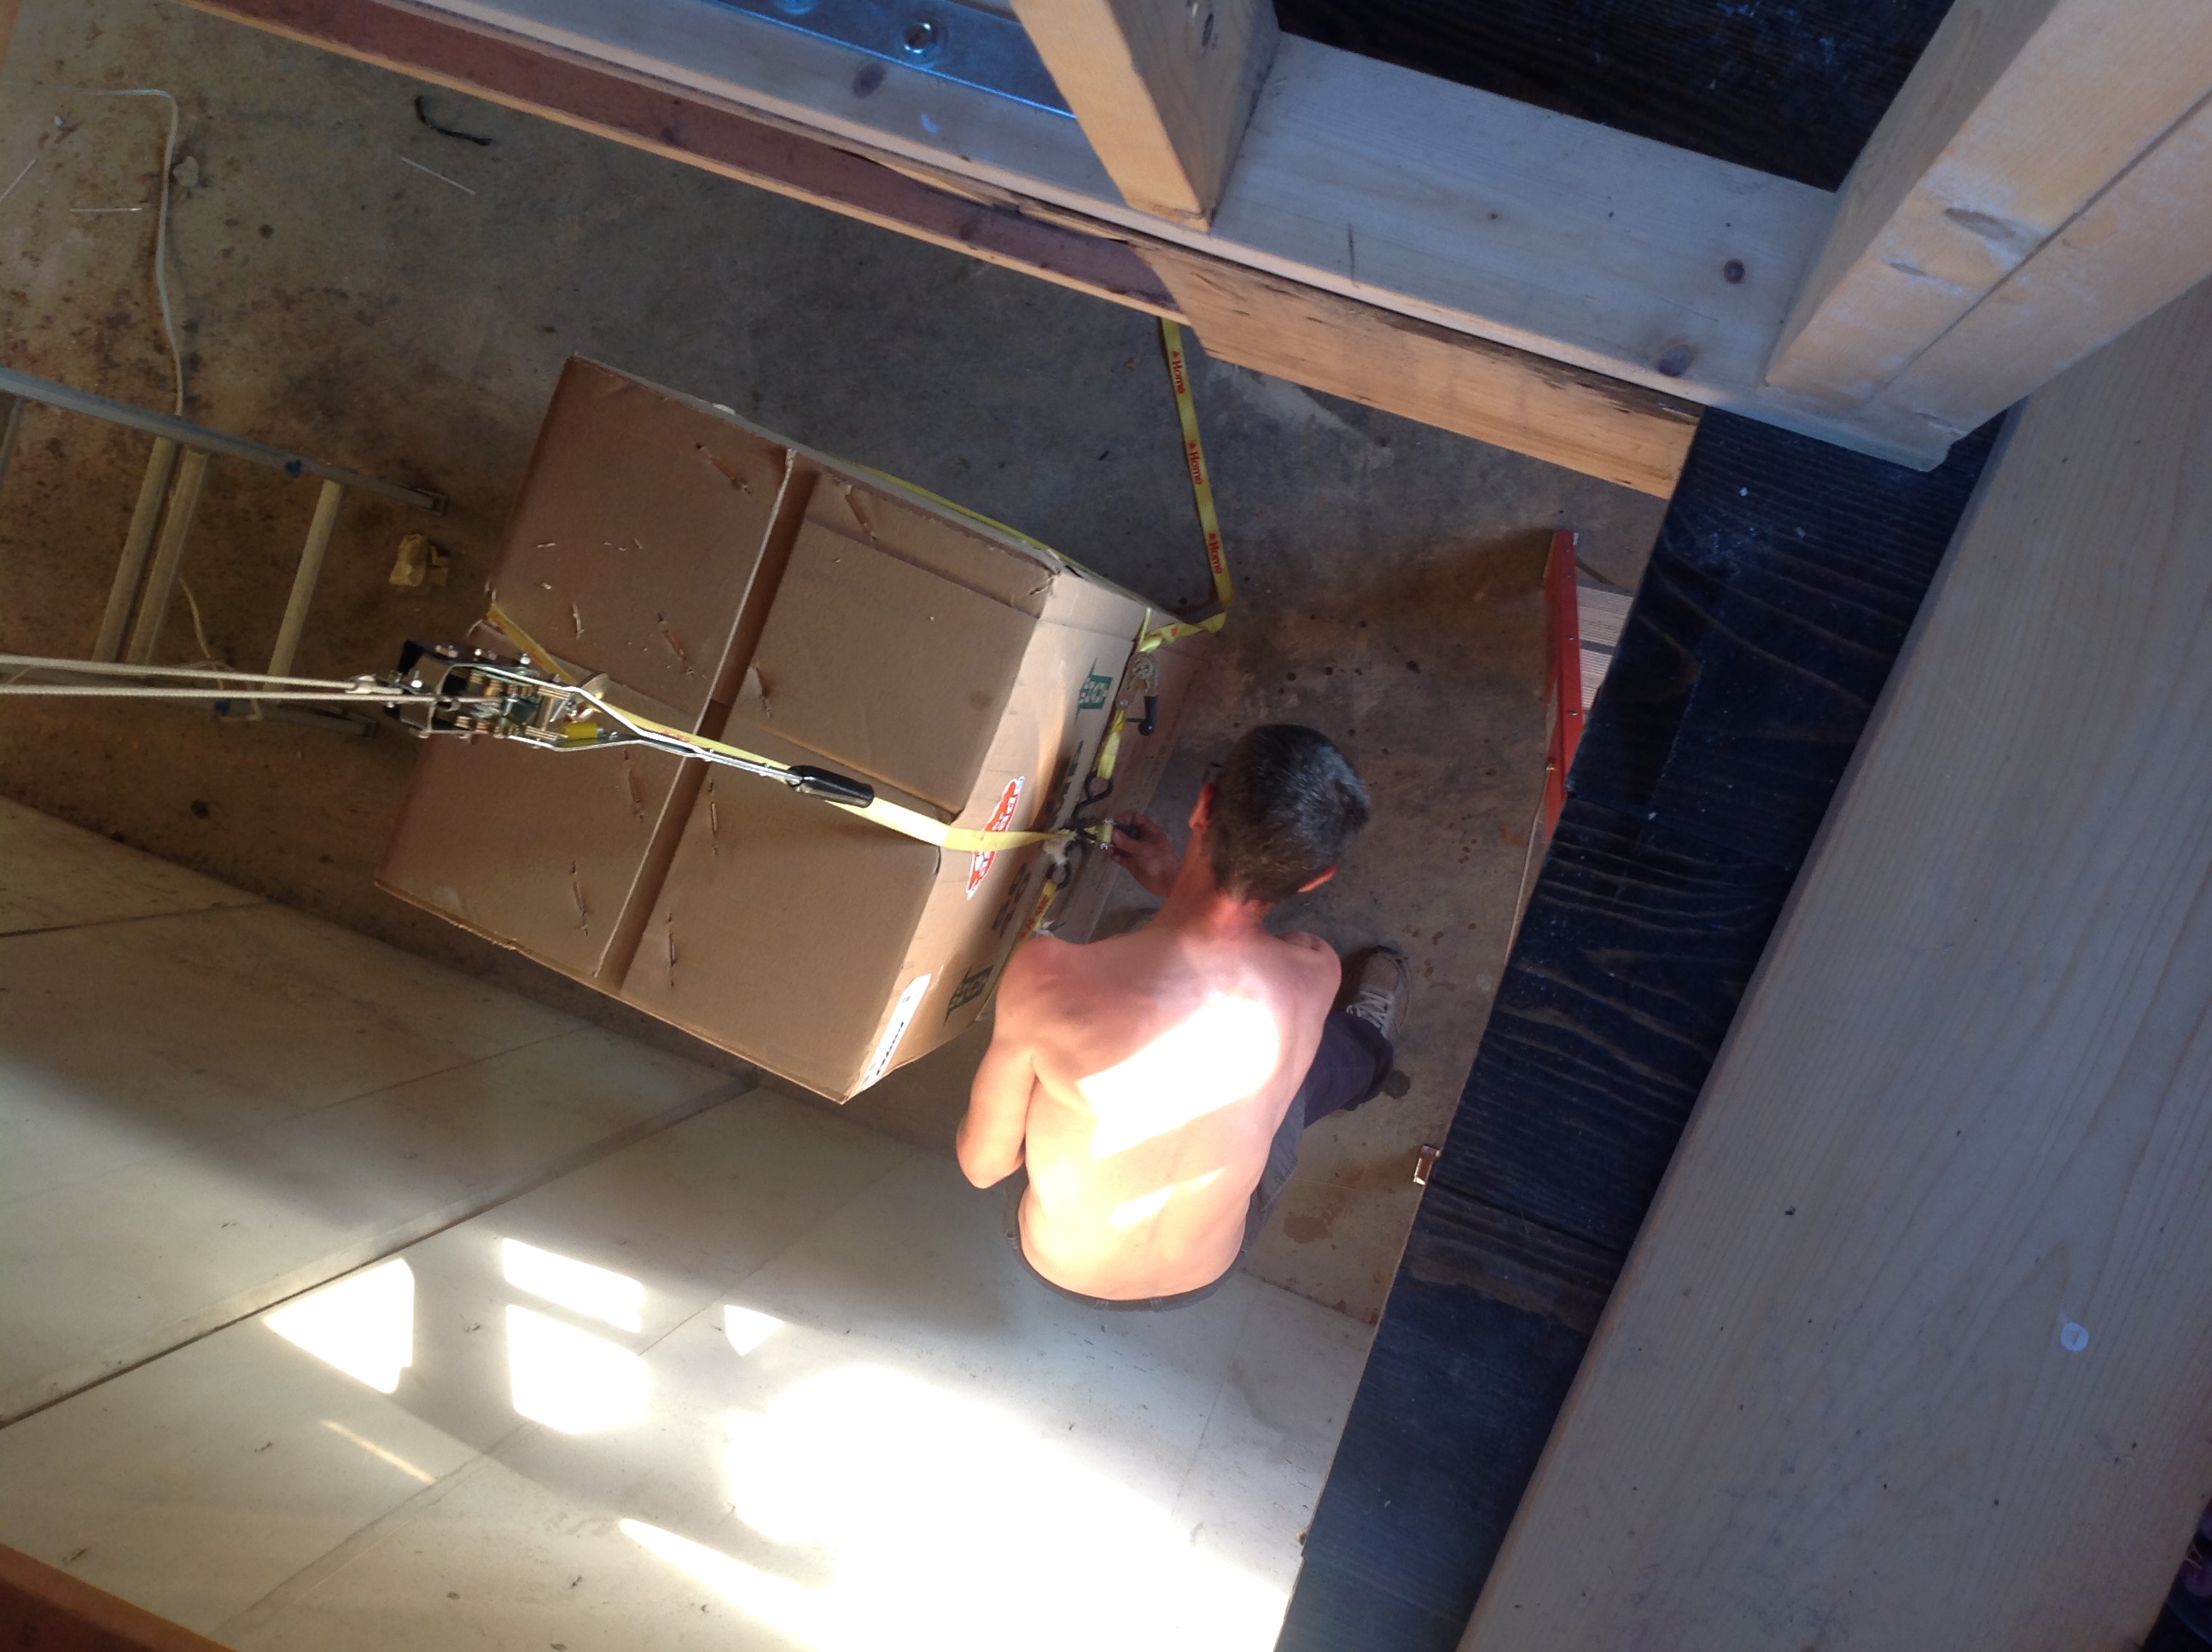
Getting the hot water tank in the new basement was super fun because we haven’t built any stairs yet.
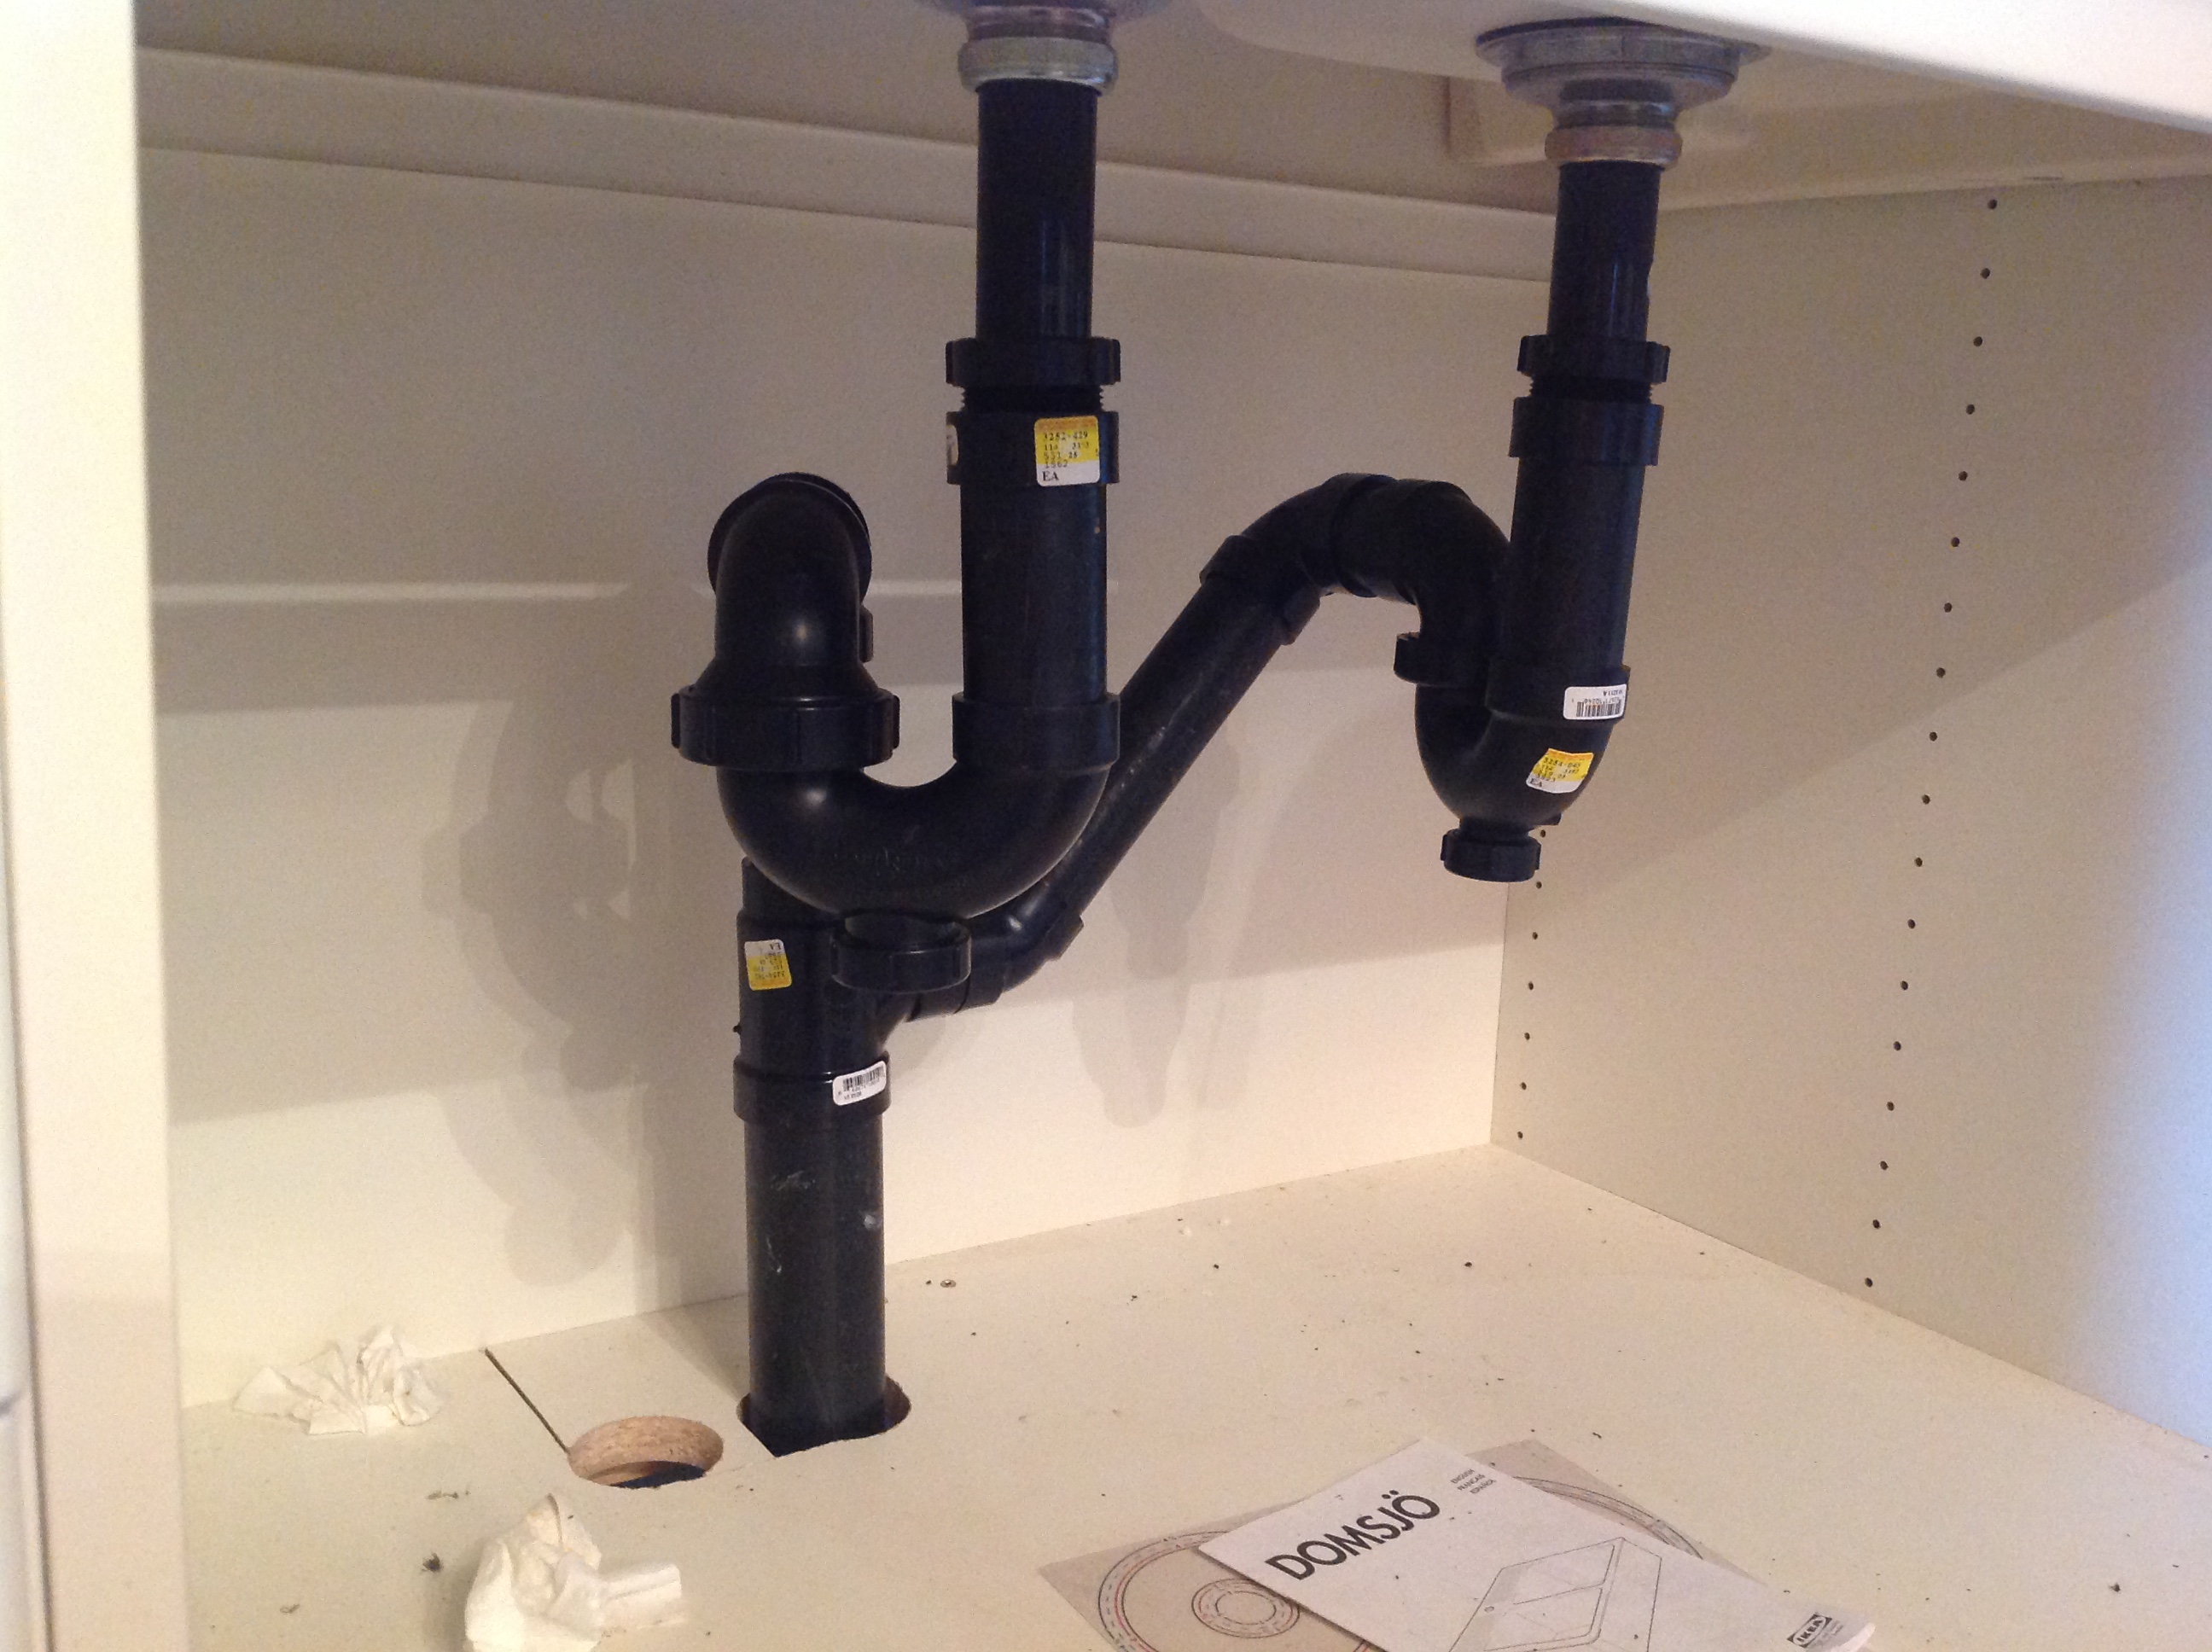
There is a crawl space of sorts from the new basement to the old. We were able to run some pipes through there to get to the kitchen. Ron has also done work to fit the pipes in the kitchen sink, as well as the pipes for the upstairs toilet. Some of the shower fittings are in as well.
We finally got the septic field plan approved, which was great because our initial suspicions were true. While digging out for the new basement, the previous owners opted to “save money” and not start digging a new septic field or replace the tank. which was right next to the hole they were digging for the new basement.
Ron found the old septic tank, which was wood. There are cast iron waste pipes leading out to it, most of which we have removed. We did keep a chunk of pipe that goes out of the old basement wall, for support, and ran a new ABS pipe through it.
Ron dug the hole for the septic tank and now has it in place.
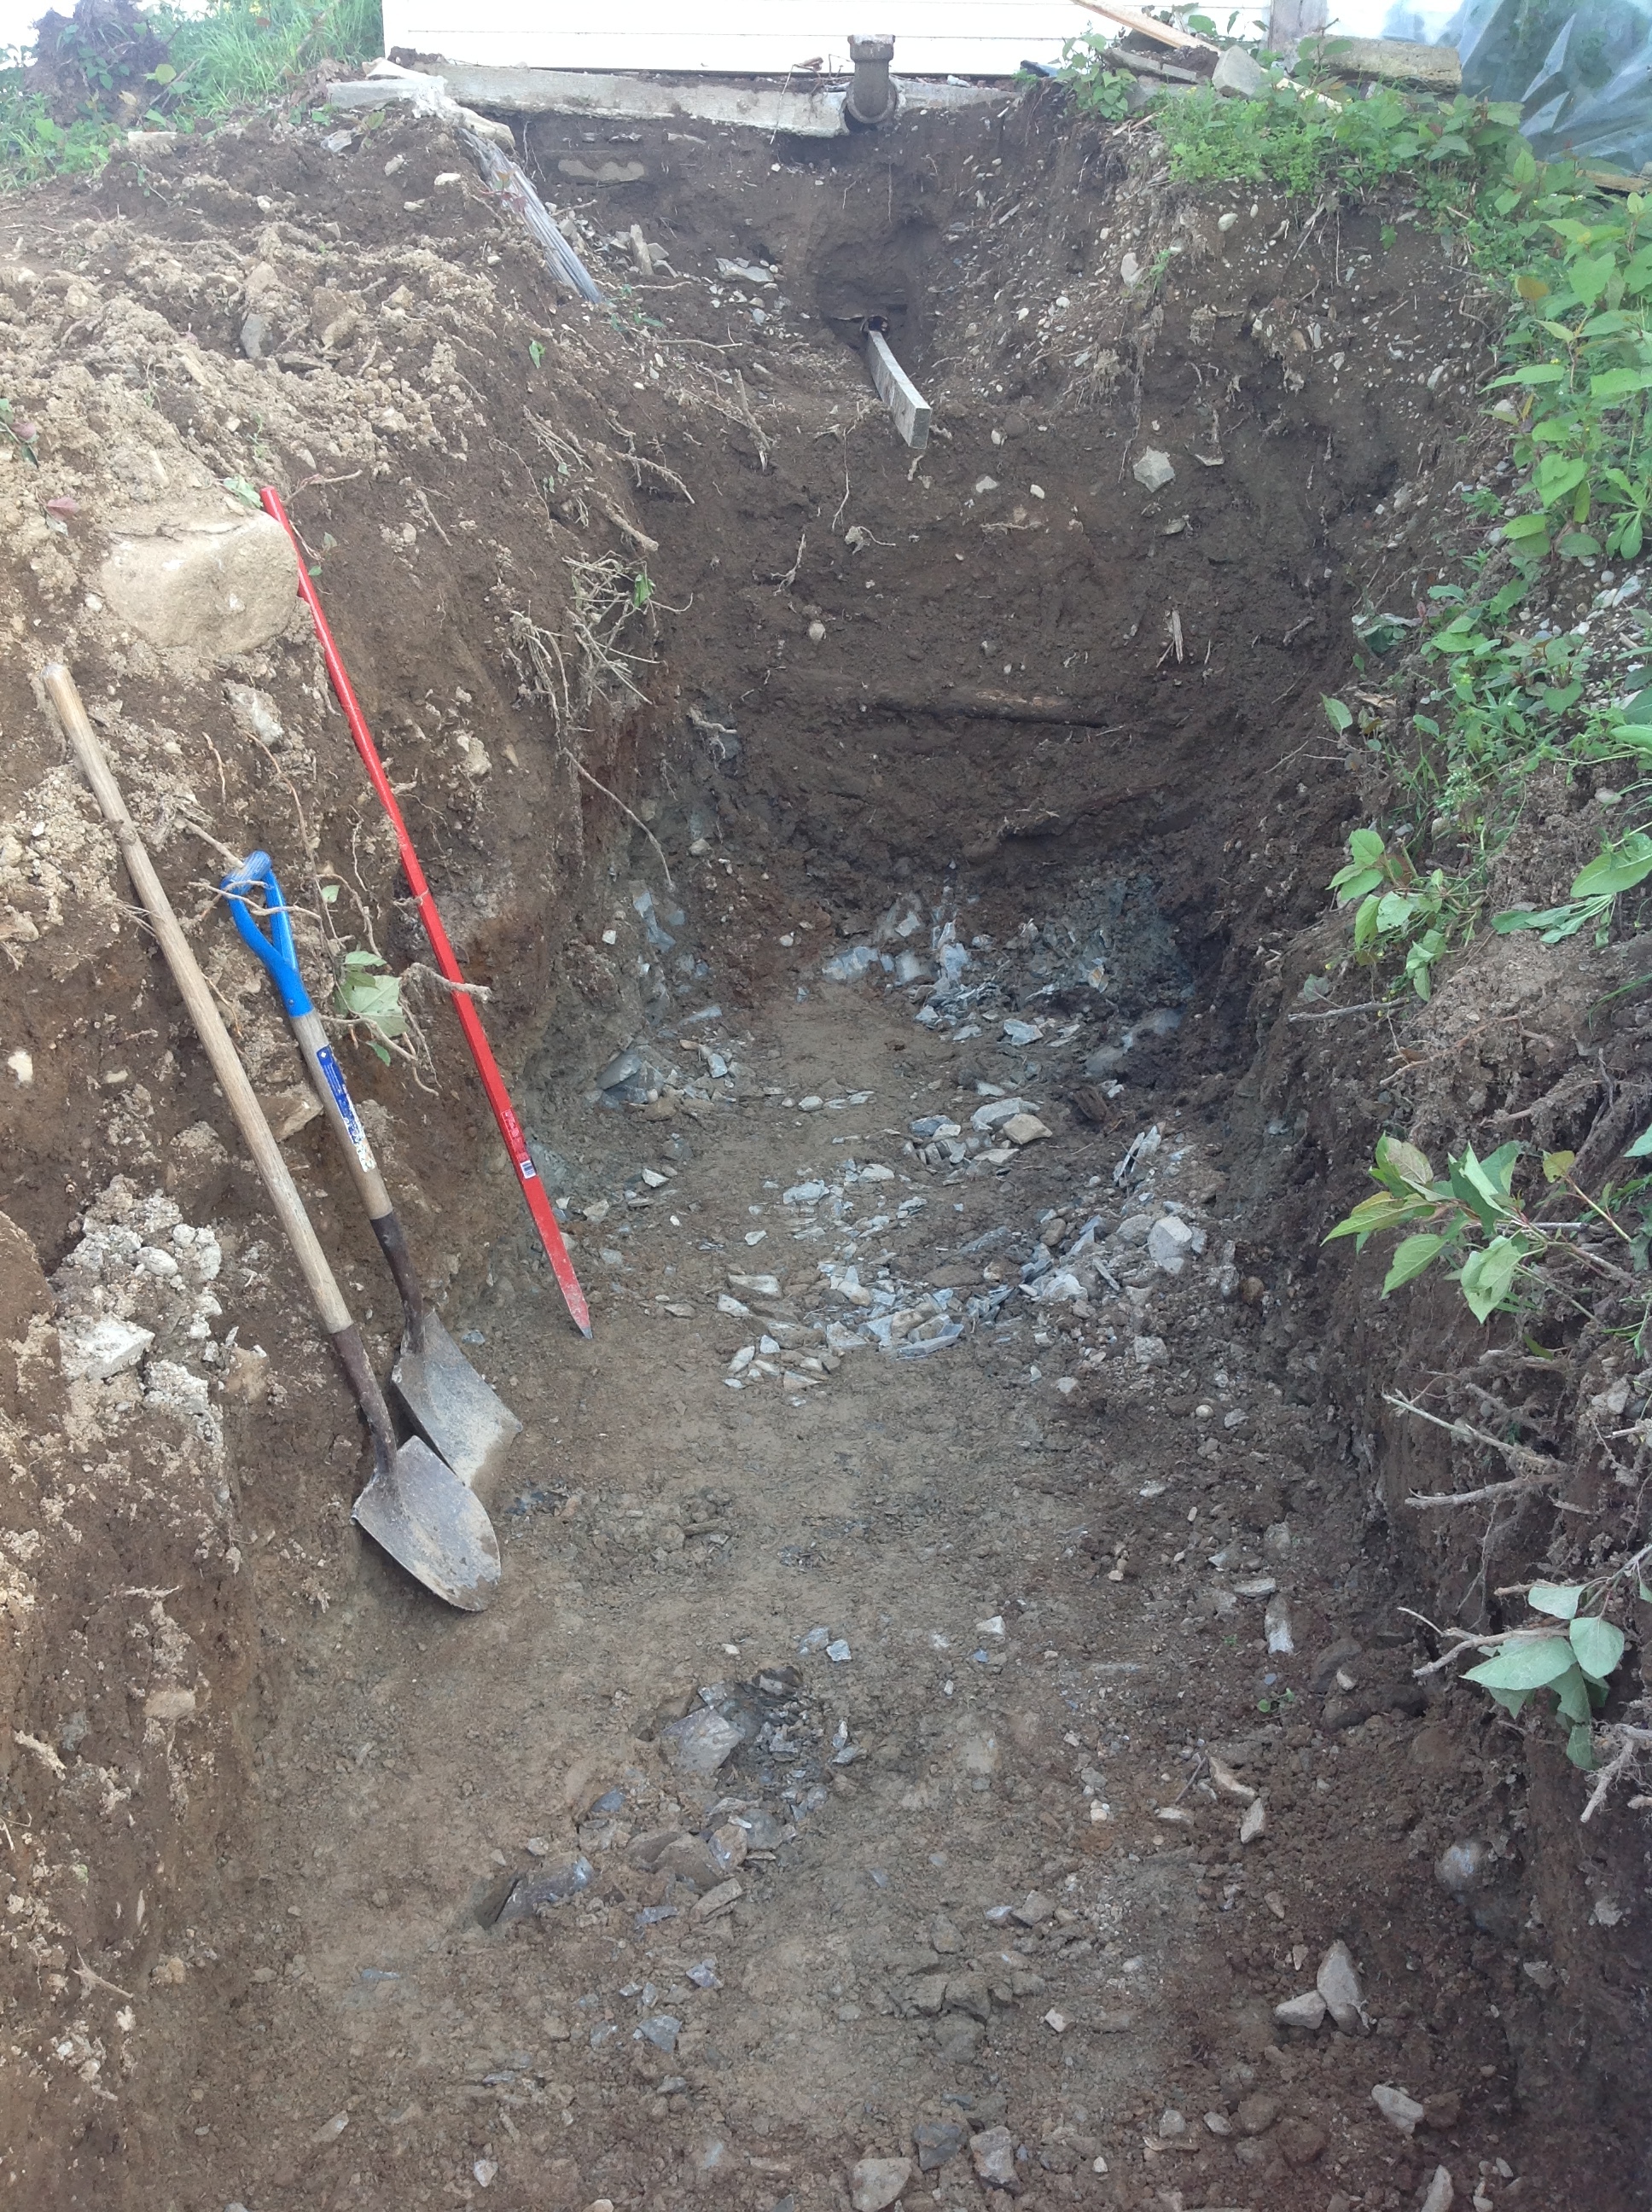
Next up, he will fill the tank with water, and run some water through the waste plumbing he’s done already to check for leaks. The septic field still needs to be built but has been started, and we can also start on the intake pipes, to bring water in from the well to the taps.
And then the electricians showed up 27 Aug 2015 3:41 AM (10 years ago)
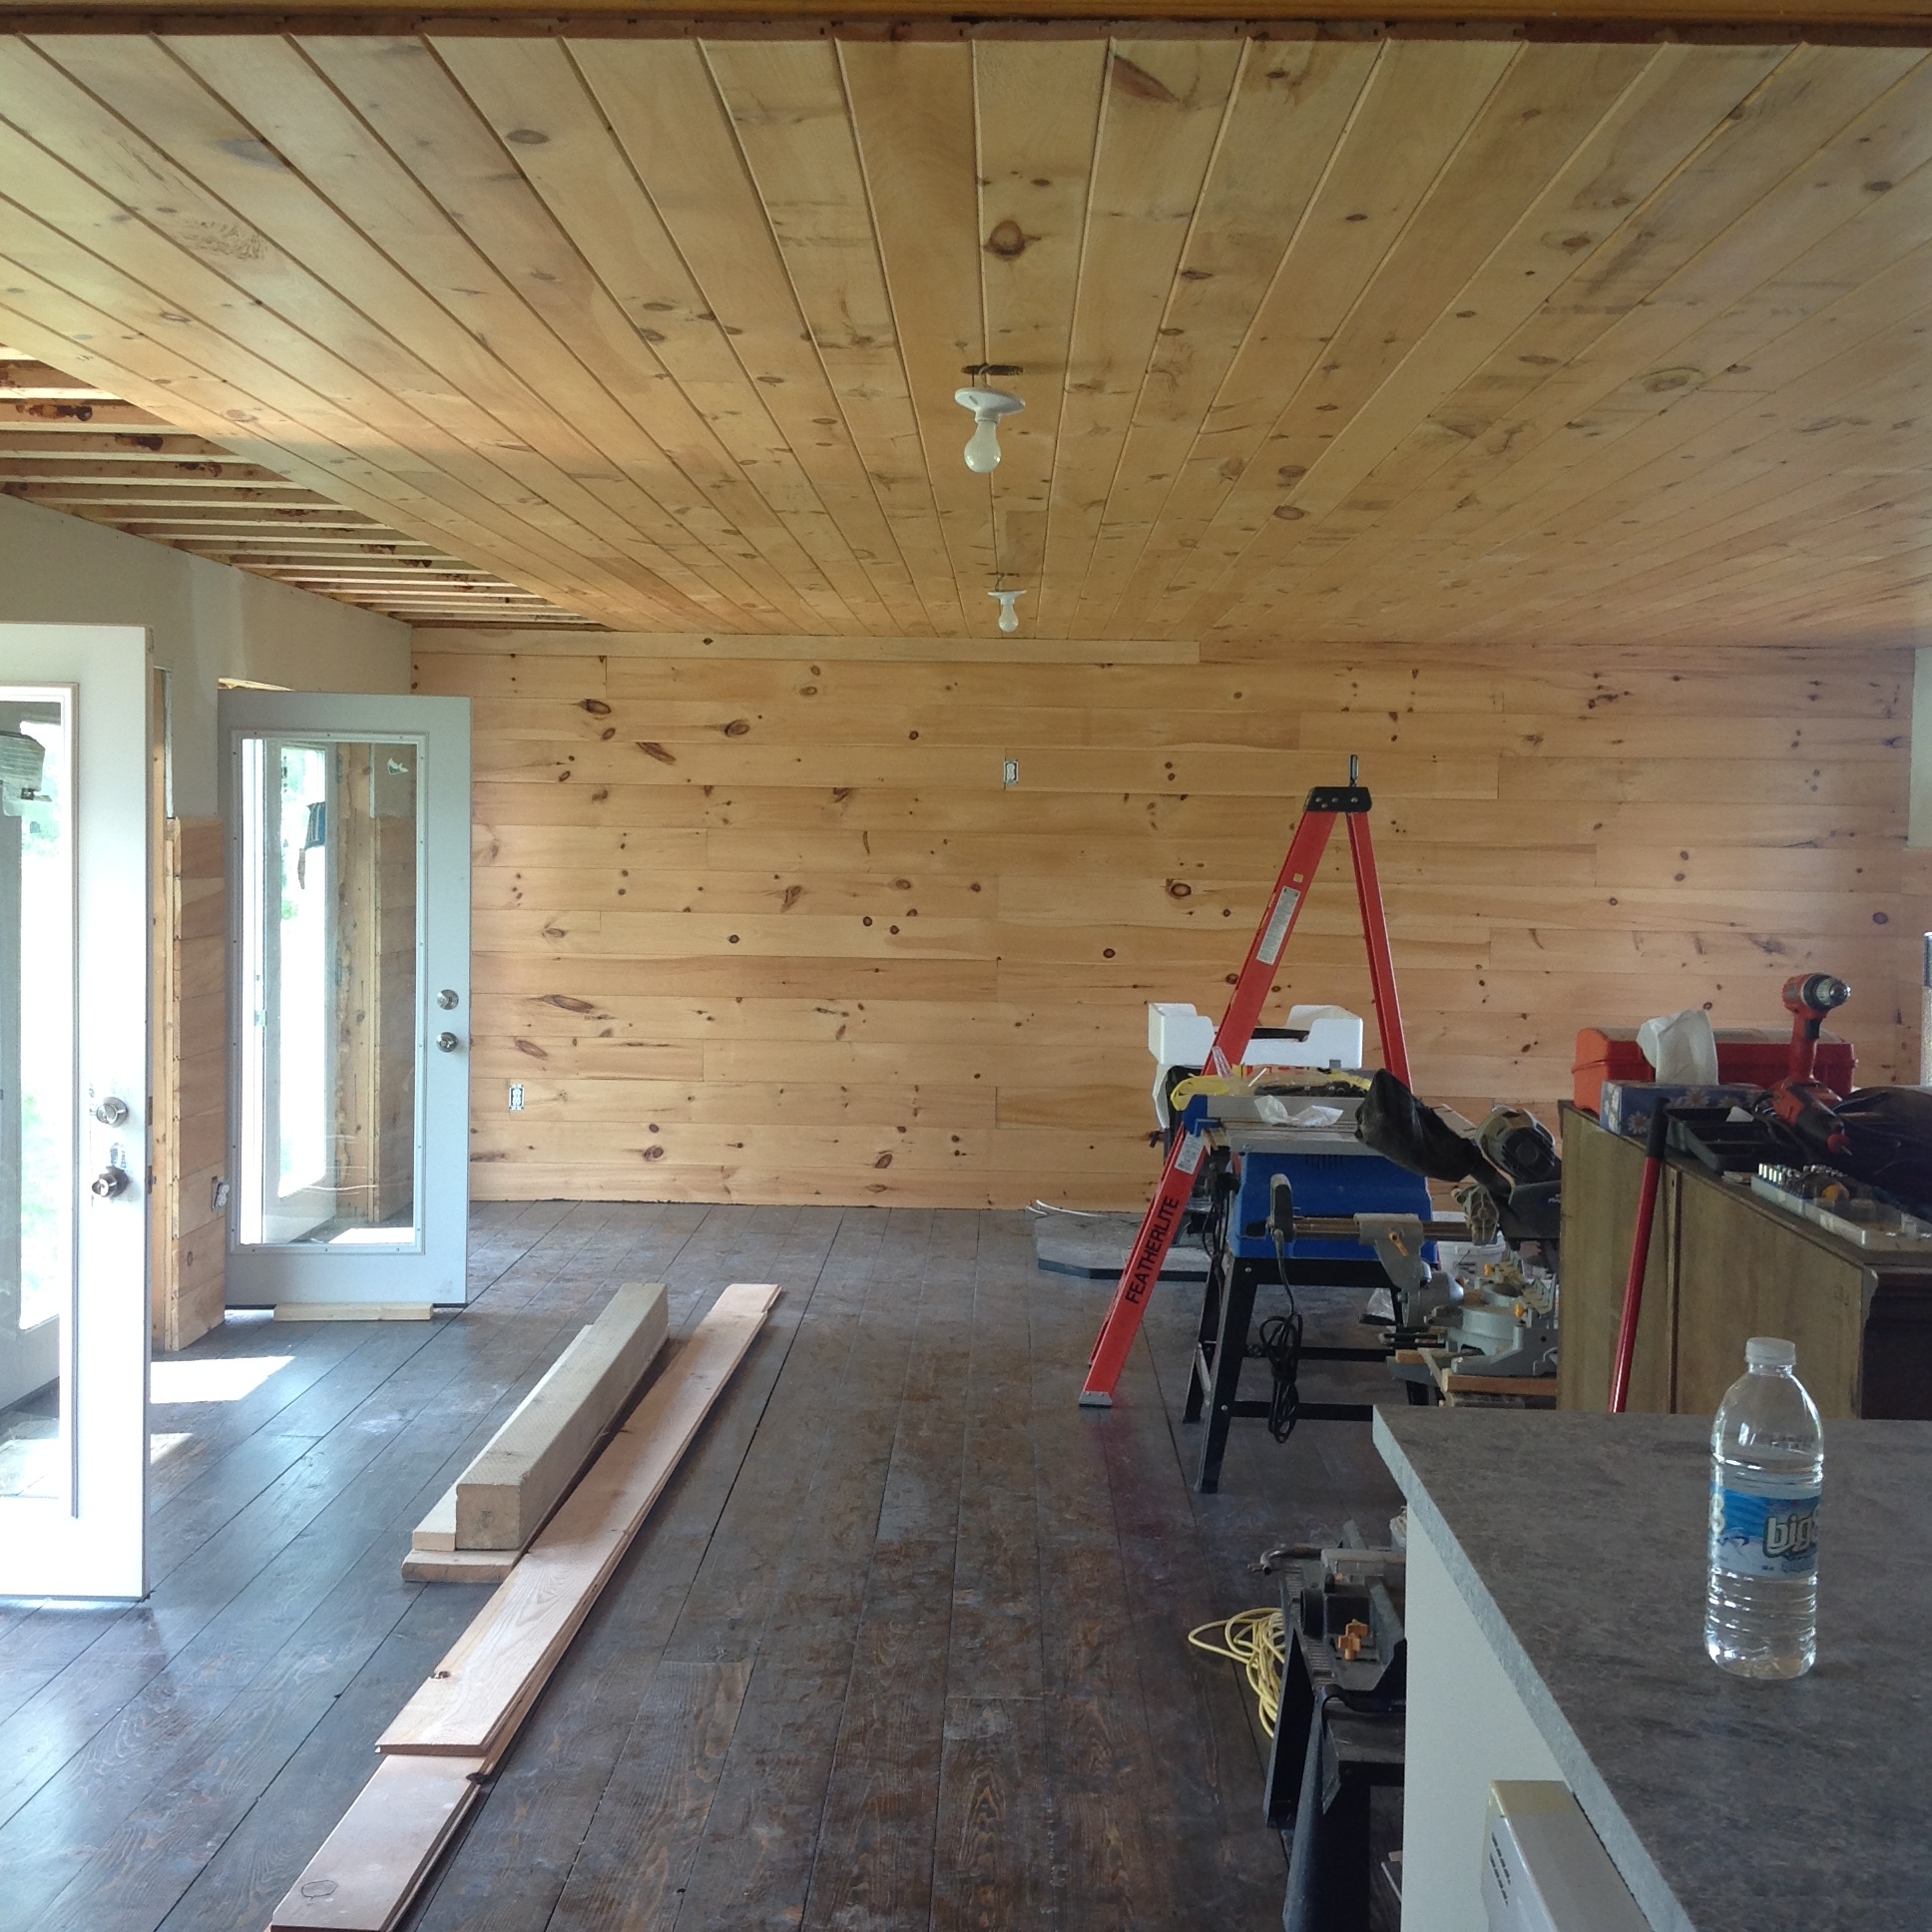
One of the biggest things to finish was electrical work, and I’ll skip the saga of getting someone to sow up to do the work, but finally they did and boy howdy a lot of work was done in a short time.
Wires were re-run, cabling was sorted, all the room heaters that were scattered around were hooked up, and we had to go on a light fixture buying spree. That also meant decisions had to be made.
In some places we couldn’t decide so we just went with temporary bare bulb fixtures.
The living room hasn’t changed much. We can’t decide here because every large fixture we like hangs too low.
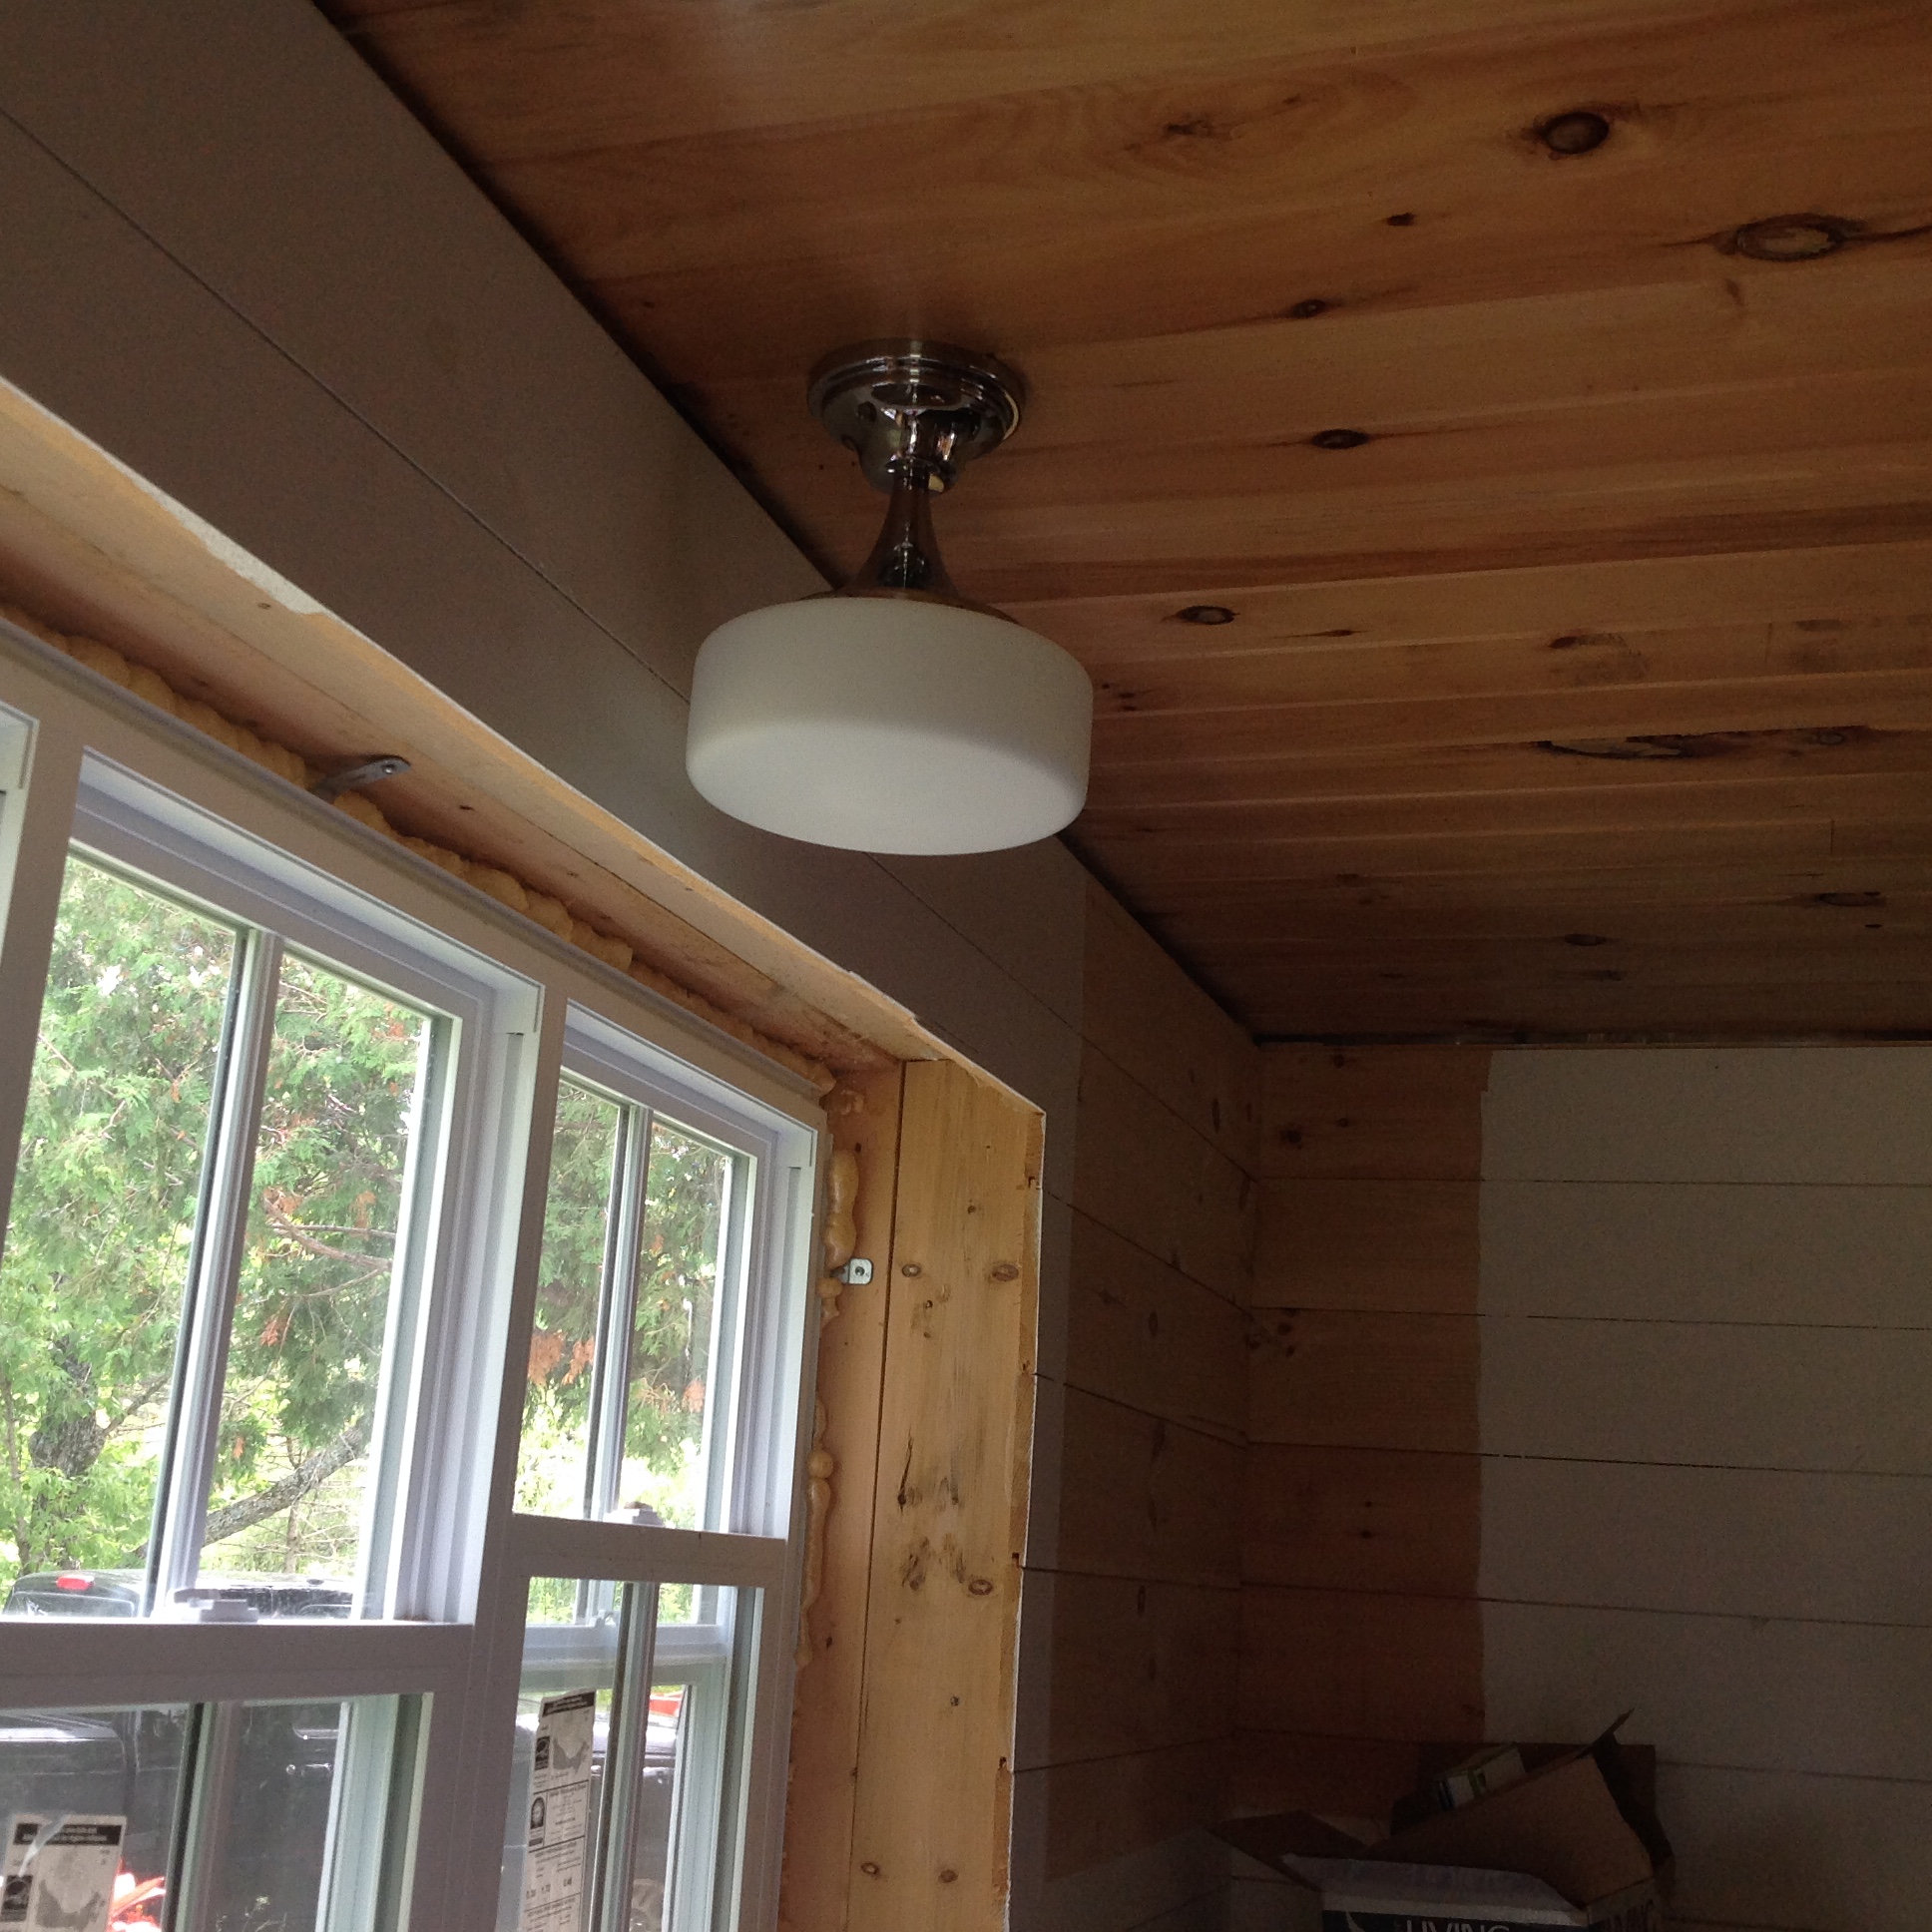
I love the retro fixture over the sink.
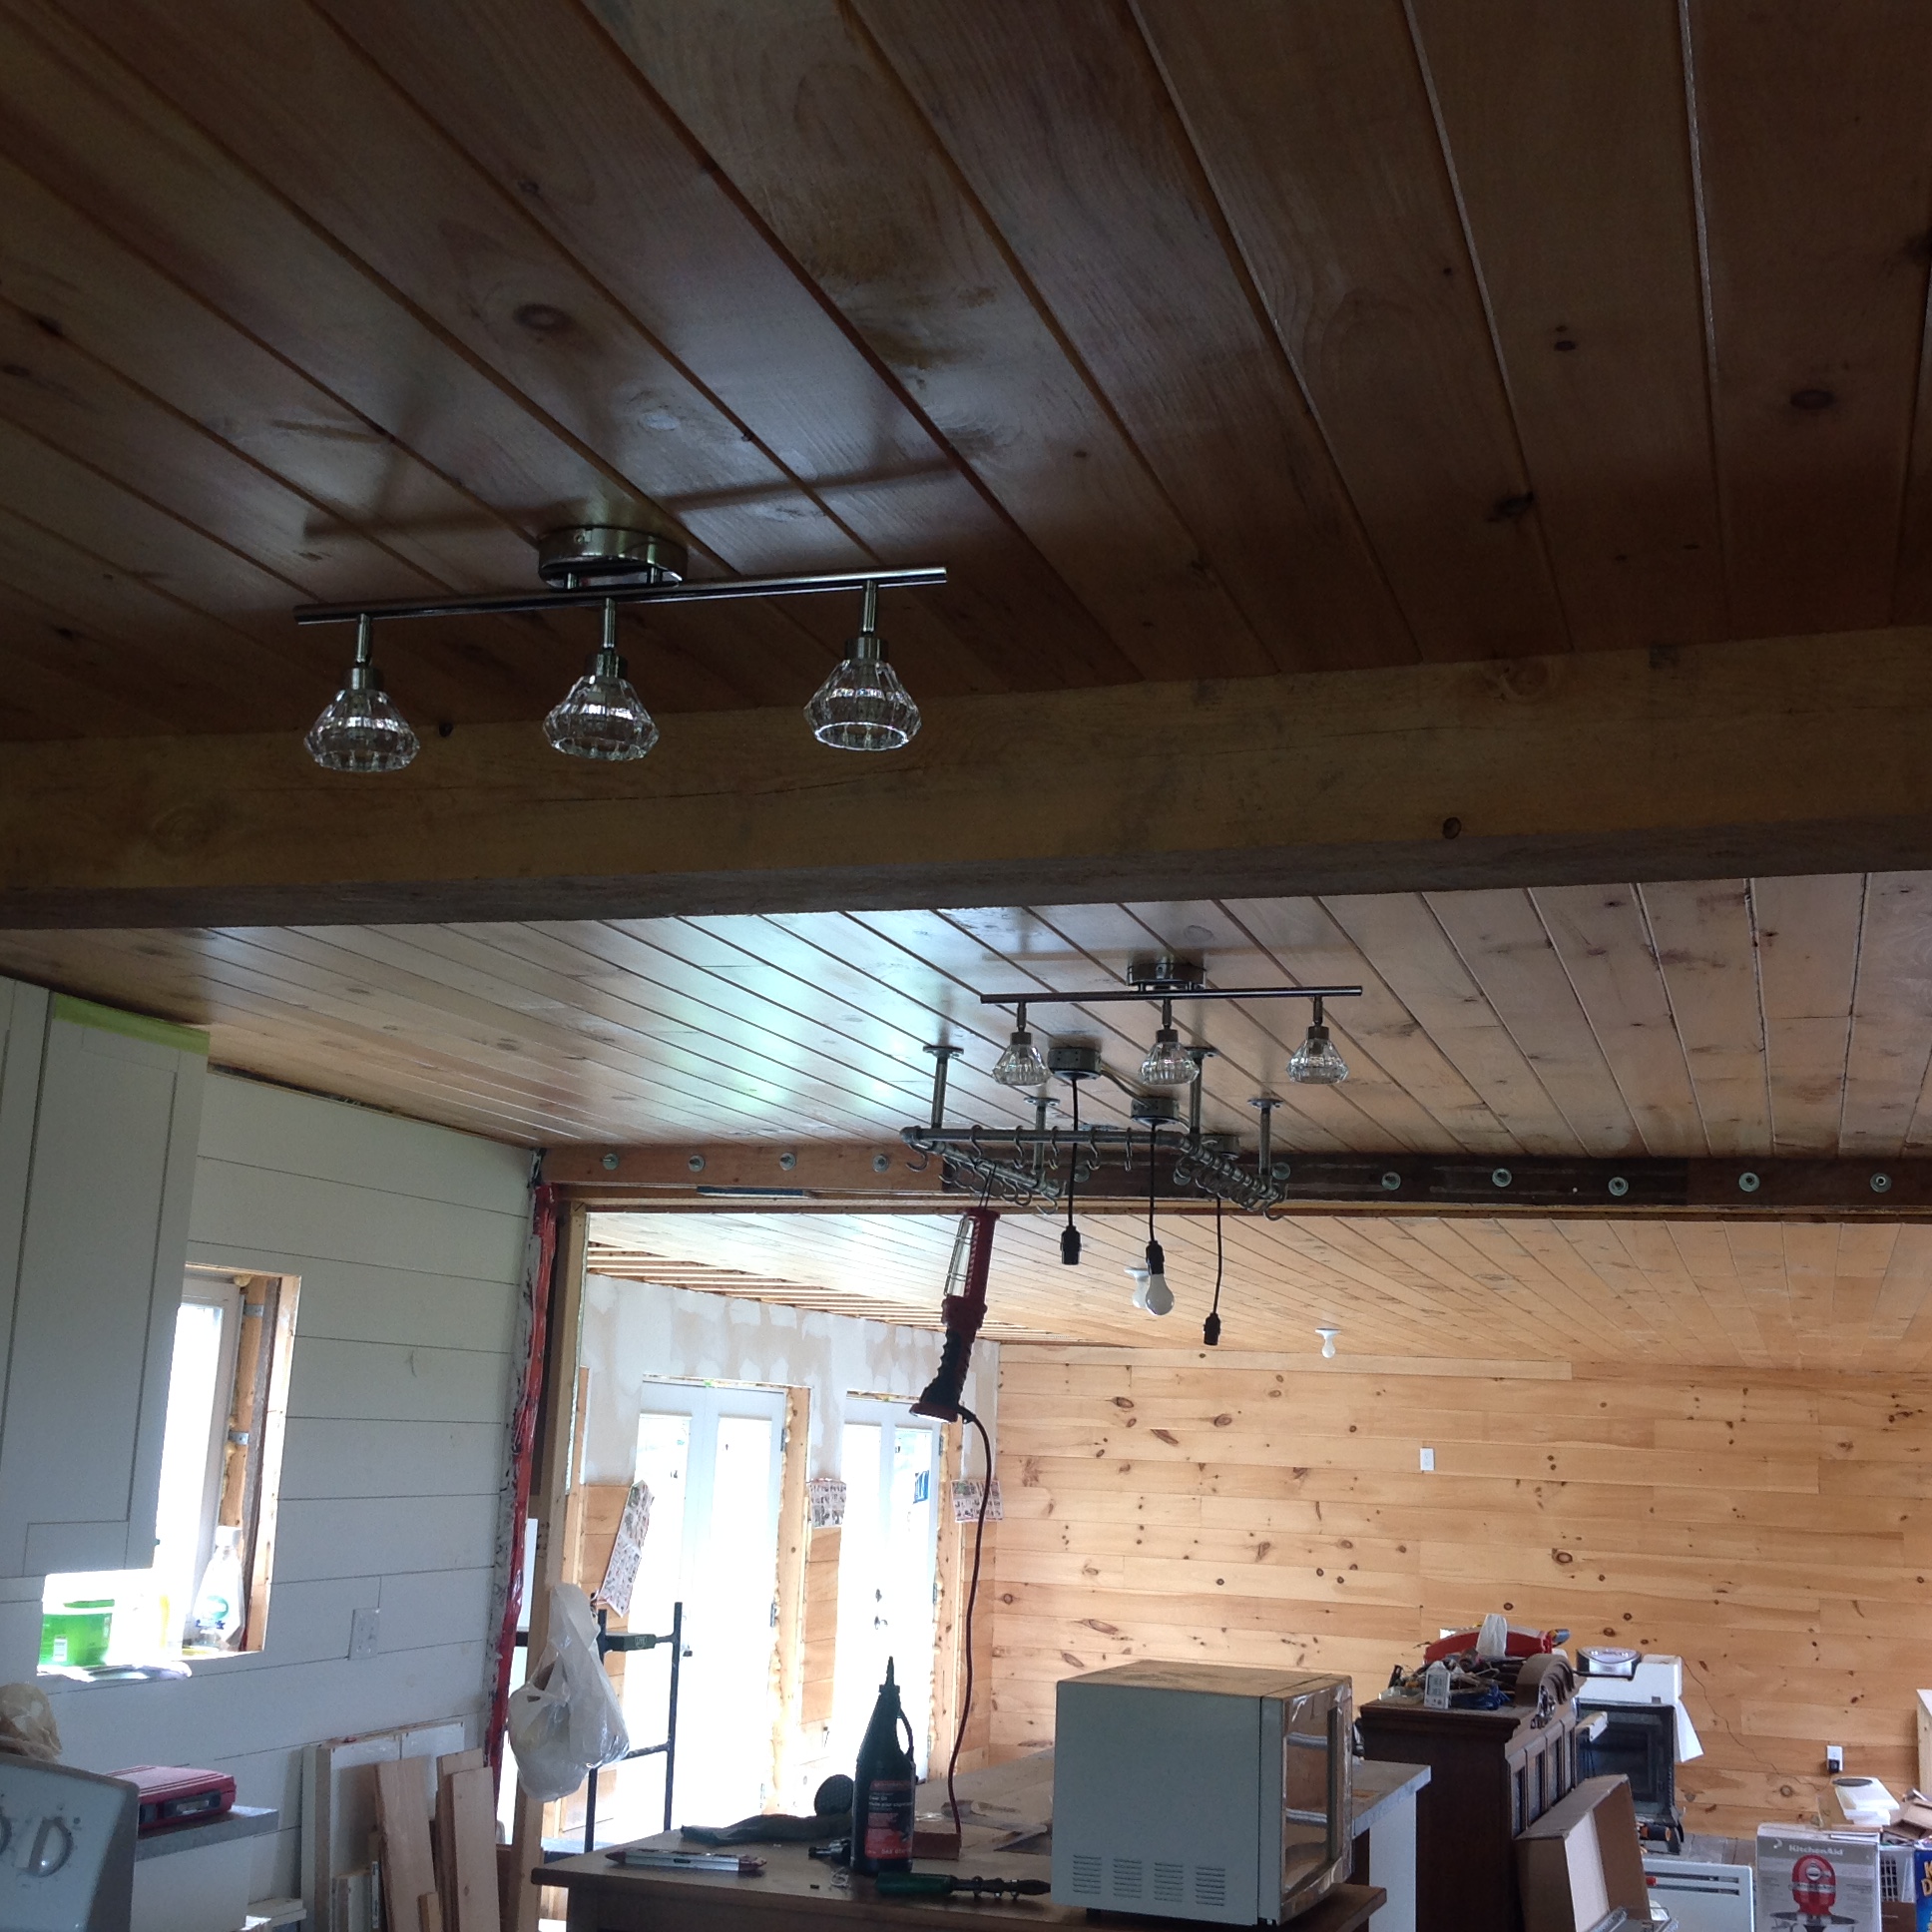
So much light in the kitchen!
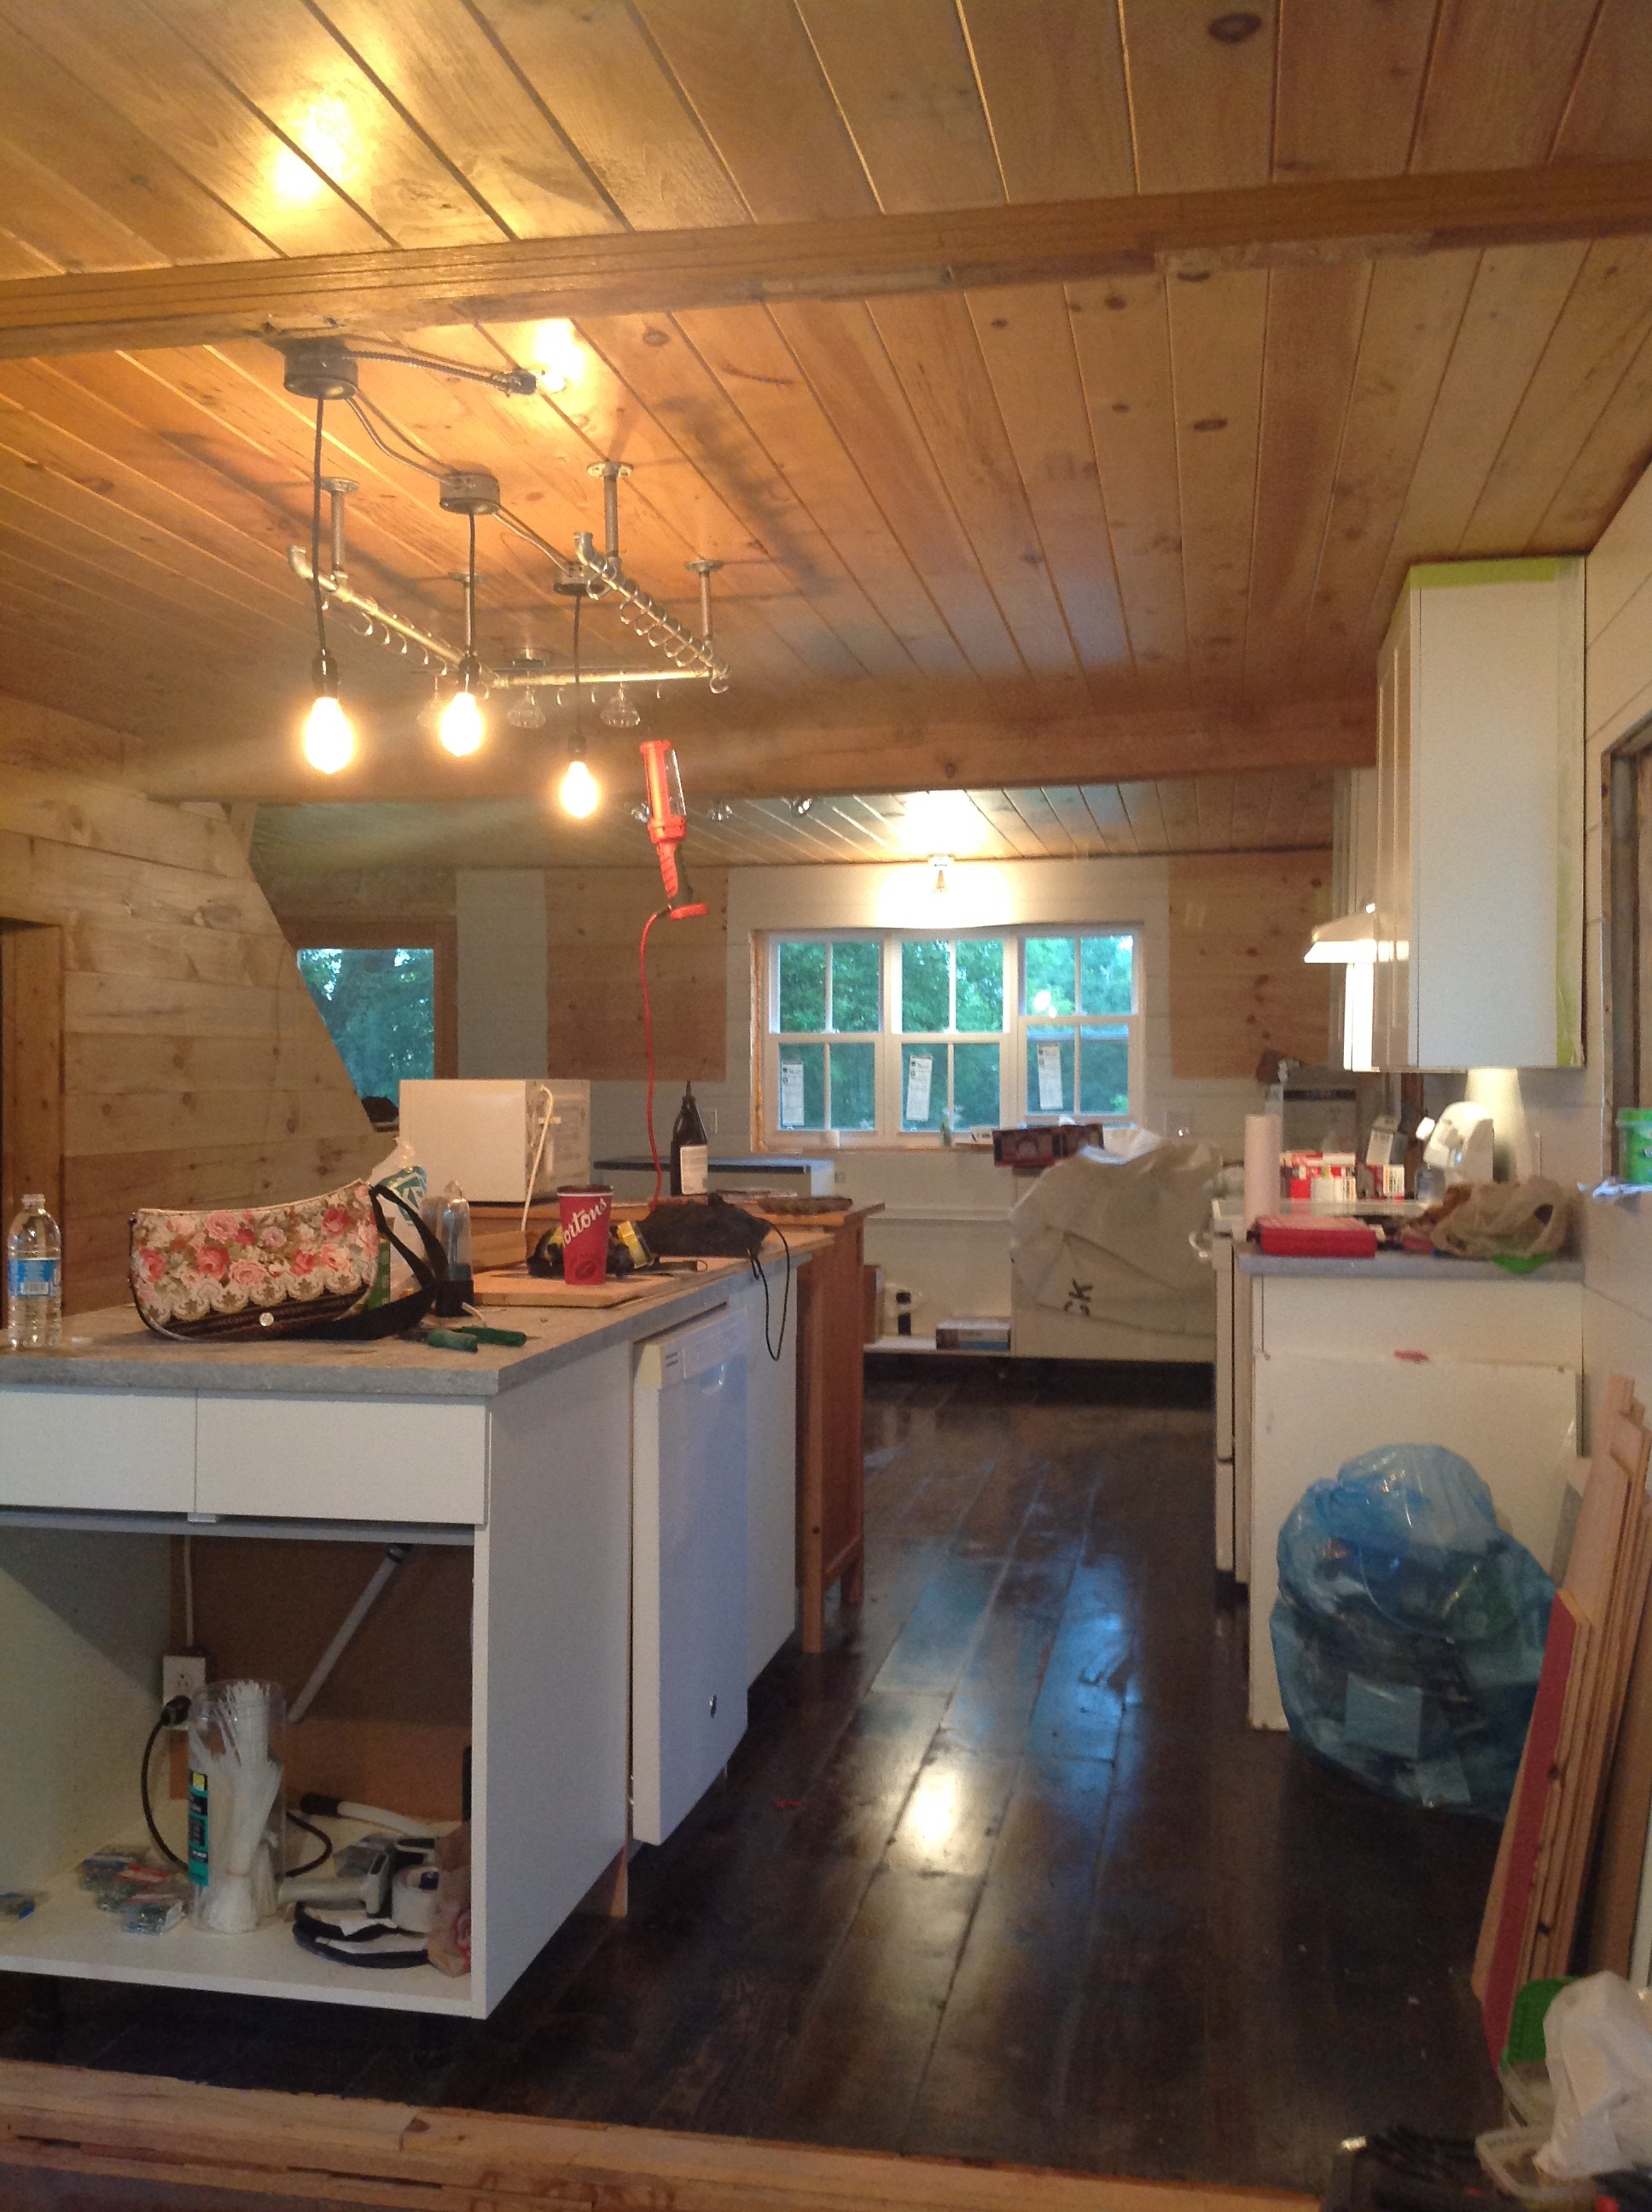
So much light!
And I swear I took more pictures of hall fixtures and a couple bedroom ones. We also have covered electrical sockets and light switches in almost all the rooms!
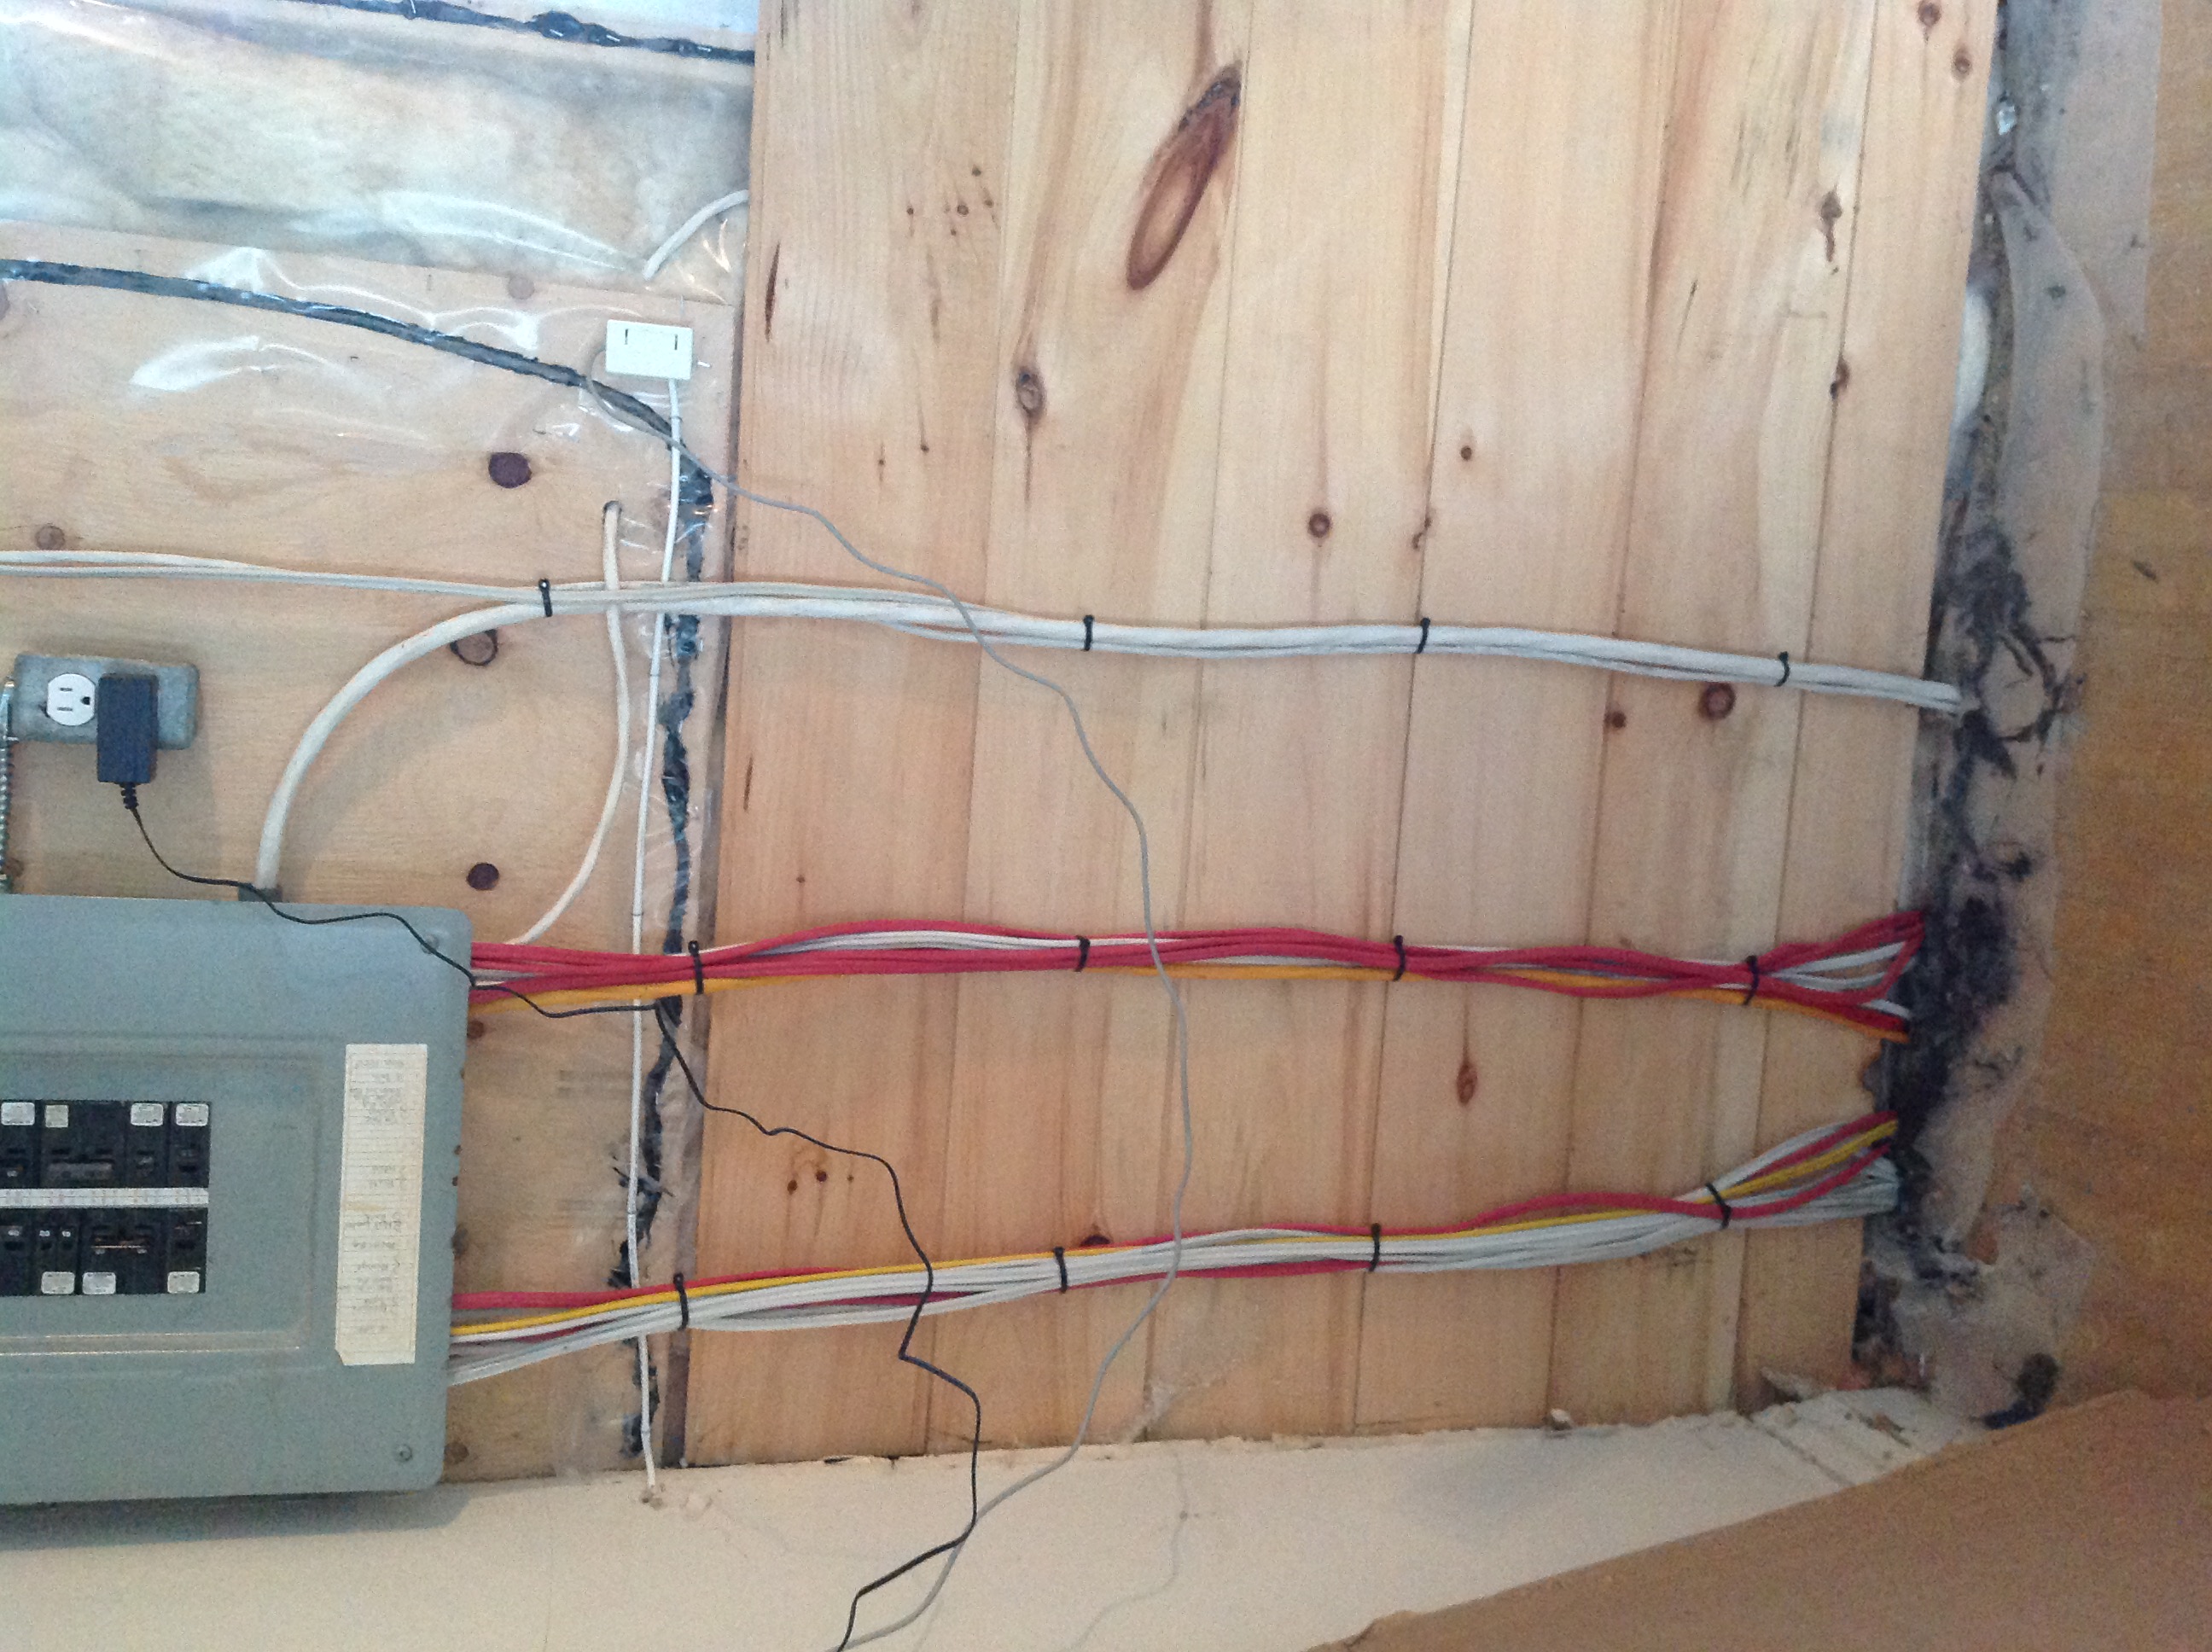
After they re-did the wiring, Ron said the neatness of this almost brought a tear to his eye. Everything is labelled and we have a clear sense of what needs to be finished. Any room we need right away is mostly done.
Summer yard update 27 Aug 2015 3:23 AM (10 years ago)
Well, we fell behind with updates because we were so busy doing them, there wasn’t time to write. Or we were tired. This stuff is exhausting!
It turns out summer in the country is very green and hot. Luckily, up on the ridge there is a constant breeze.
So, we moved some of the bulbs and plants we found near the front of the house. Those were moved to a carved out space in the back, which quickly sprouted the most clover I had ever seen in one spot. And then the plants took off as well as the weeds.
One weekend I went around with the weed whacker and the next weekend looked like I had never even tried. So many of the established bigger bushes are so overgrown and crowded it is going to take multiple years to get it sorted out. For now, we are in clean up and maintenance mode, cataloguing what we have and deciding what to do with it all.
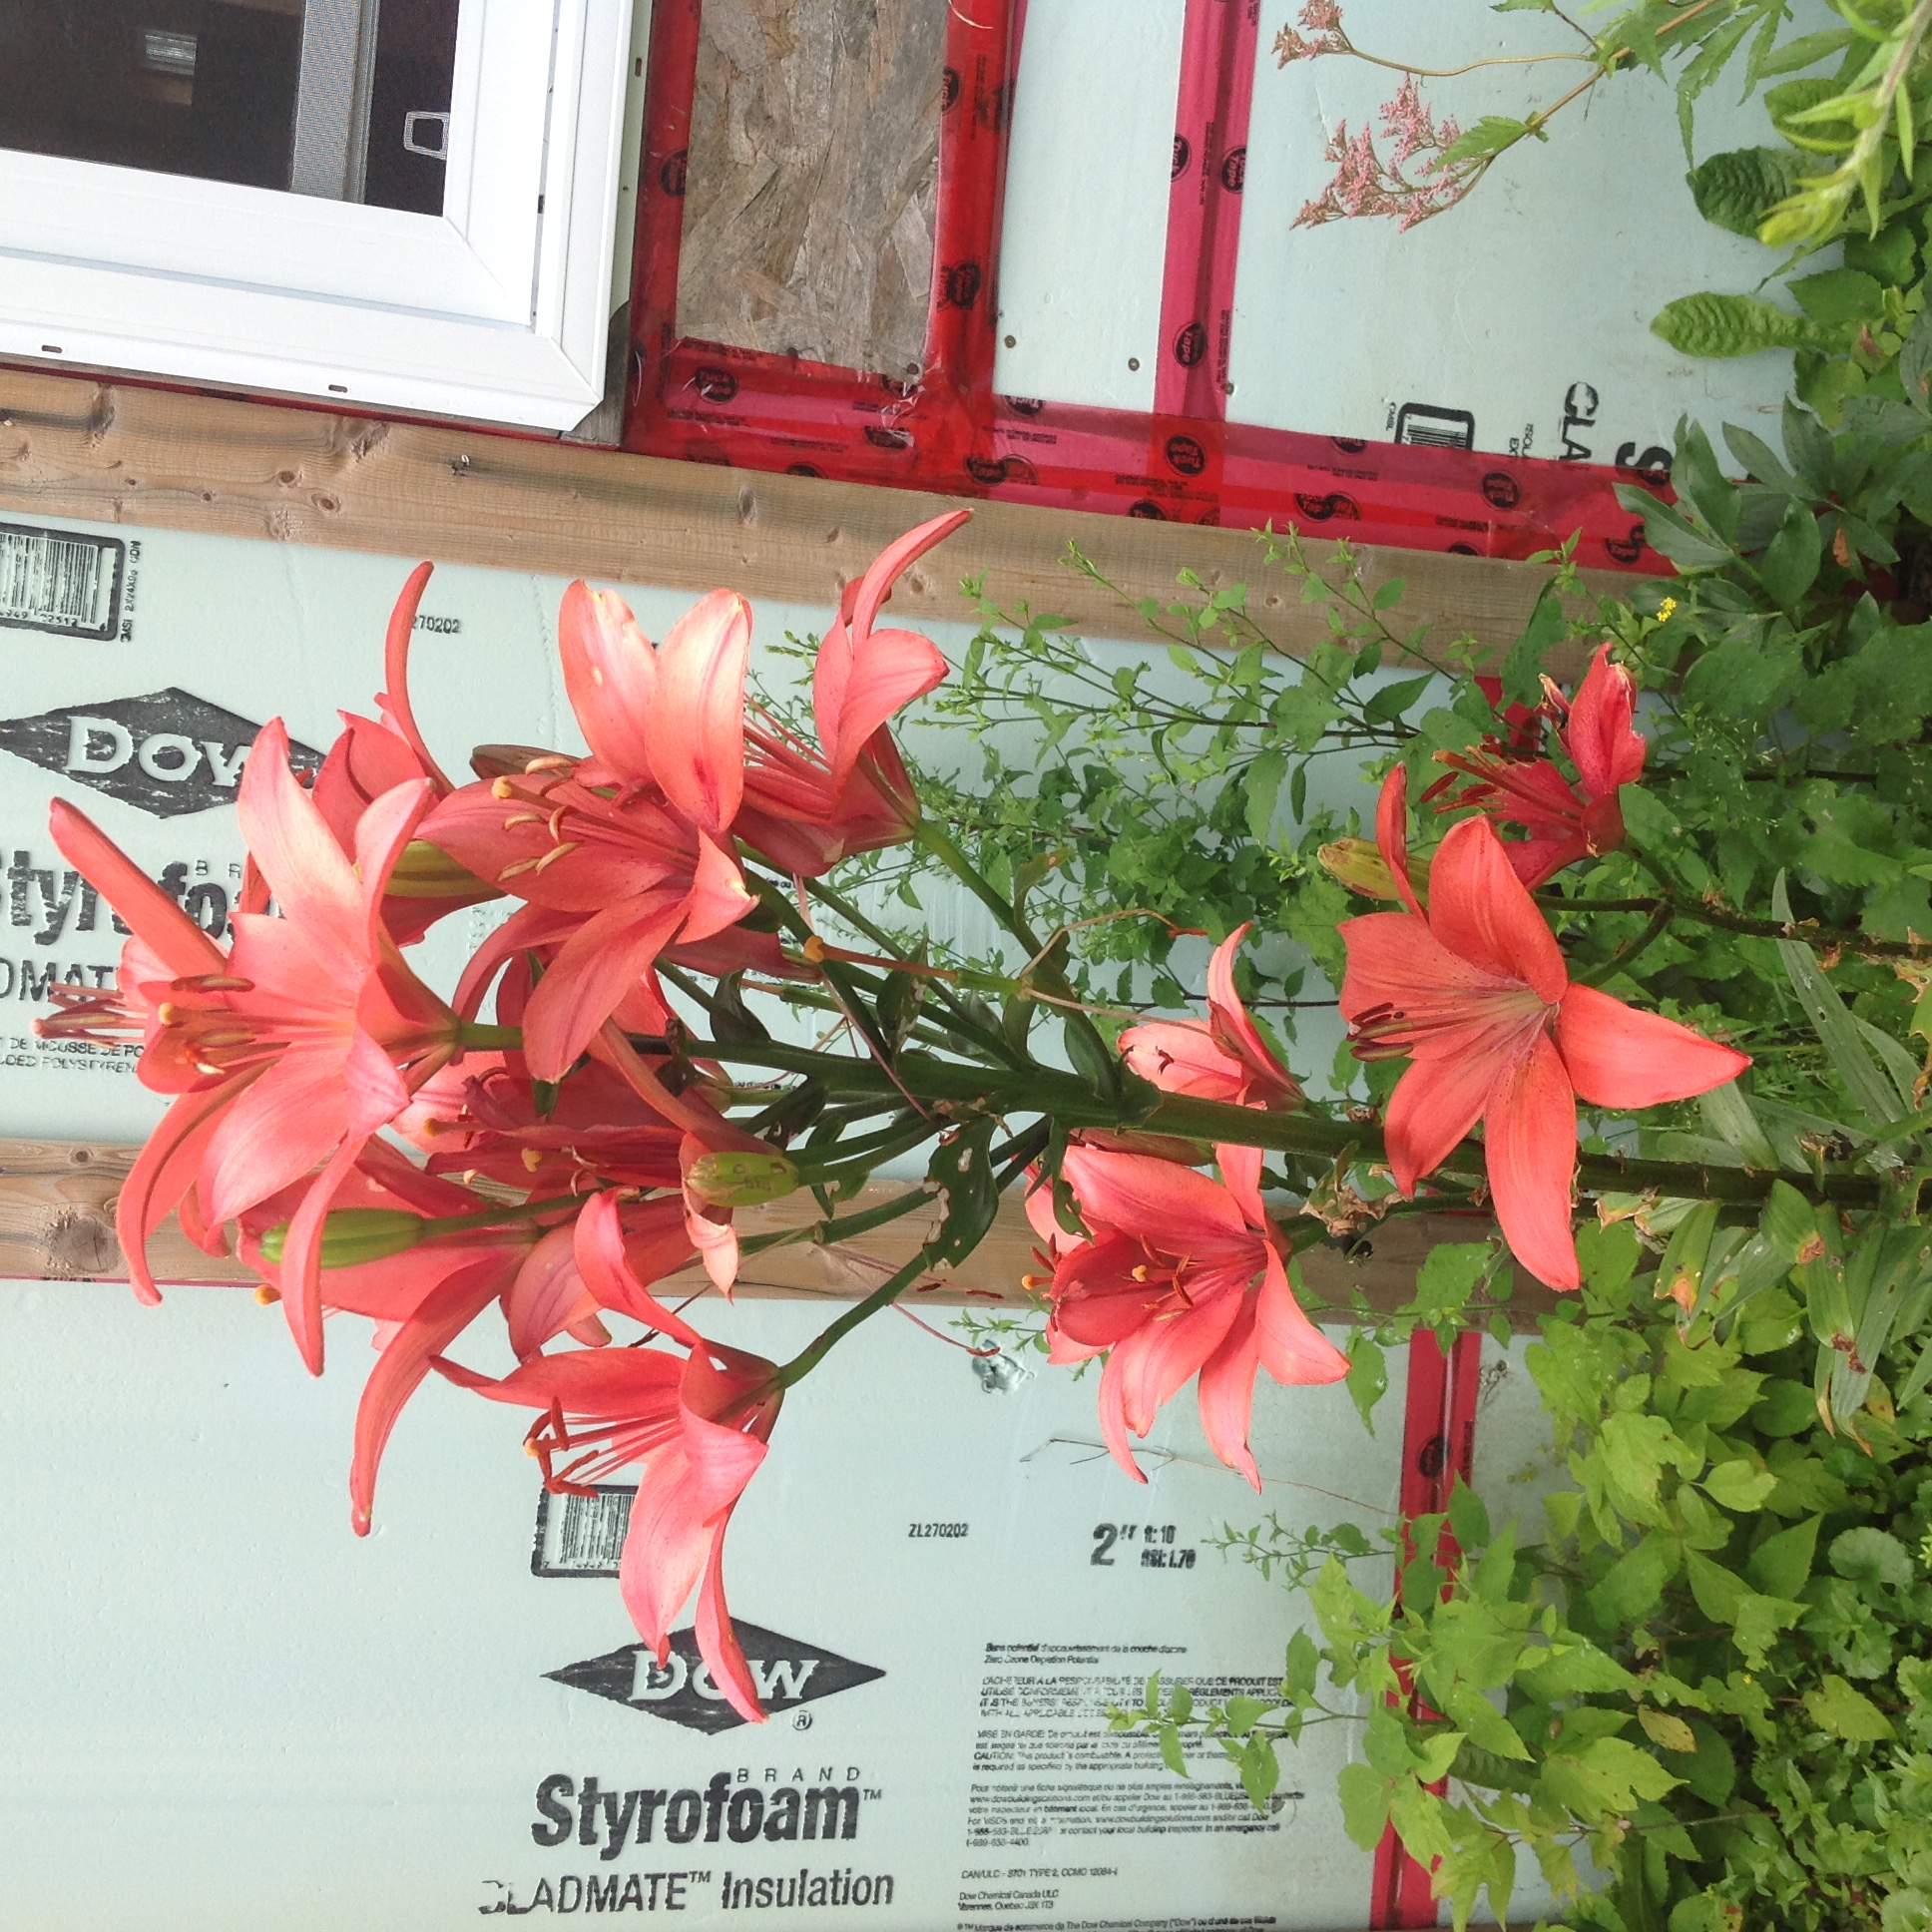
Below is a gallery of flower pictures taken over the summer. Included are, in no particular order:
– six varieties of peony
– bleeding hearts
– two kinds of Astilbe, pink and white
– two or 3 different orange Asiatic lilies
– irises
– three kinds of lilacs
– violets
– forget me nots
– William & Mary
– bee balm
– hosta, which the deer keep eating

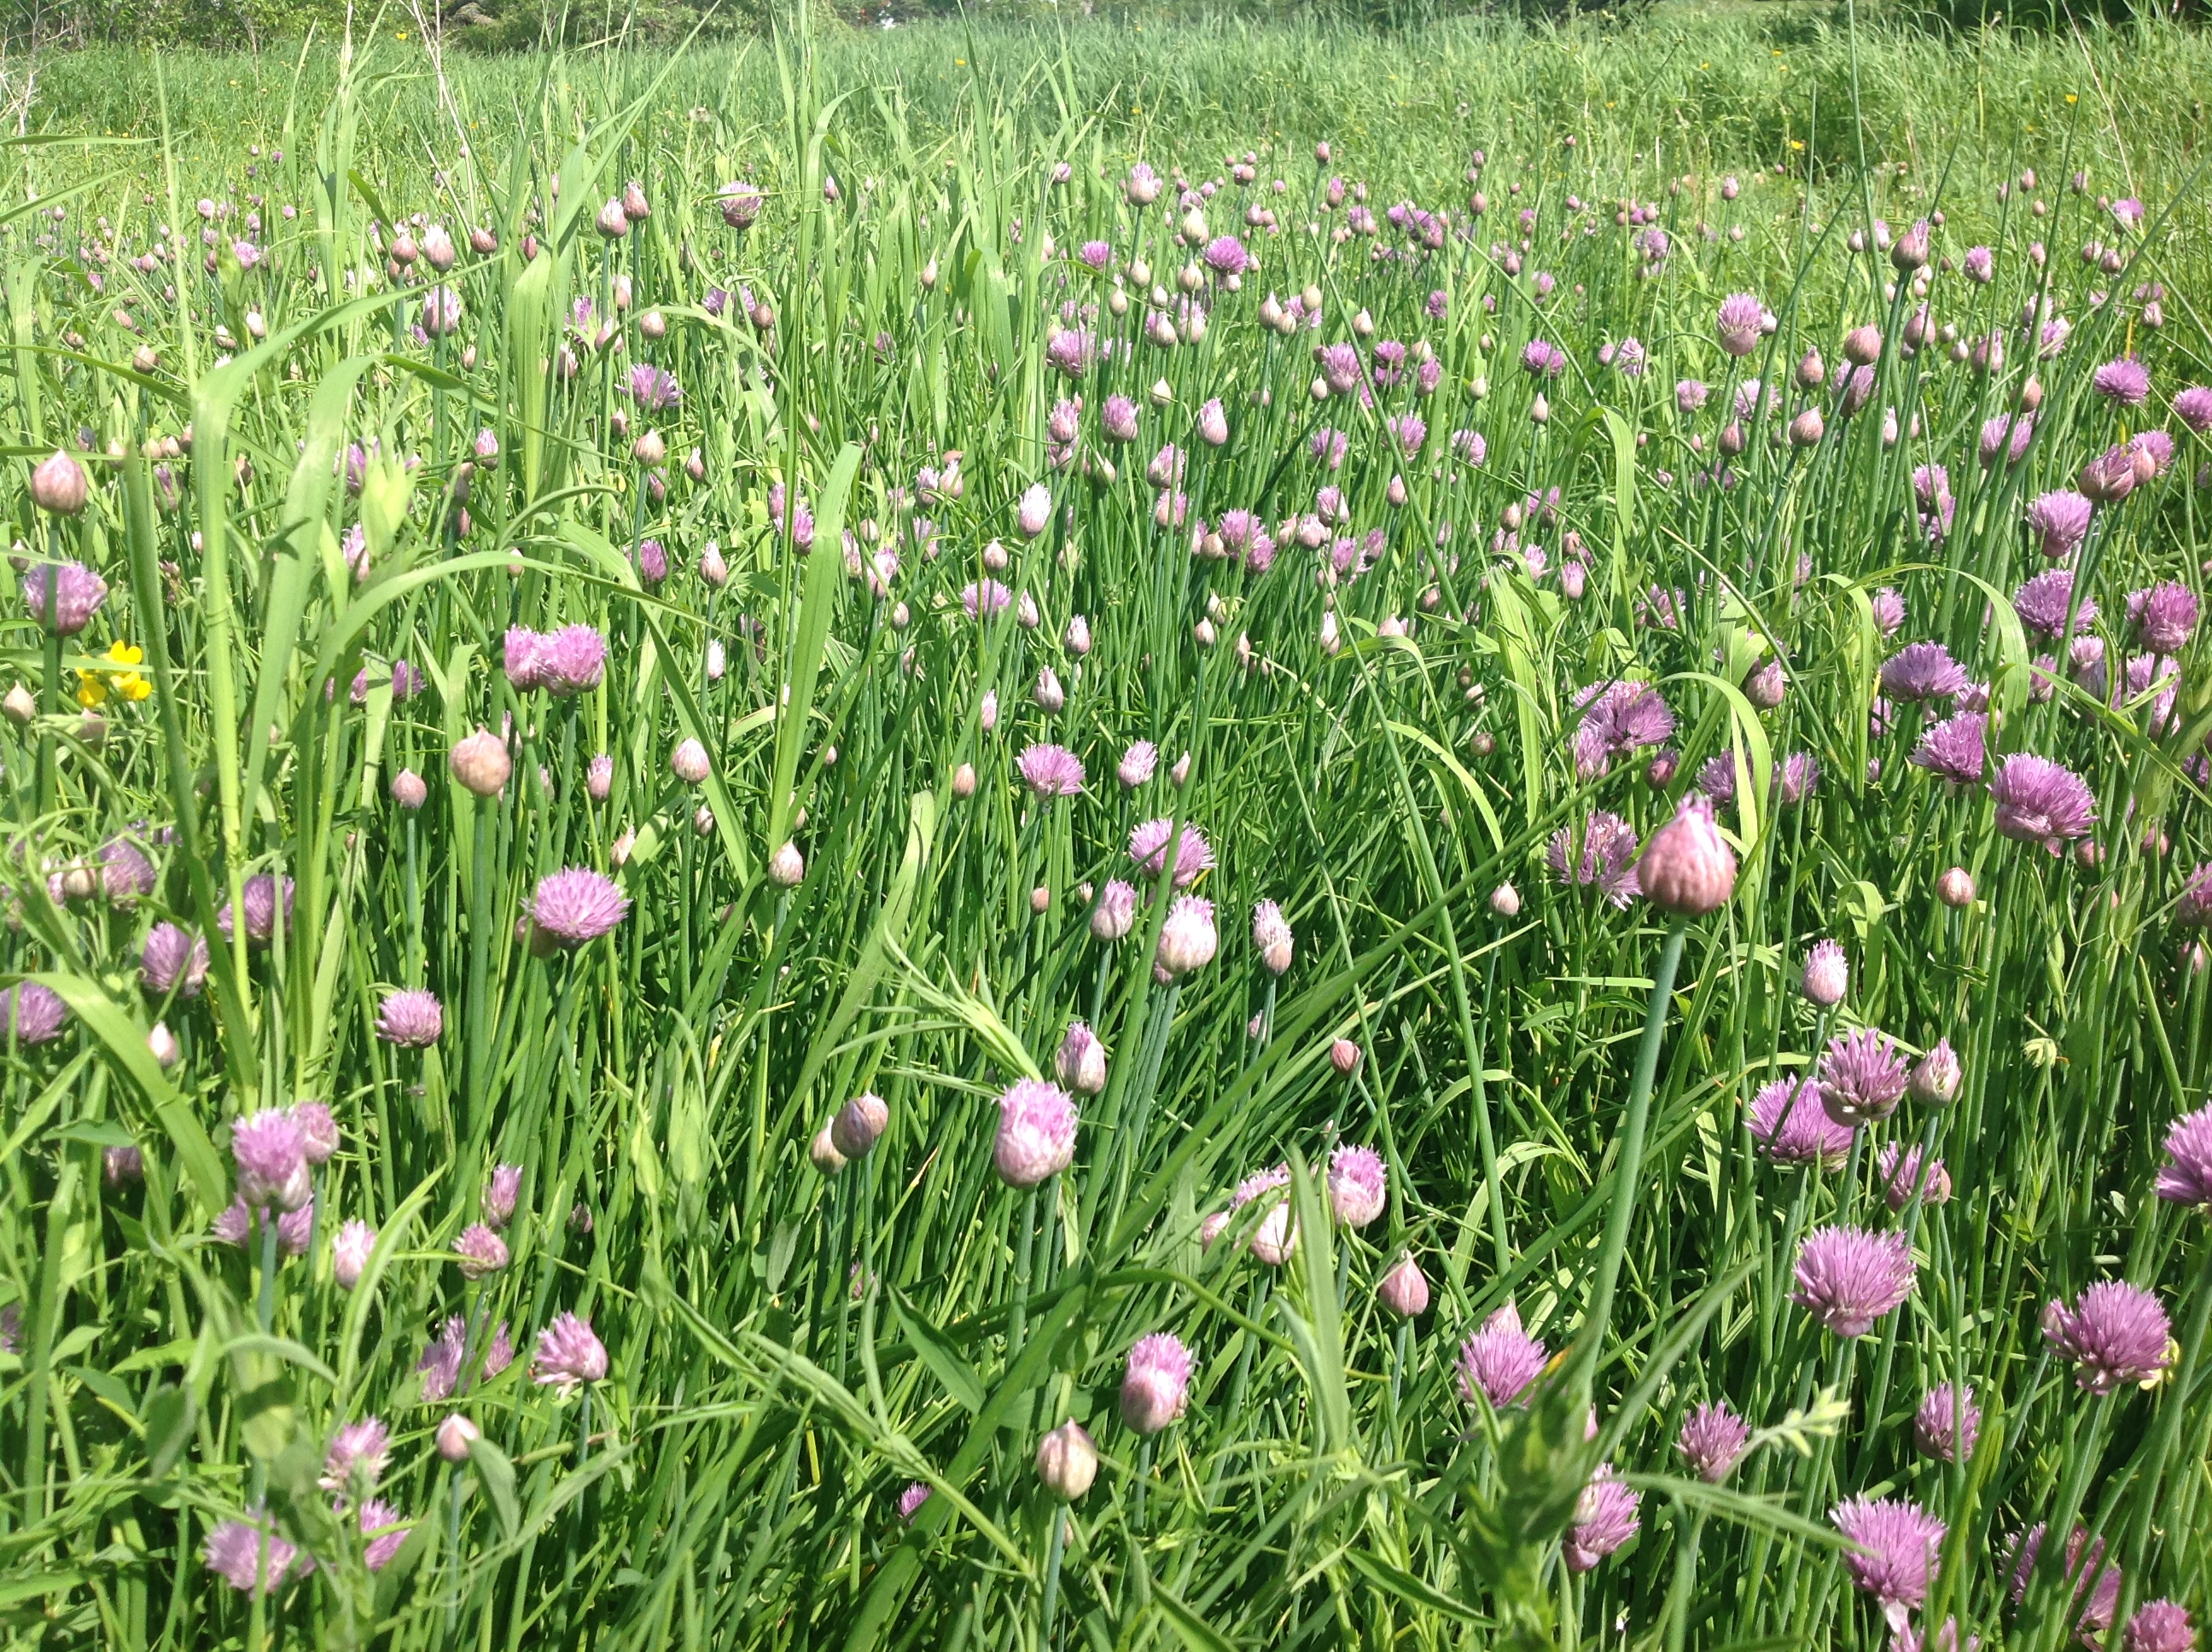


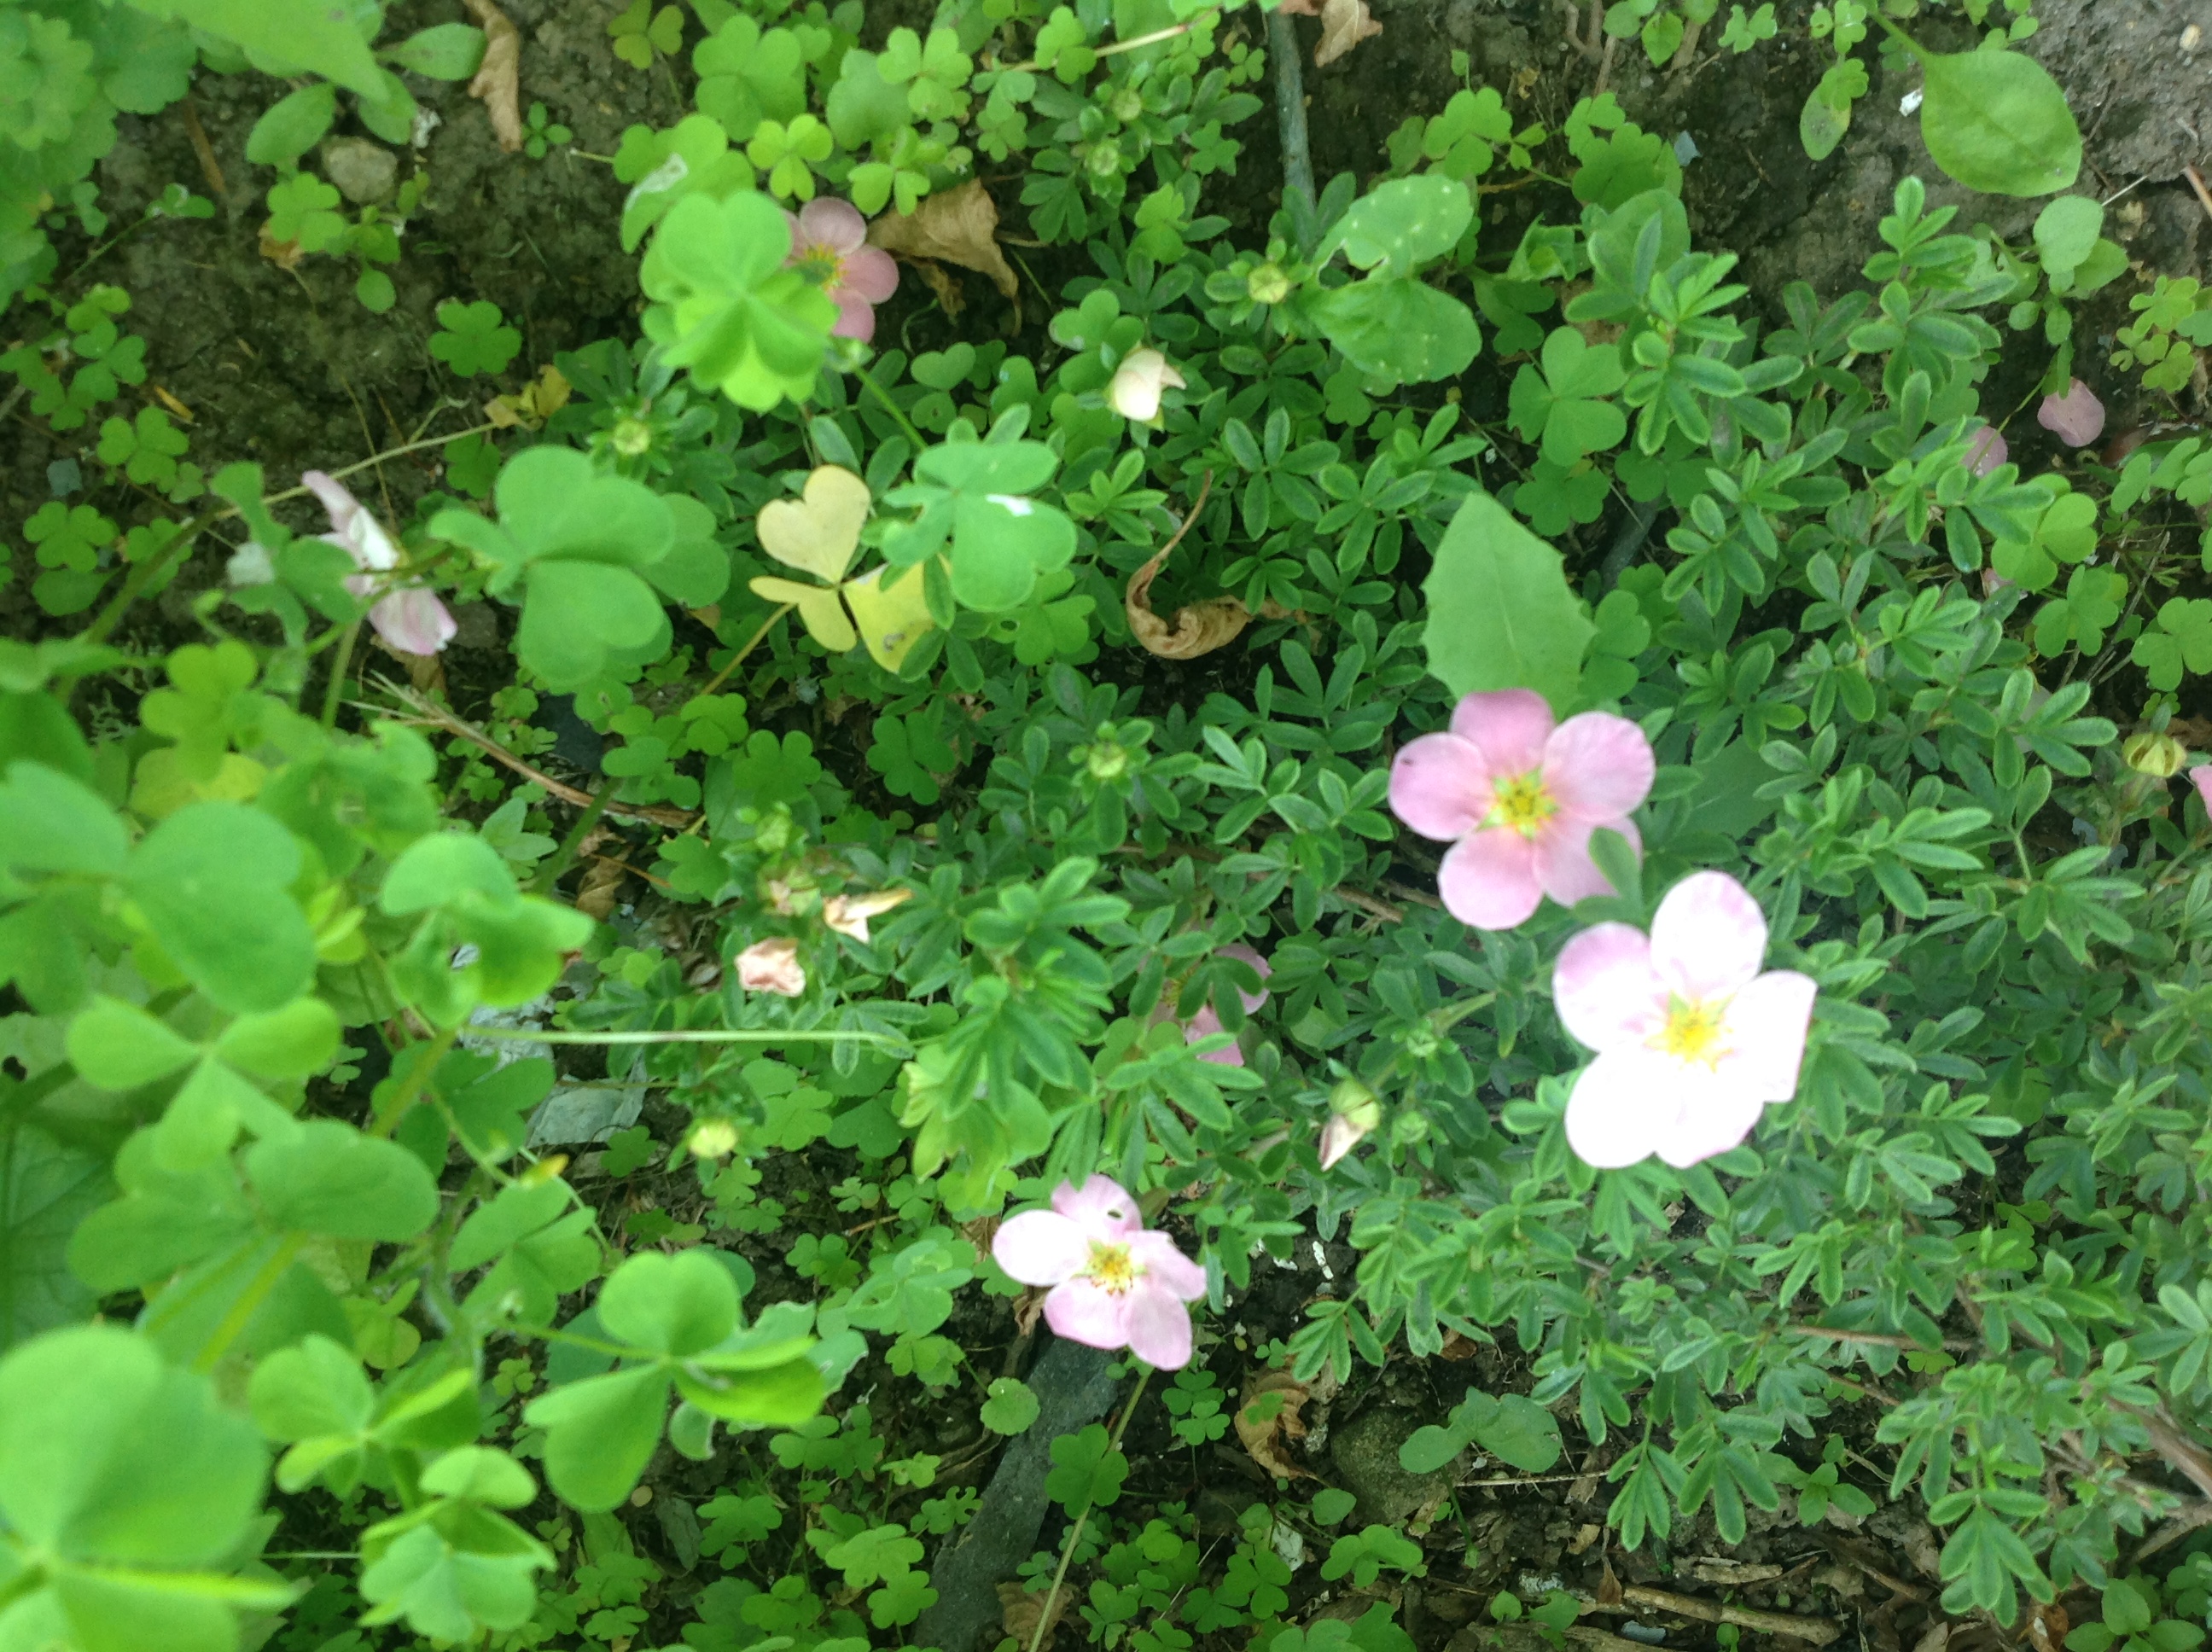
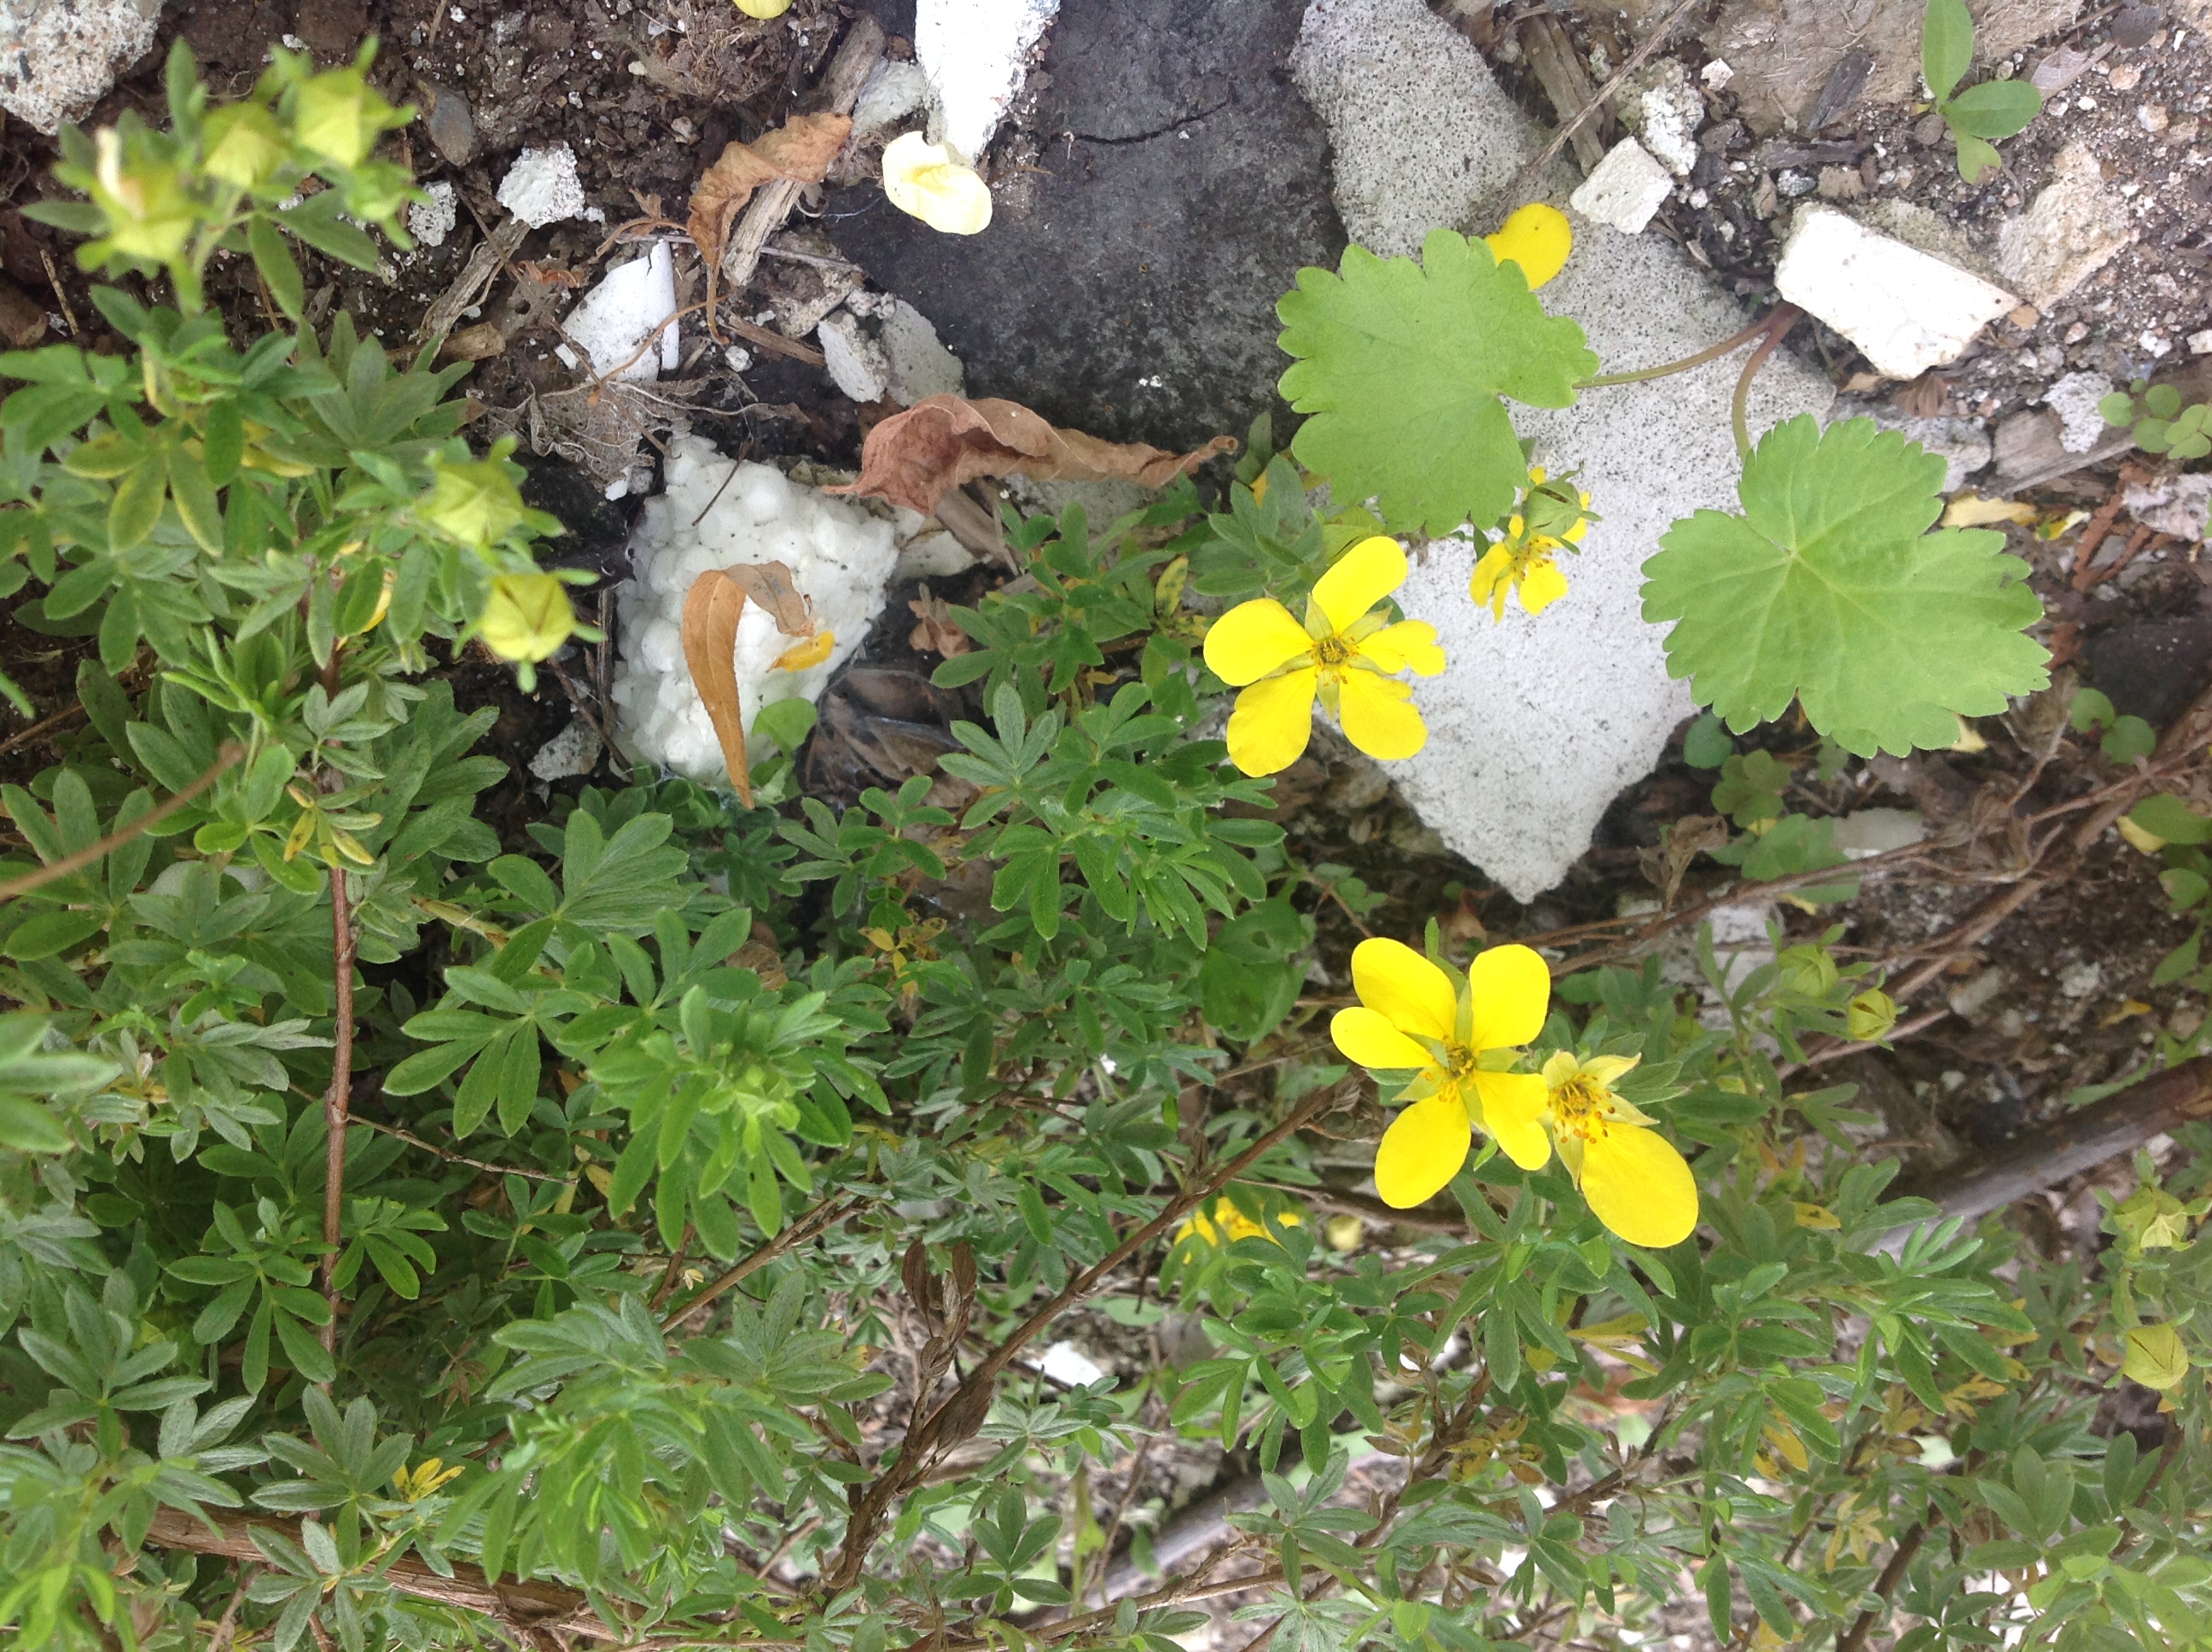


Not included are some that didn’t flower, like the horribly overgrown daffodil bunches, a lone tulip, some potential day lilies (the smaller yellow ones), and the larger rose bush that we moved, which hasn’t fared well. There’s also at least three flowering bushes I haven’t been able to identify yet.
Also our white hydrangea tree has recently bloomed. I call it a tree because that’s how large it is.
In addition there are 5 or 6 kinds of overgrown apple trees near the house, including a flowering crab, and we recently found a pear tree hiding. While small and somewhat malformed, it does has actual fruit. We also found some commercial strawberry plants that the animals got to before we could, and some raspberry & gooseberry plants we were able to harvest.
One of the biggest issues with all the overgrowth is disease, since the crowding keeps some of them damp and dark enough for all kinds of things to happen. This fall there will be a lot more cleanup and next spring, a LOT more heavy pruning.
Knotweed round one 6 Jun 2015 6:15 PM (10 years ago)
In Mexican Bamboo, I wrote about my preparations for eliminating the swale of Japanese knotweed in our front yard.
Now that it’s early June, it’s had 3-4 weeks to grow. Left alone, most of what is currently there would not grow much more. For the rest of the growing season, it would invest its growing energy in extending its territory. My main goal for this year is to prevent that.
The initial growth period uses up quite a bit of the energy & nutrients stored in the root network. So, I intentionally waited until it had grown to full size to maximize the resource drain before starting at it.
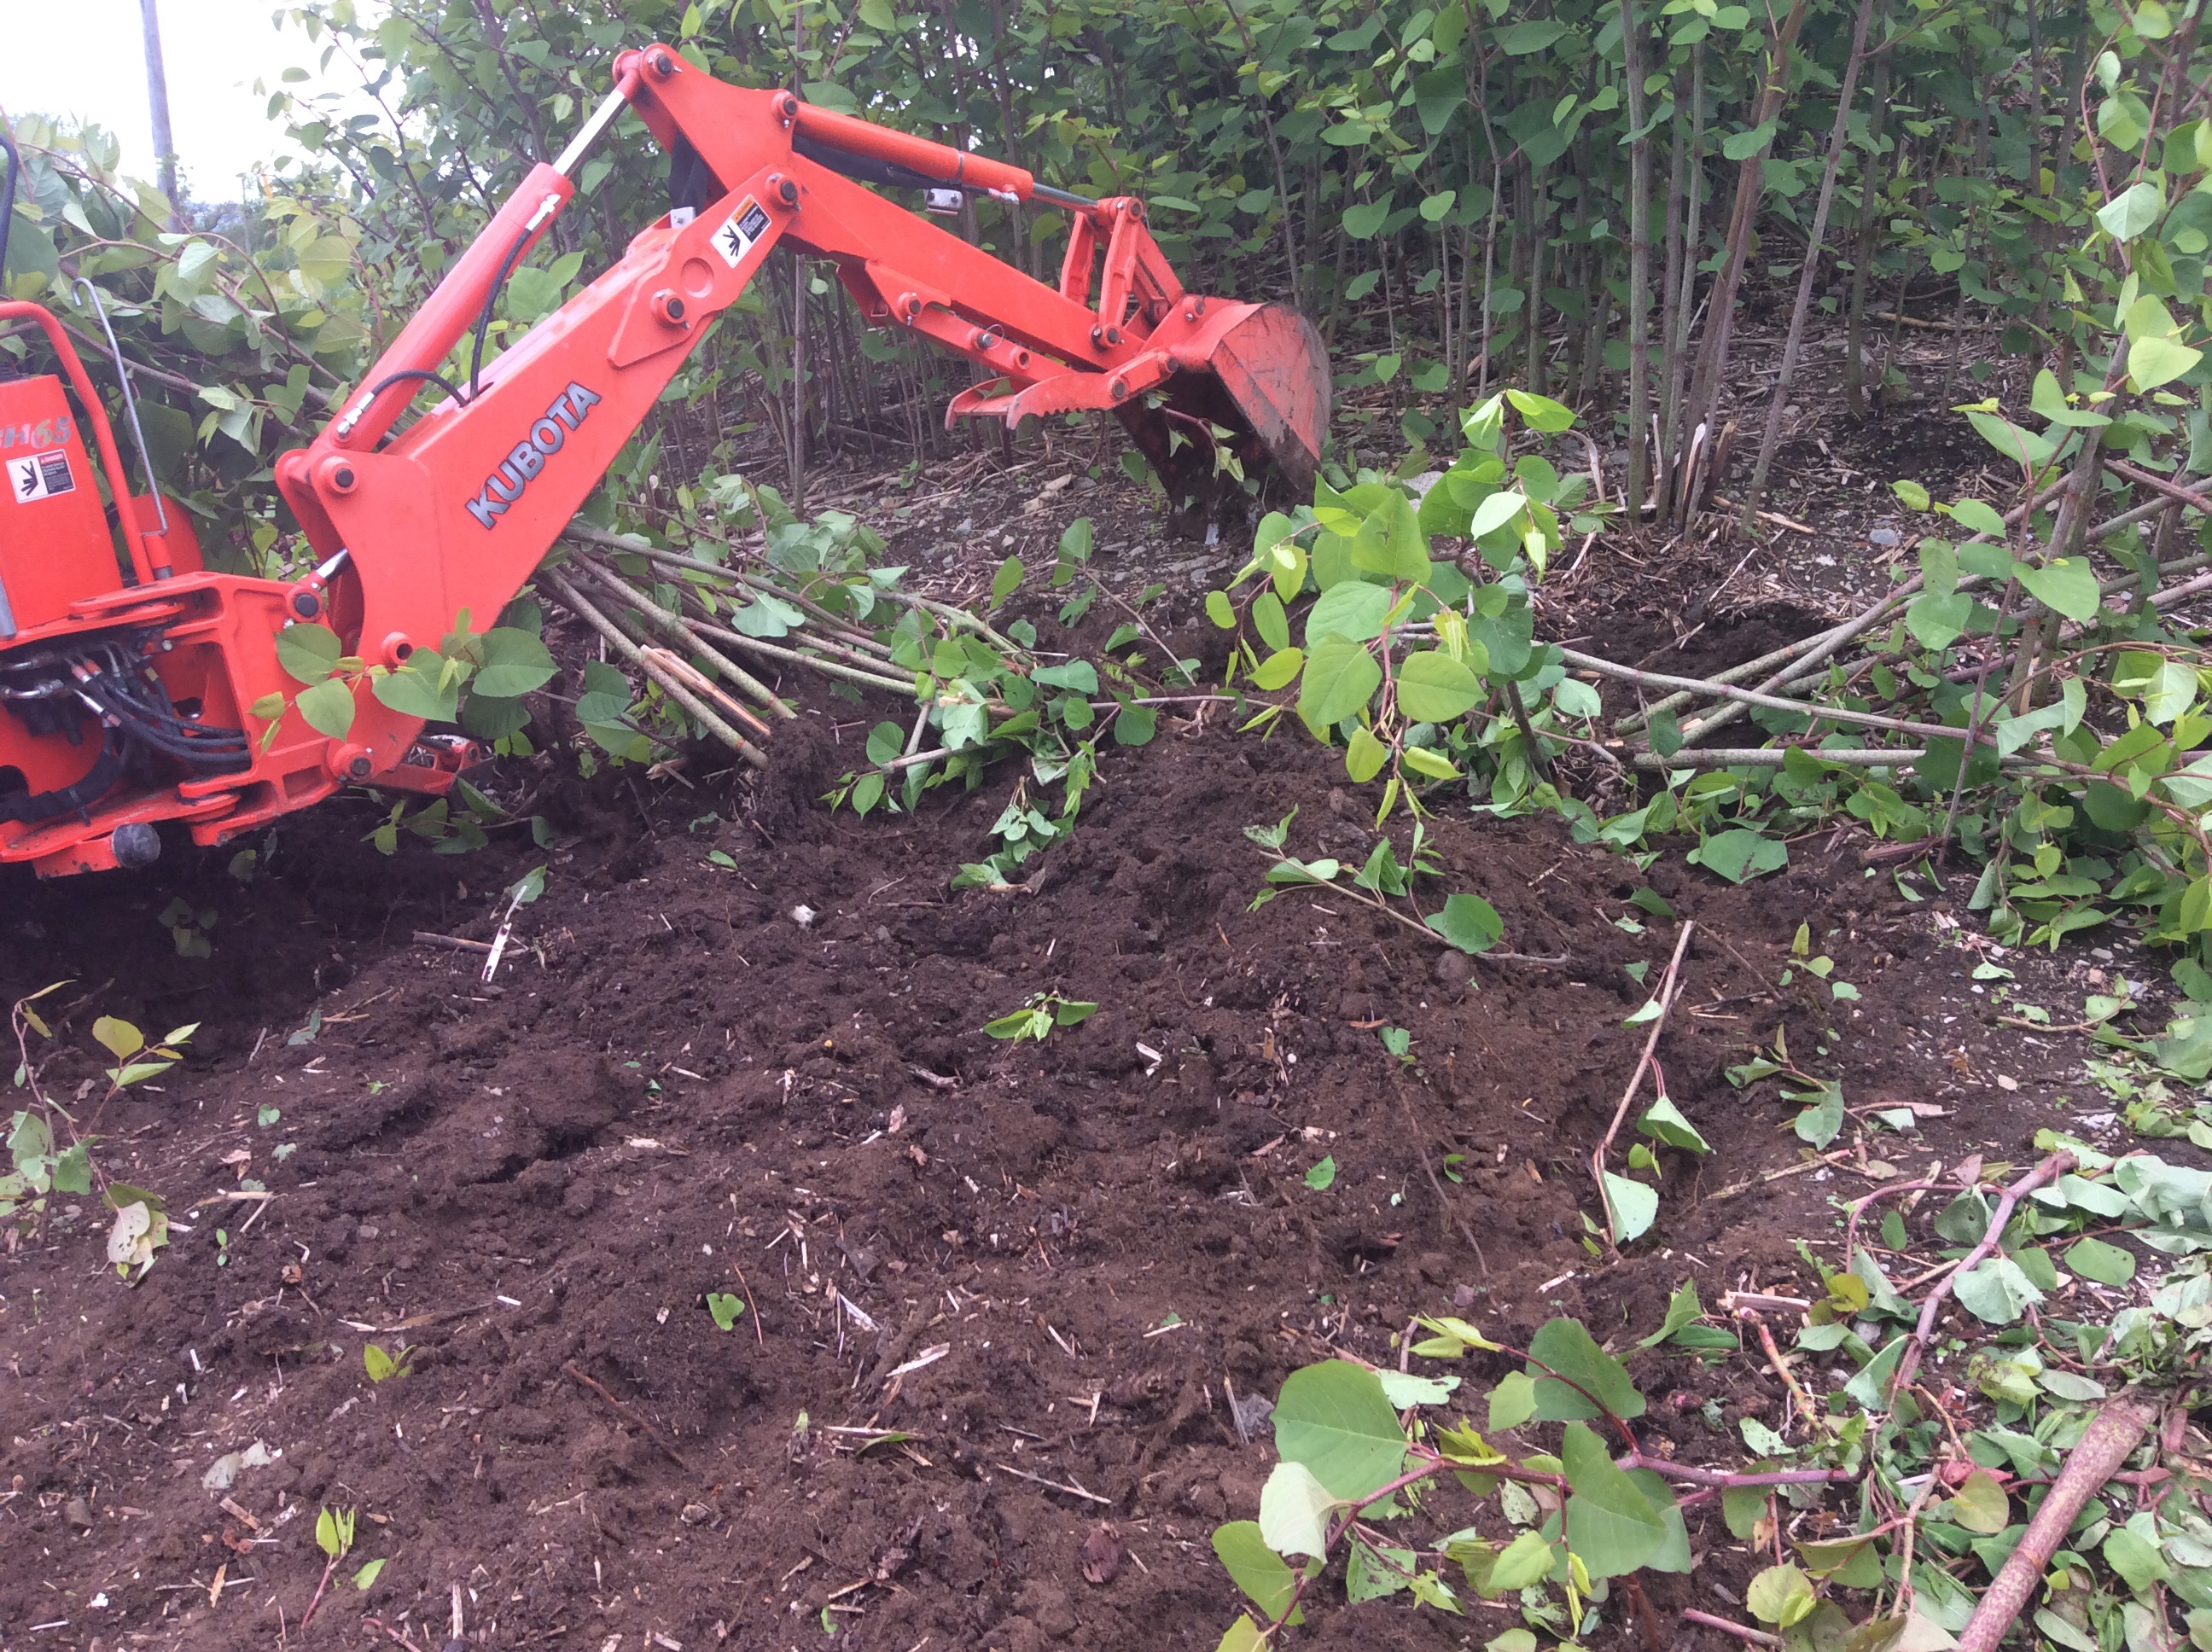
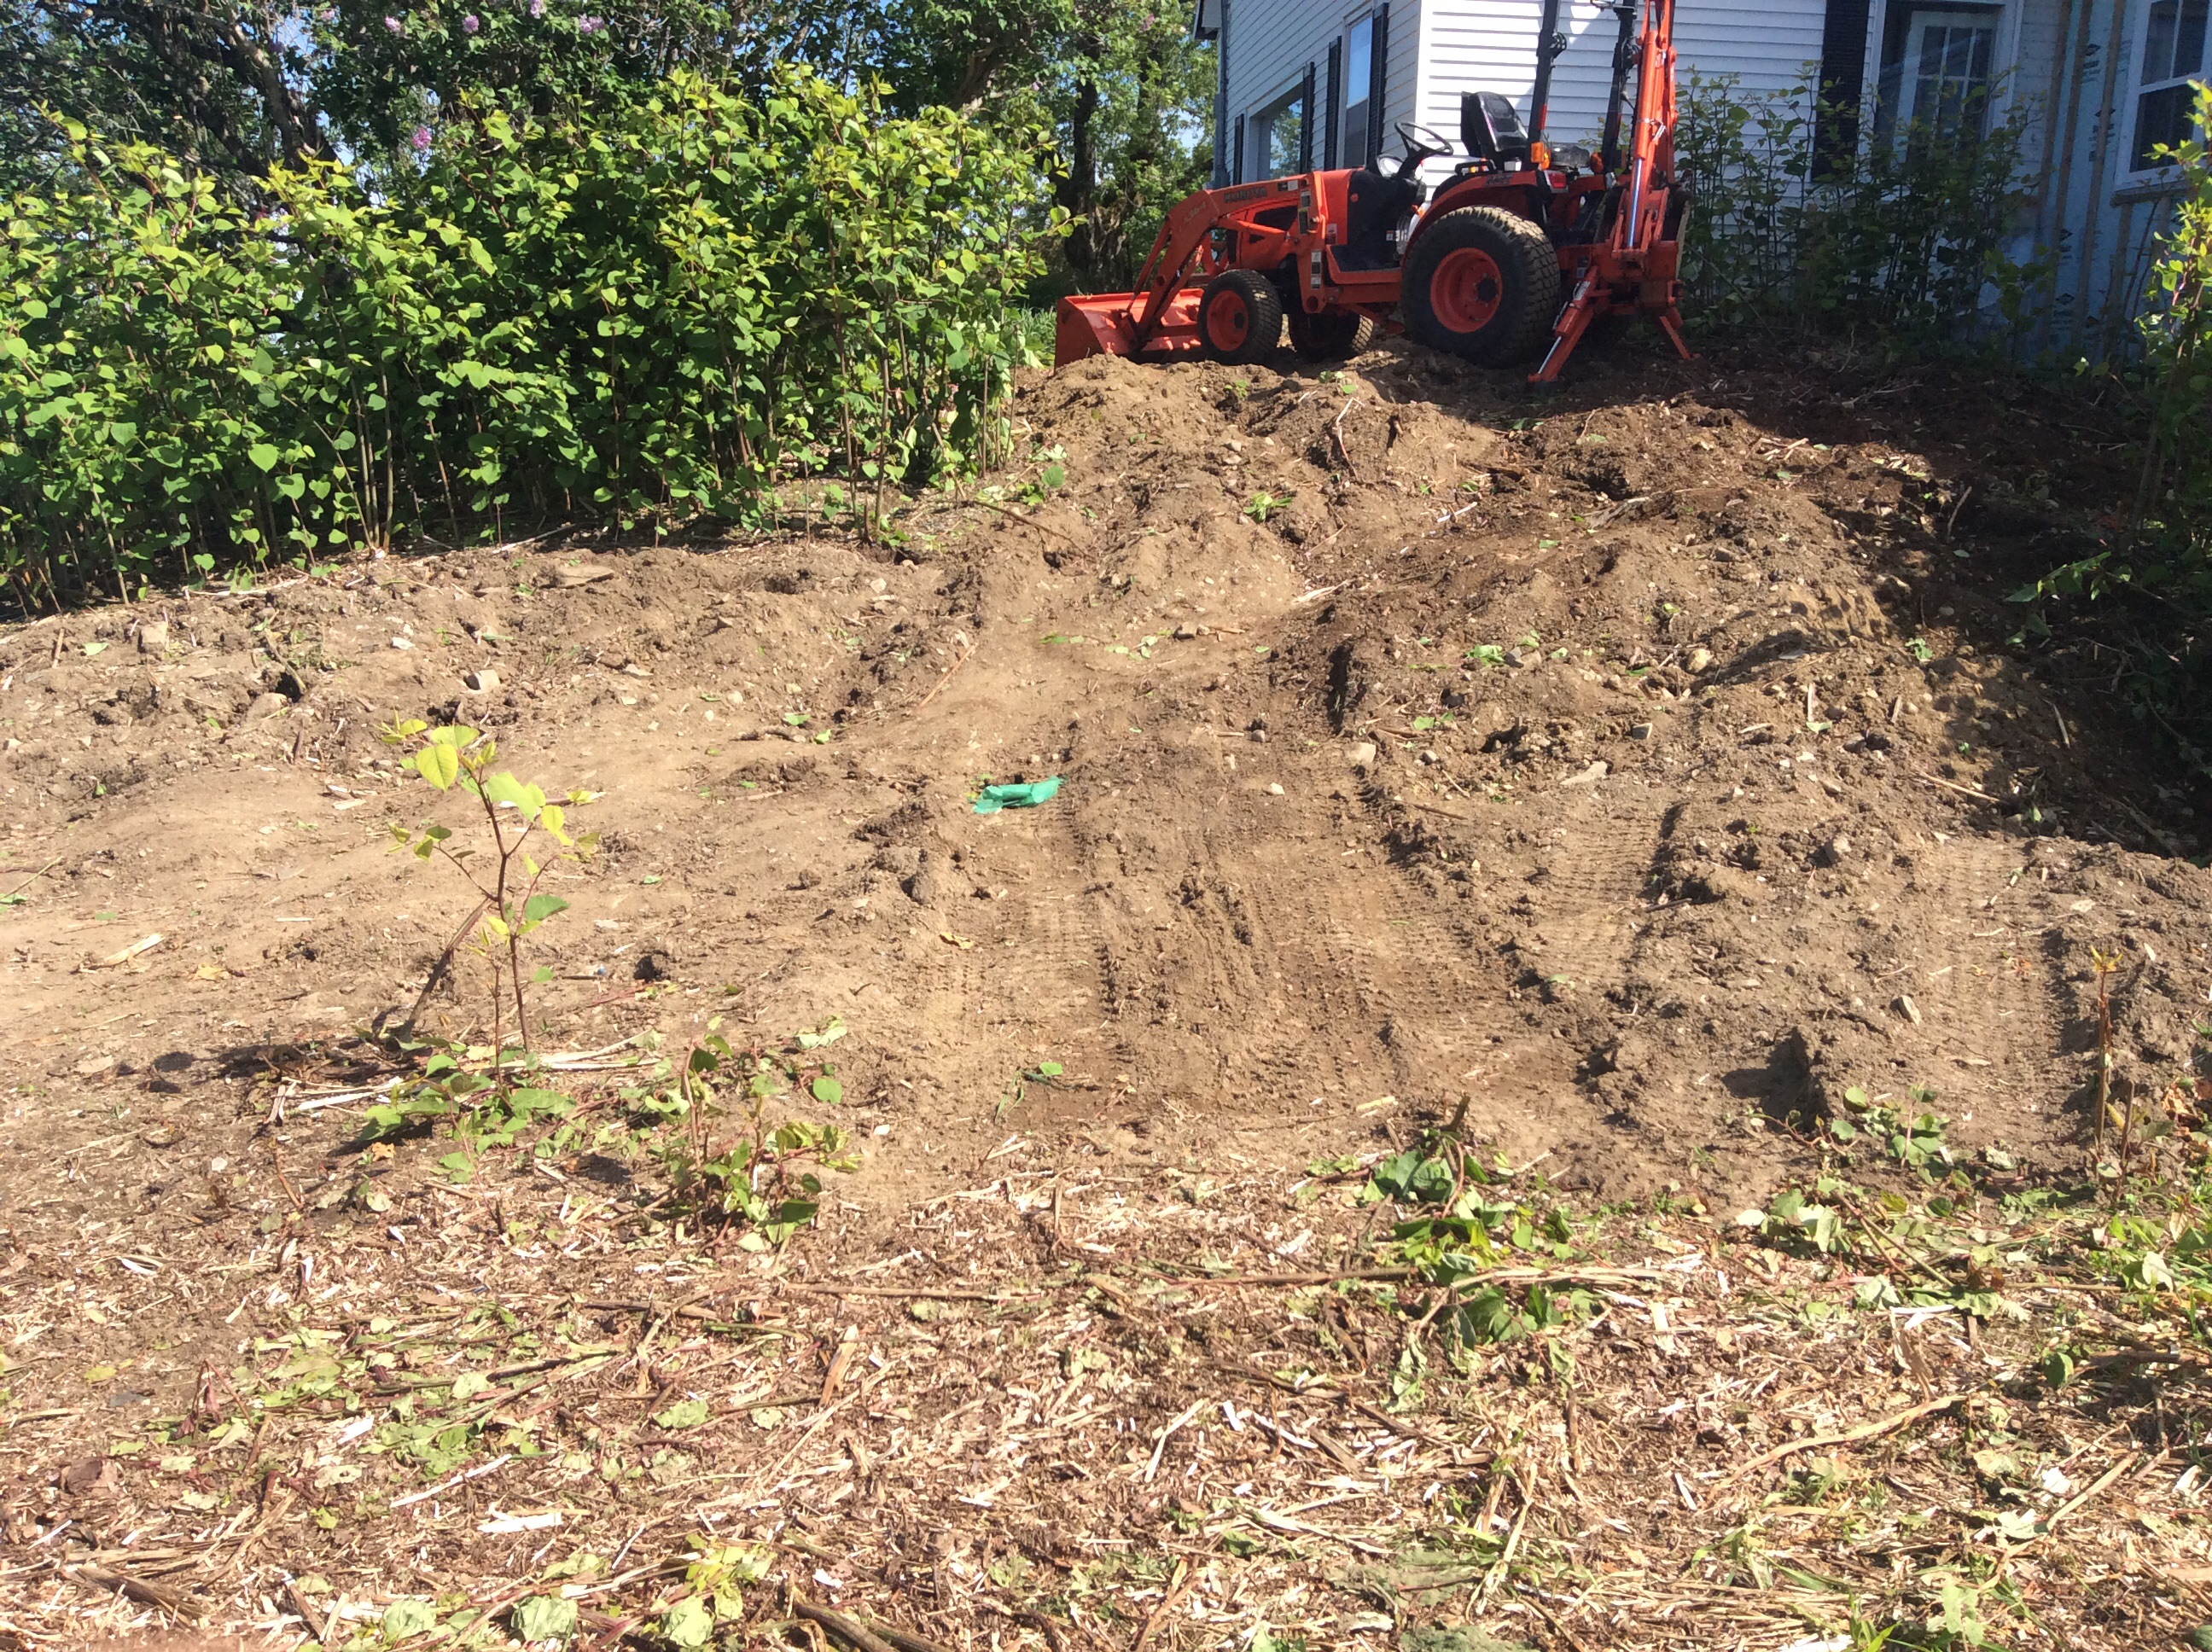
Over the next couple weeks, I’ll rip out all the large stumps and any large roots I can find in the process. This accomplishes 5 things:
- It removes another chunk of the resources stored in the root network. This swale is well established so I’m estimating that the combined loss is going to be about 20% of the stored resources.
- Although breaking up the root network means there are lots of pieces of root to grow over time, each piece has limited resources to grow a new plant making it easier to exhaust.
- A secondary benefit of breaking up the root system is that the size of the shoot is an indicator of the size of the root. This makes it fairly easy to identify larger roots.
- An established stump can replace a large stock in a few days but smaller shoots growing from buried roots can be cut off every couple weeks with a grass trimmer. The time involved in keeping it cut back is substantially less.
- The knotweed invests its resources into regaining the “lost” territory instead of trying to extend it.
Landscaping prep 1 May 2015 4:25 AM (10 years ago)
Now that the snow is mostly gone and the days aren’t too chilly, we could look around the yard again to see what was growing. The first time we saw the yard was in the dying overgrowth of fall. Now, we could stomp around the yard and try and take the lay of the land while all the grasses were knocked over.
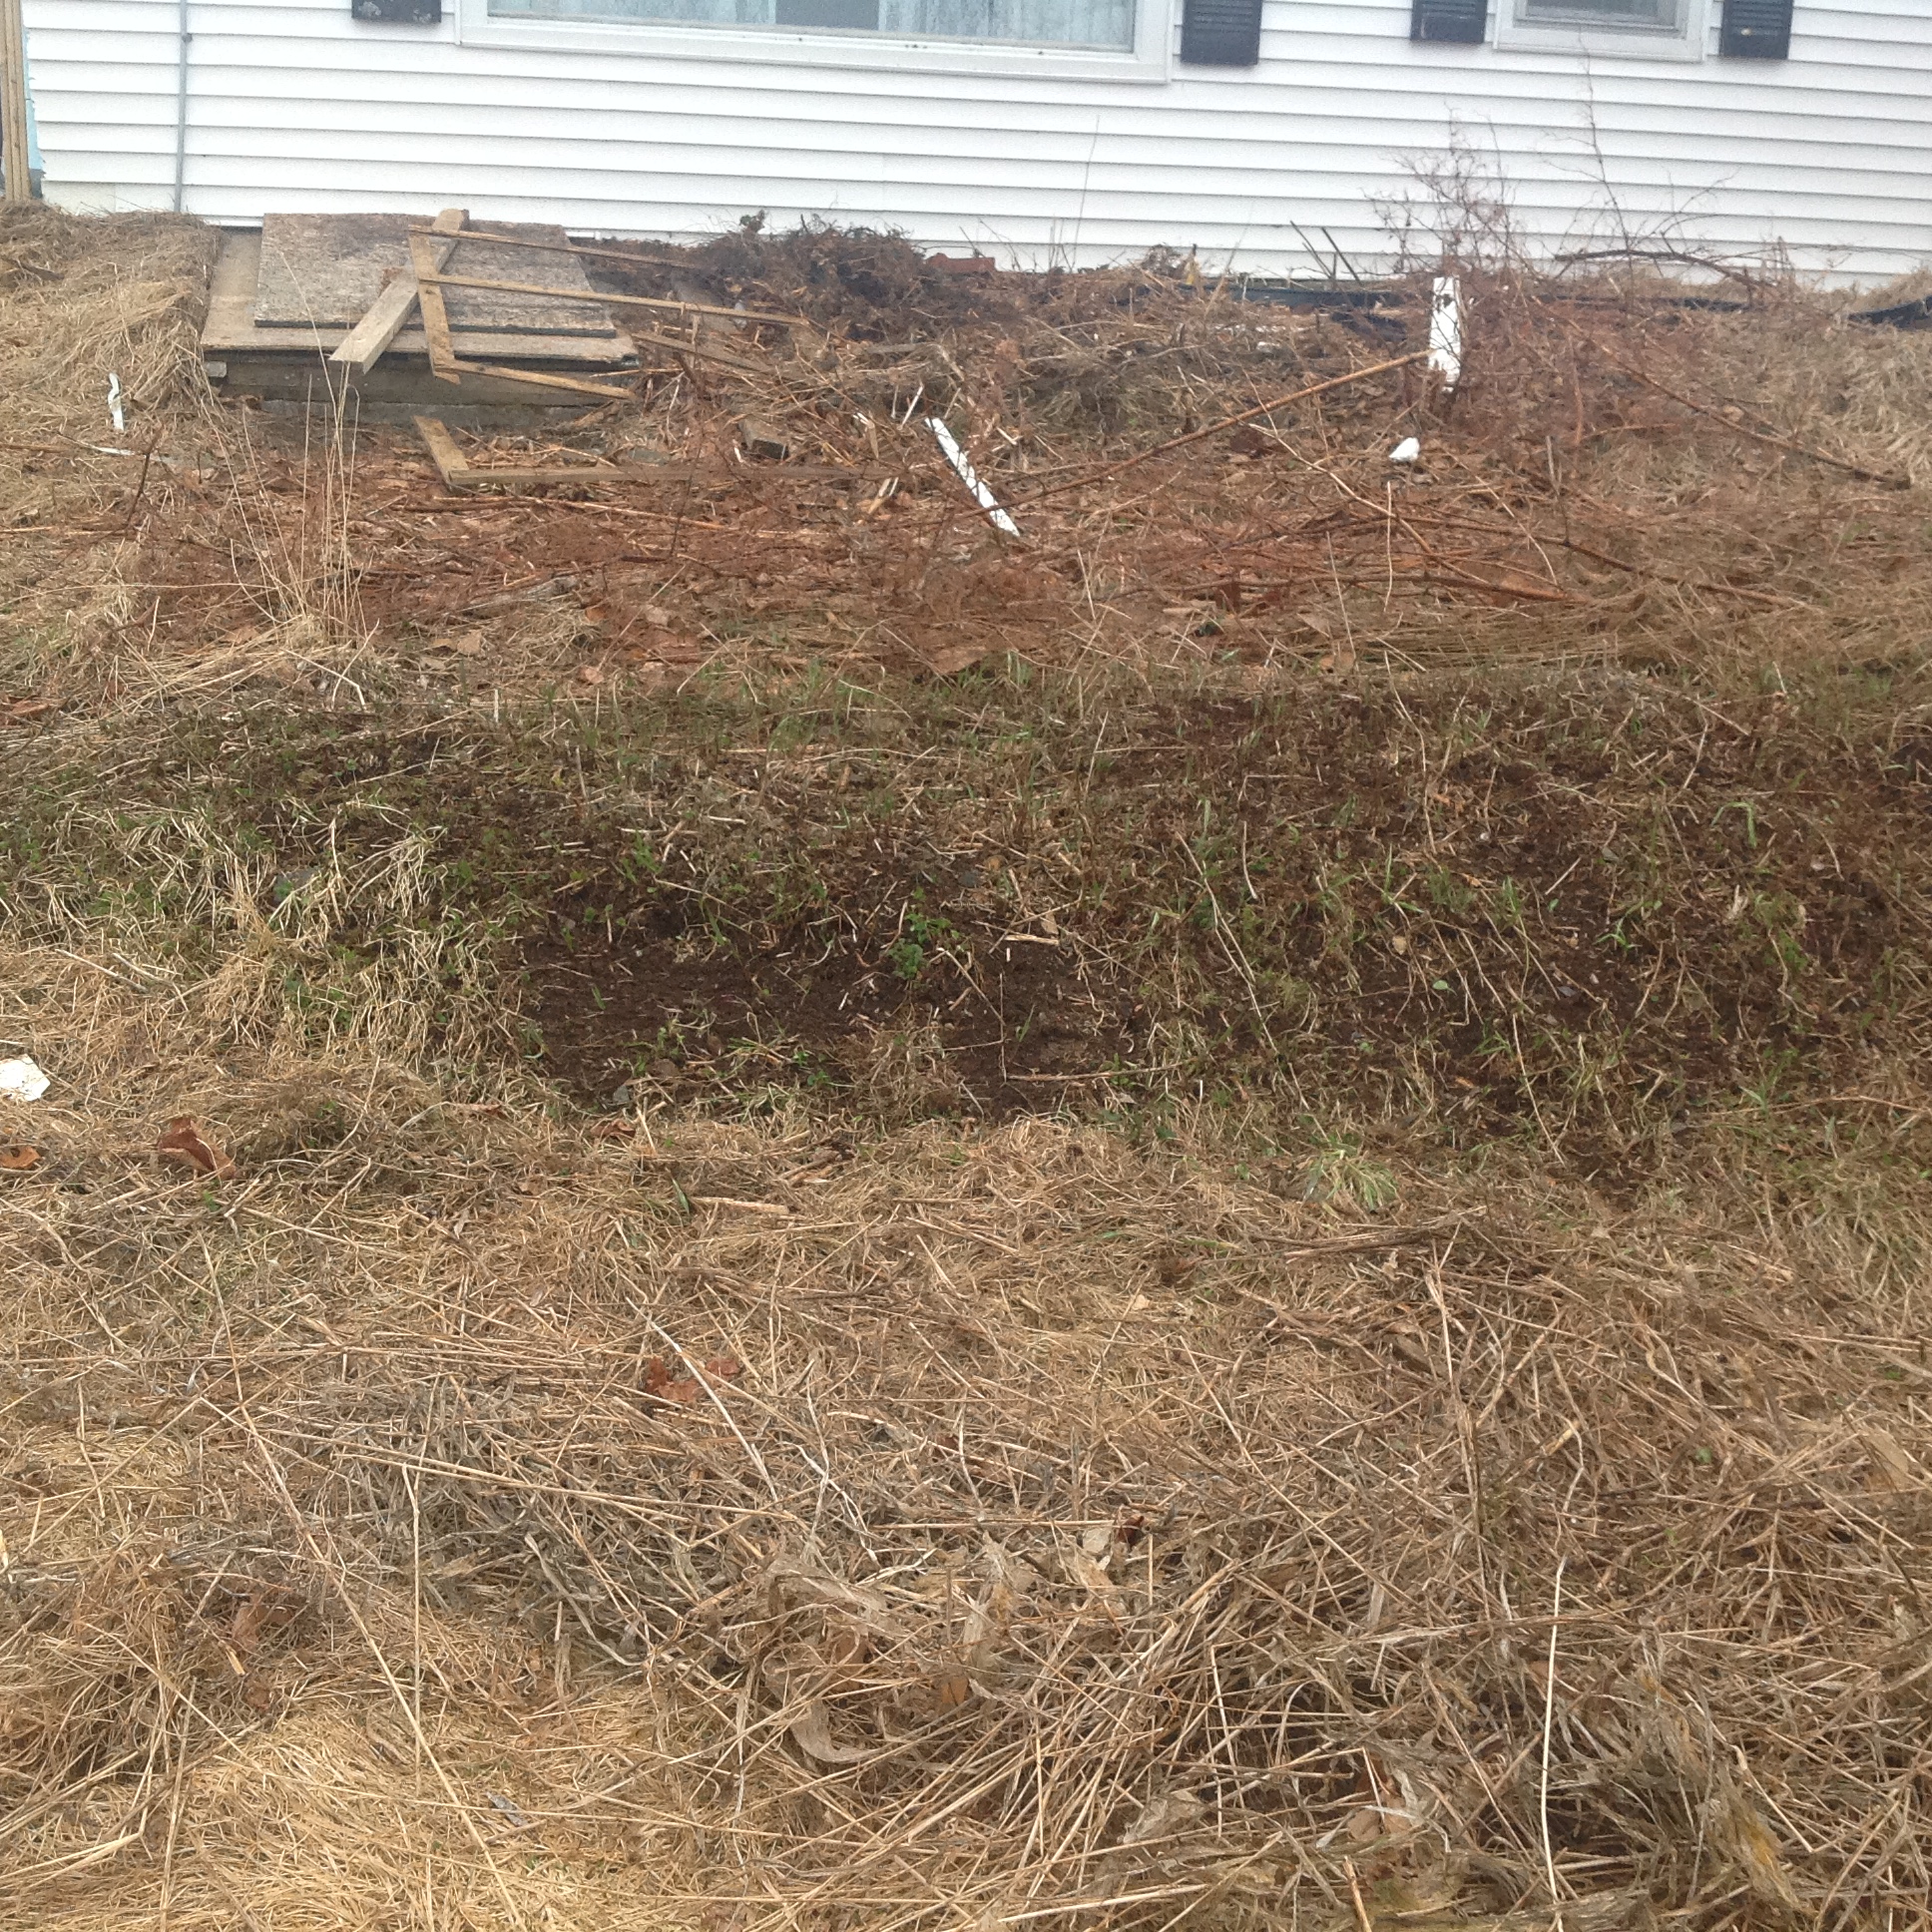
We walked over to the side of the house, around the front field and kept going uphill towards the back. That was when we noticed there were humps in the grass in one spot. A gentle kick and a bit of a push revealed very old and decomposing bales of hay. A further bit of poking around revealed a low rock wall. Since the hay was near the wall, and the ground very dark, we supposed it was part of an old barn.
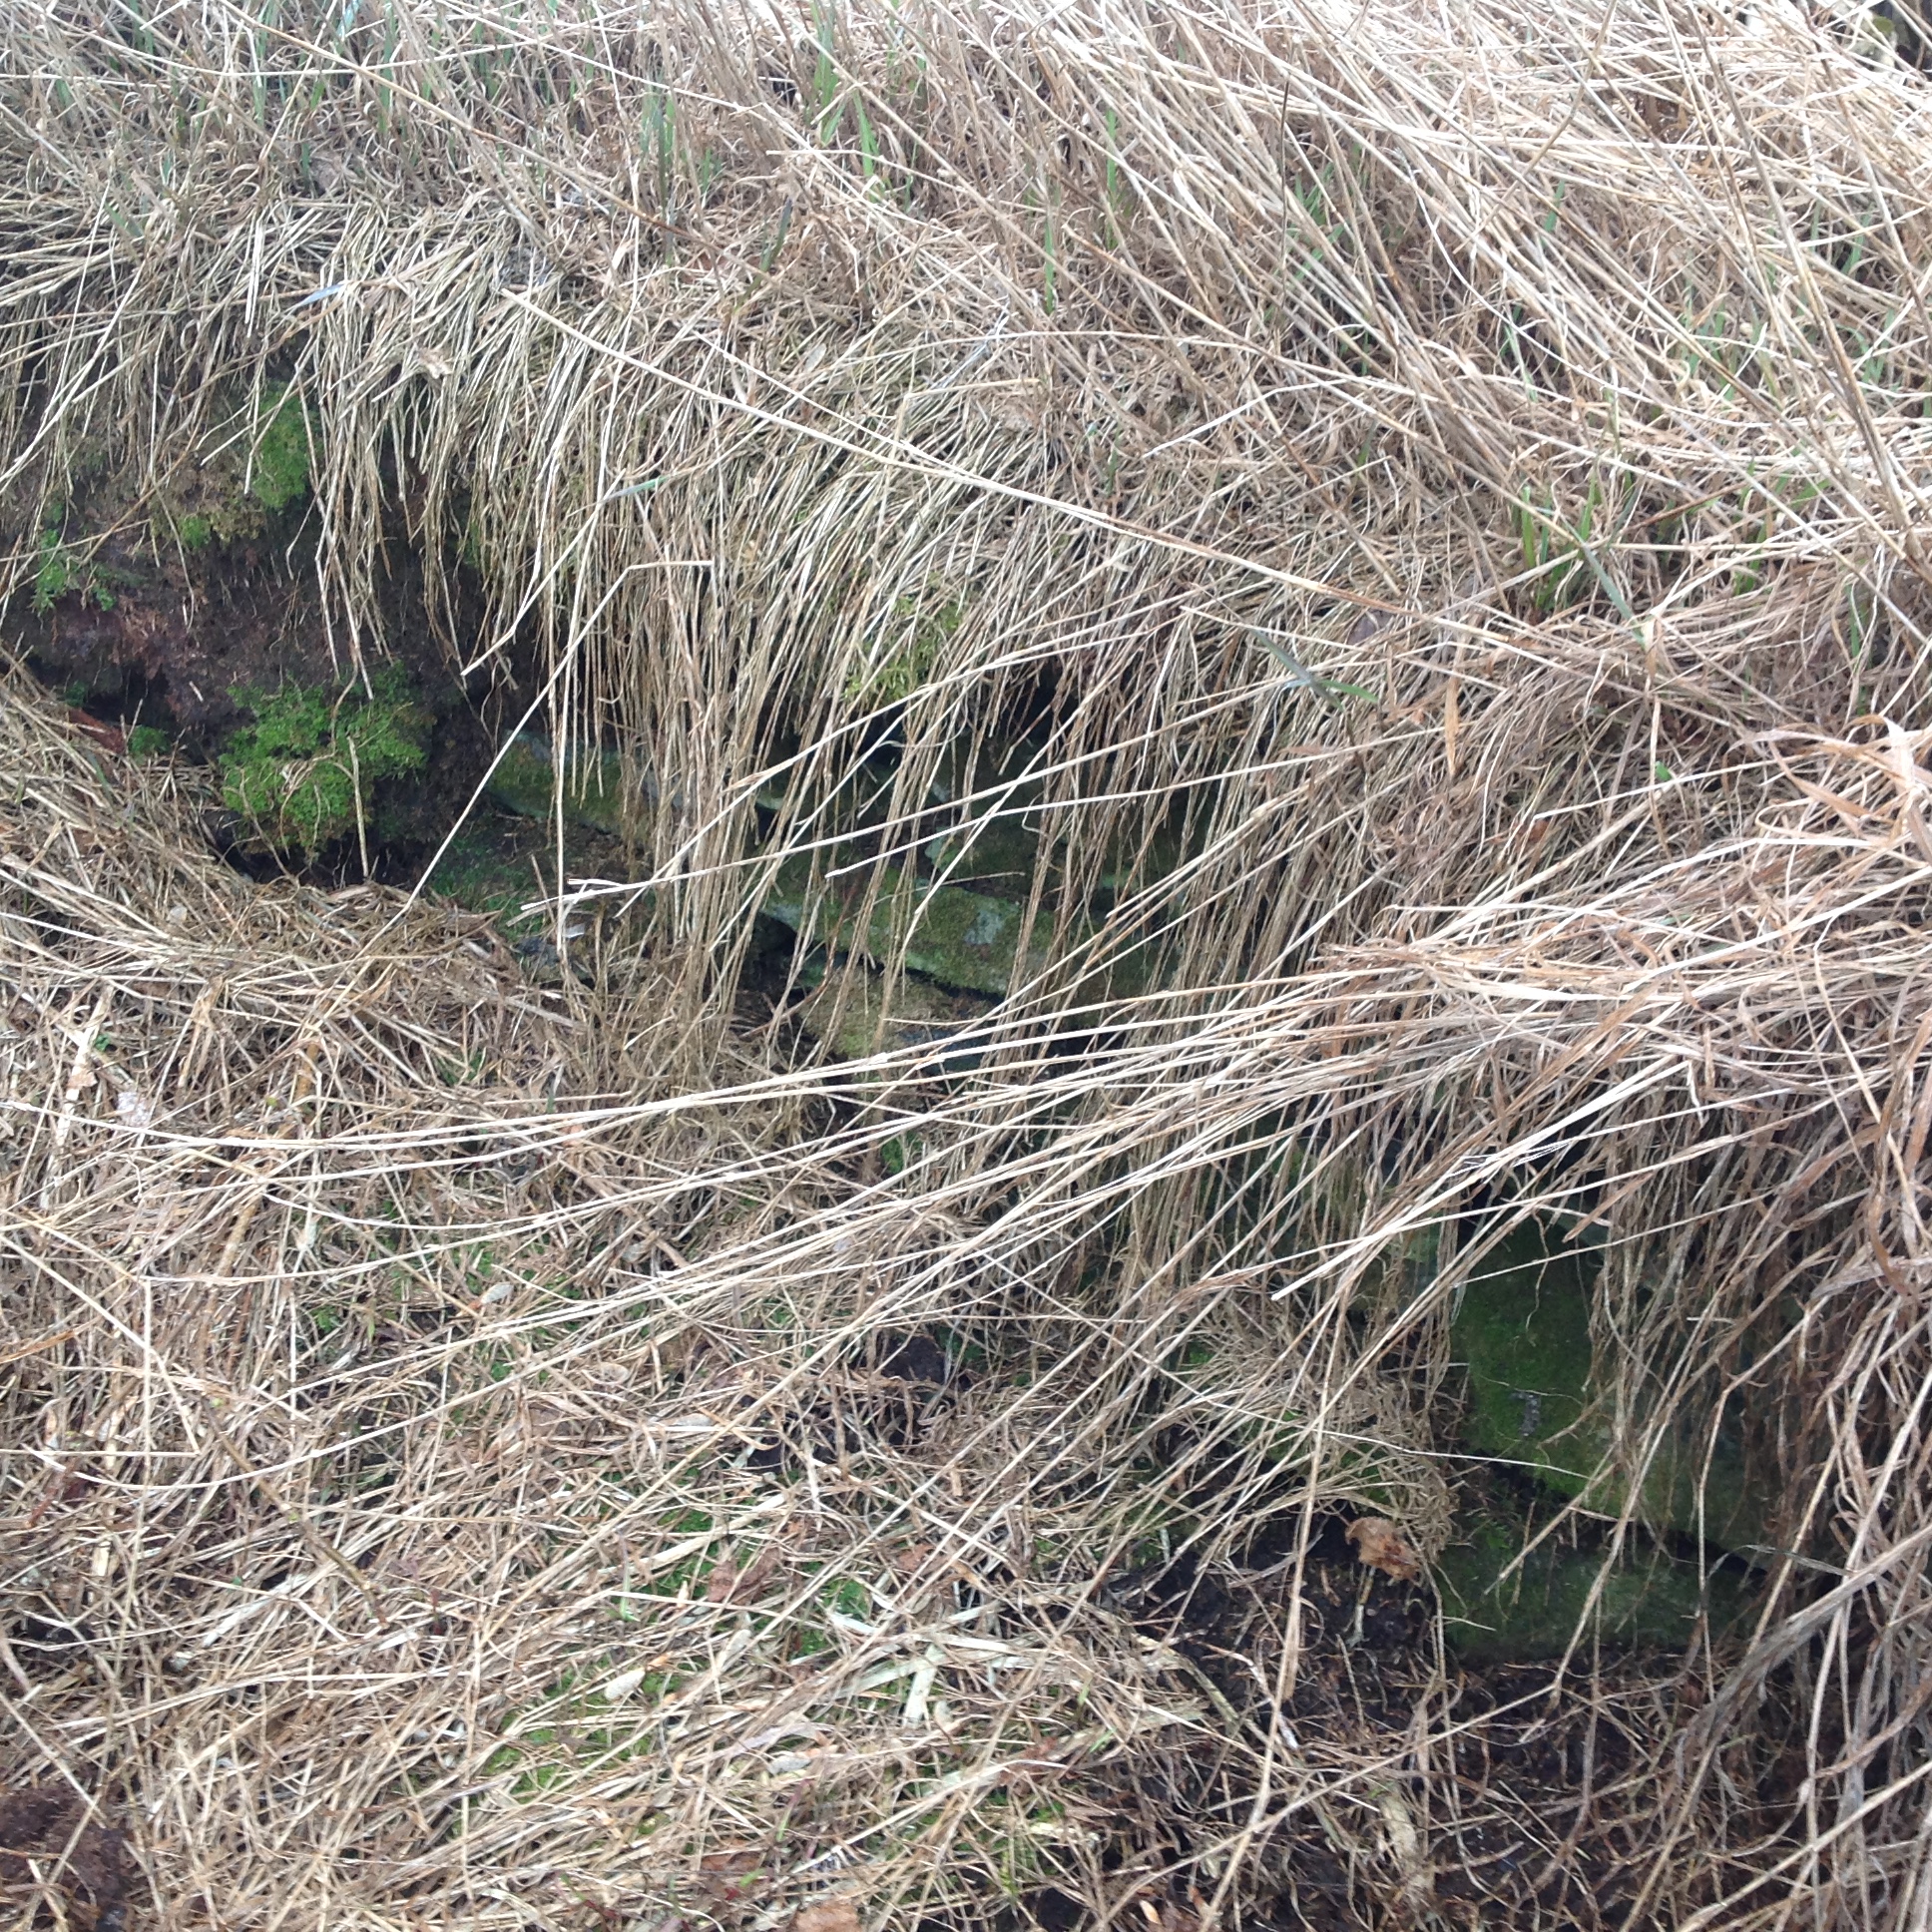
That same evening our neighbour to the left of us hailed us both from his yard and came over to introduce himself. Turns out he grew up in our house and I think it was owned by his grandparents. He confirmed we’d found the old manure pile next to the old barn.

Great! One of the things we decided to do was level out the ground a bit, moving the hay bales, and form a nursery bed for all the perennials we’d found. In one afternoon, Ron was able to use the tractor to level out a spot of dirt for future temporary beds. The ground is rich and dark, full of very well composted manure.
The reason for moving the plants we found is twofold: one, to find what we have and propagate some of the horribly overgrown plants into healthier ones, and two, move the ones near the house so we can excavate the old basement walls.
During our wet & windy walk about the grounds, we discovered a long bed in the front lawn, full of quite huge hostas and some lilies. There was also a smallish rose bush in the shadow of the huge lilac tree out front. The lilac has also had some dead branches removed by Ron. Some of the branches are huge, and some covered in moss, so it is well overdue for pruning.
Right up in front of the house, under the picture window facing the road, is signs of a garden bed, but not much showing. The invasive bamboo had extended this far, so we suspected to not find much.
I did find a lone peony there and was pretty excited.
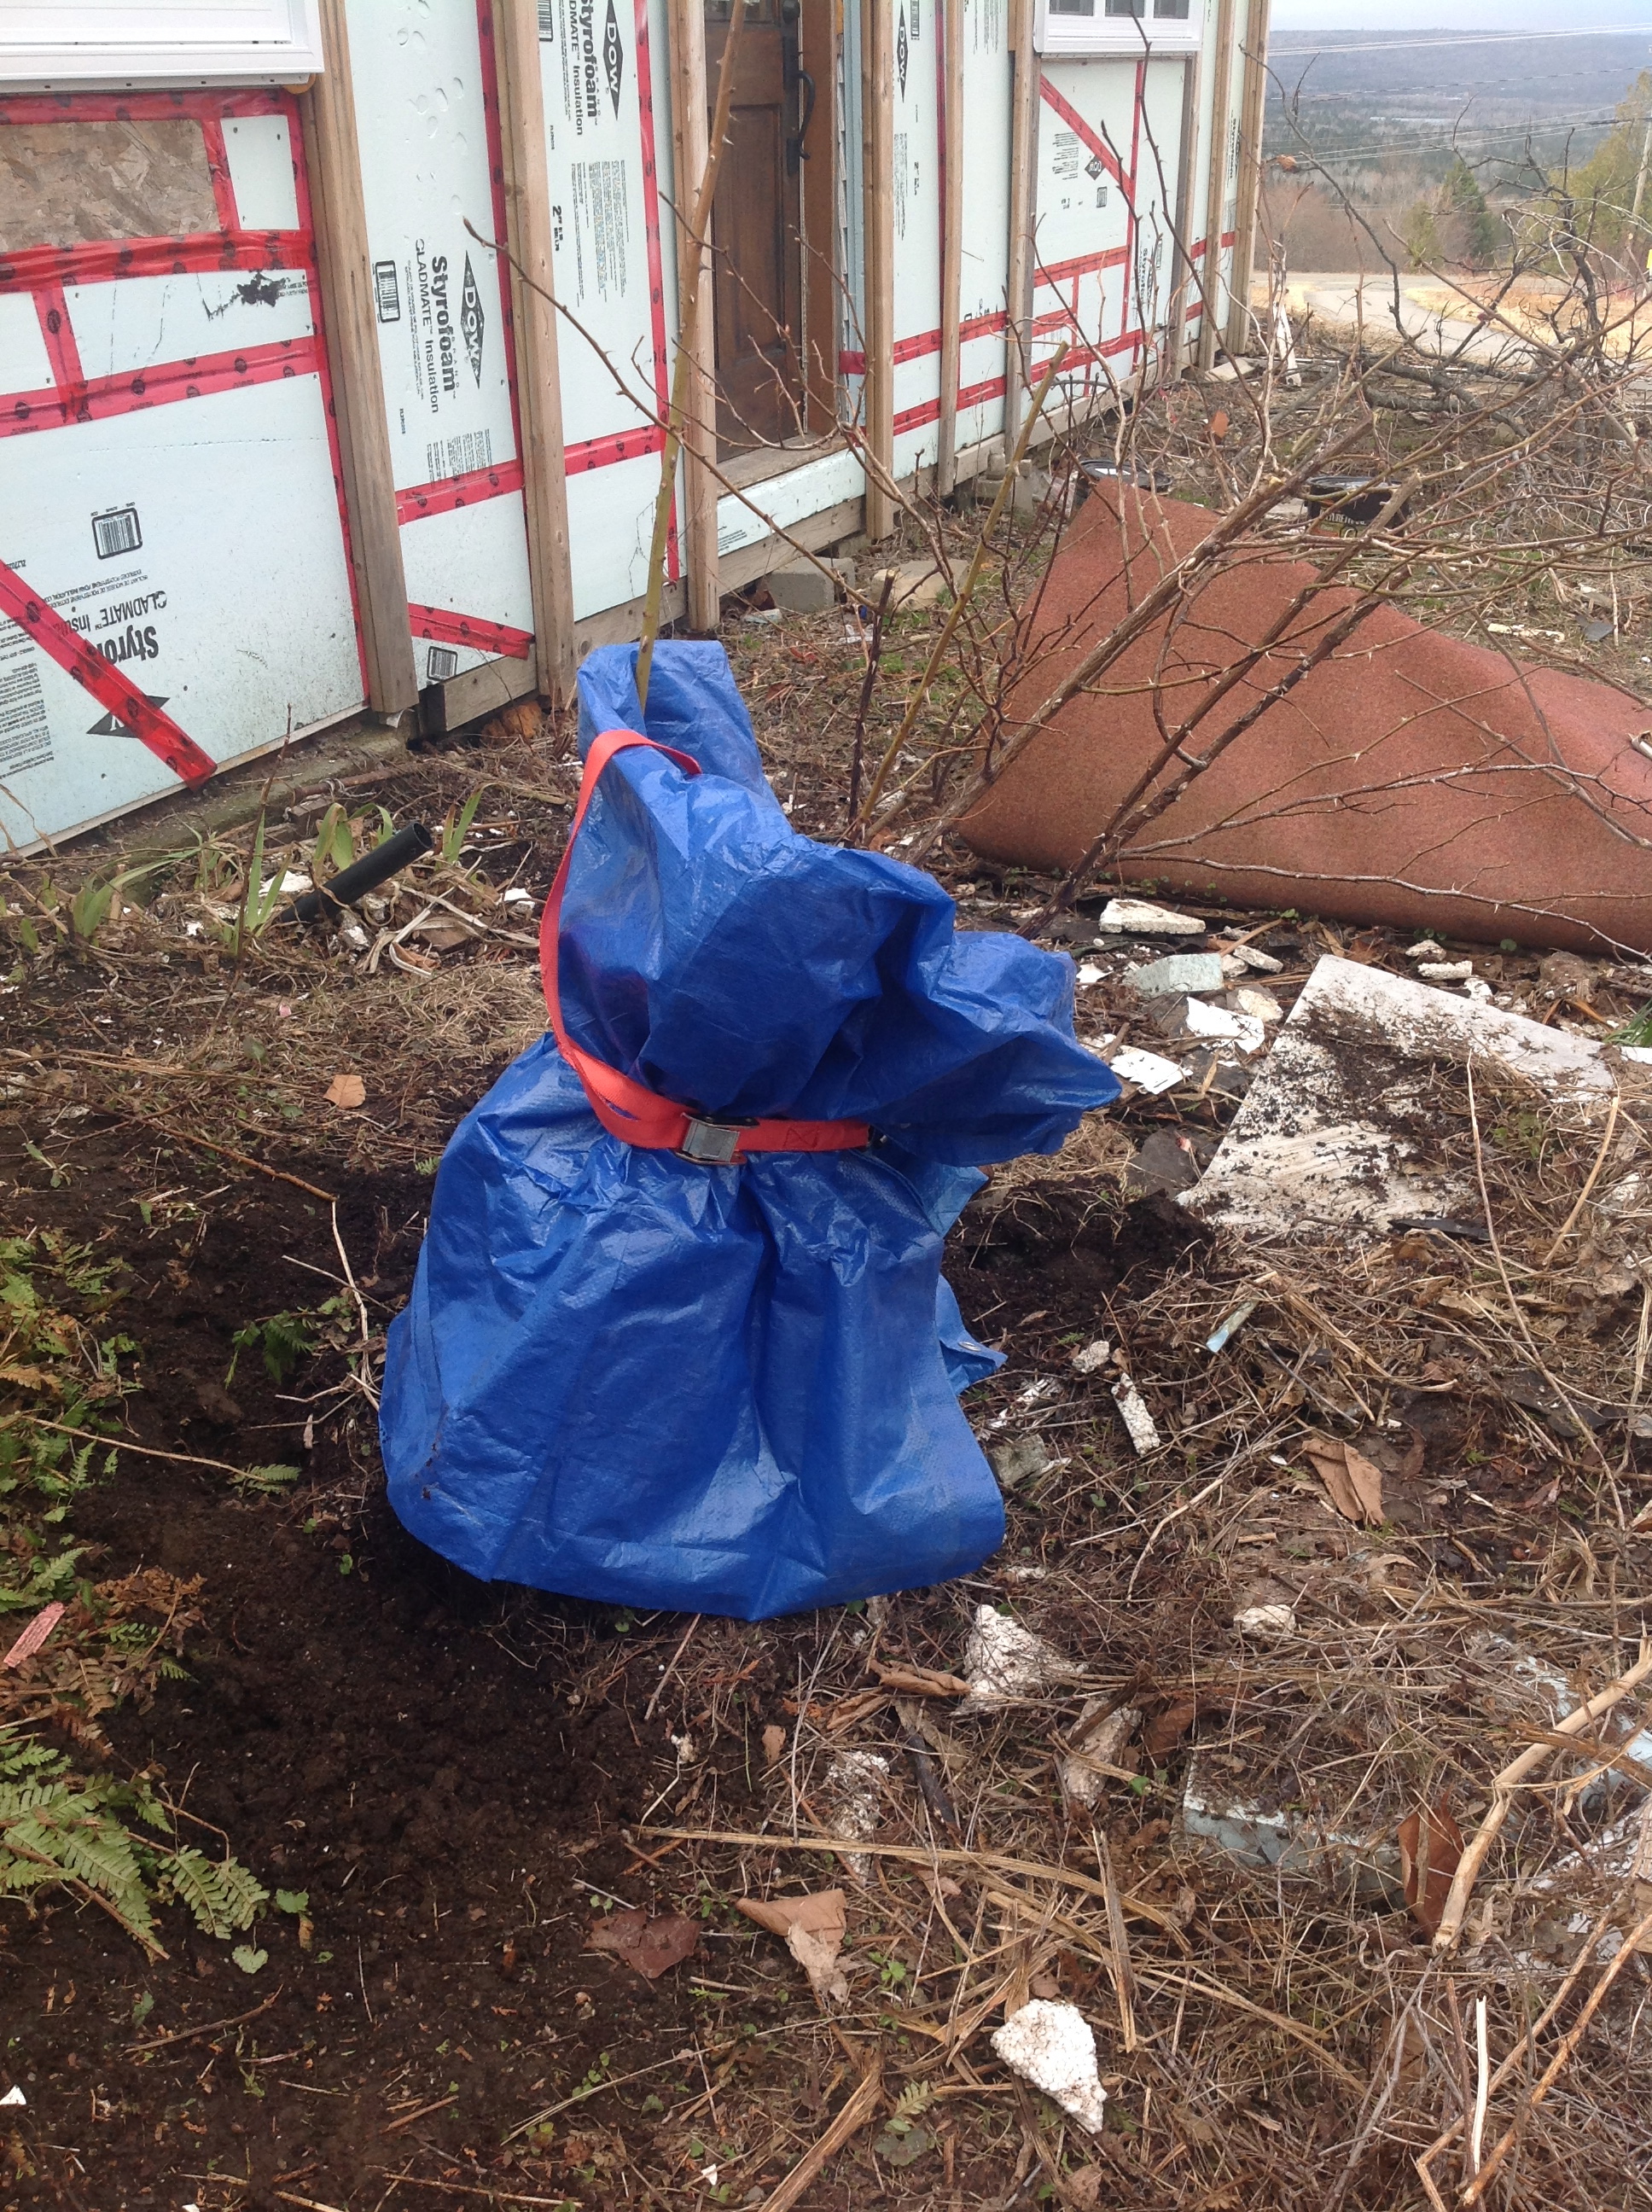
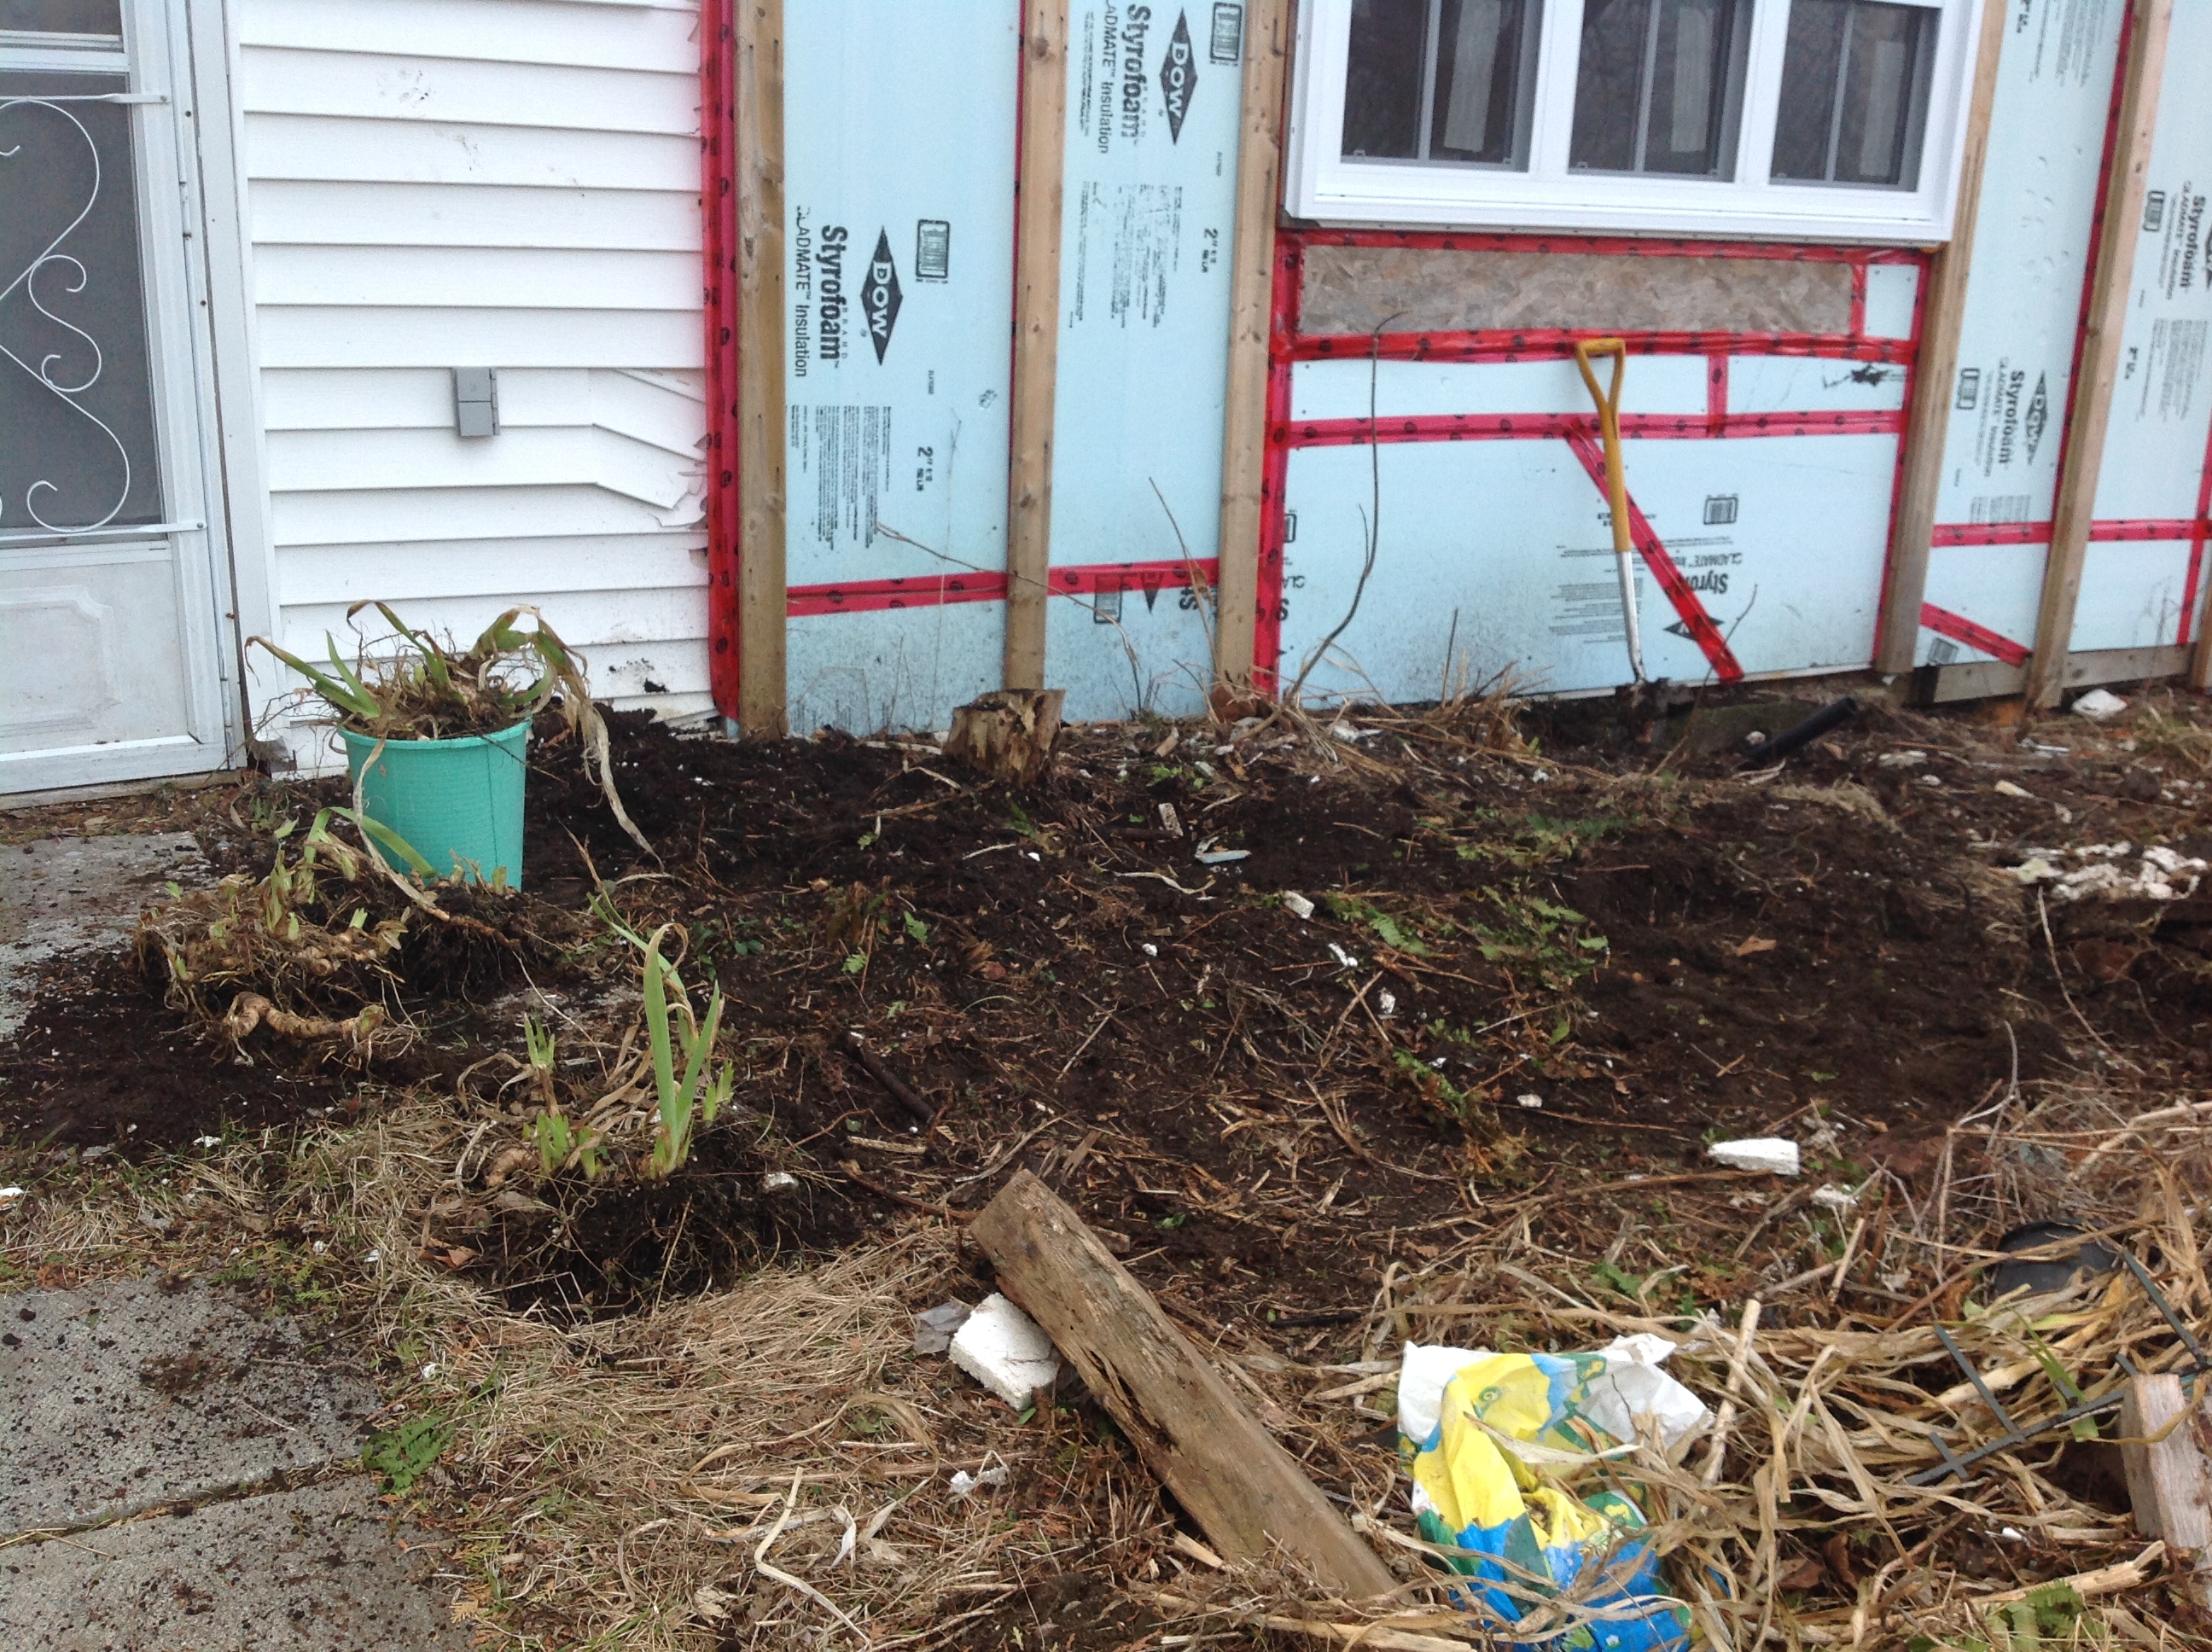
Moving on from the front of the house, we went around to the side where the front door is located and the remains of the foundations of the front porch. We were simultaneously delighted and annoyed to find a whole flower bed under building material waste. Here we thought it was just a pile of garbage we needed to move, but no – green was poking around the sides. A quick and careful move of old sheets of metal roofing, and we discovered an obvious long bed of something we didn’t recognize, some struggling Sedum, and a pile of bulbs poking through – probably narcissus. We gleefully cleared those out so they could enjoy the sun again.

The bulbs will be moved when they are done flowering, since any work in that area won’t start until then anyway.

Now, on to the area near the back door, which had an obvious garden area with some struggling plants and yet another pile of building materials that were just dumped on top. (Have I mentioned how much this practise ticked me off?)
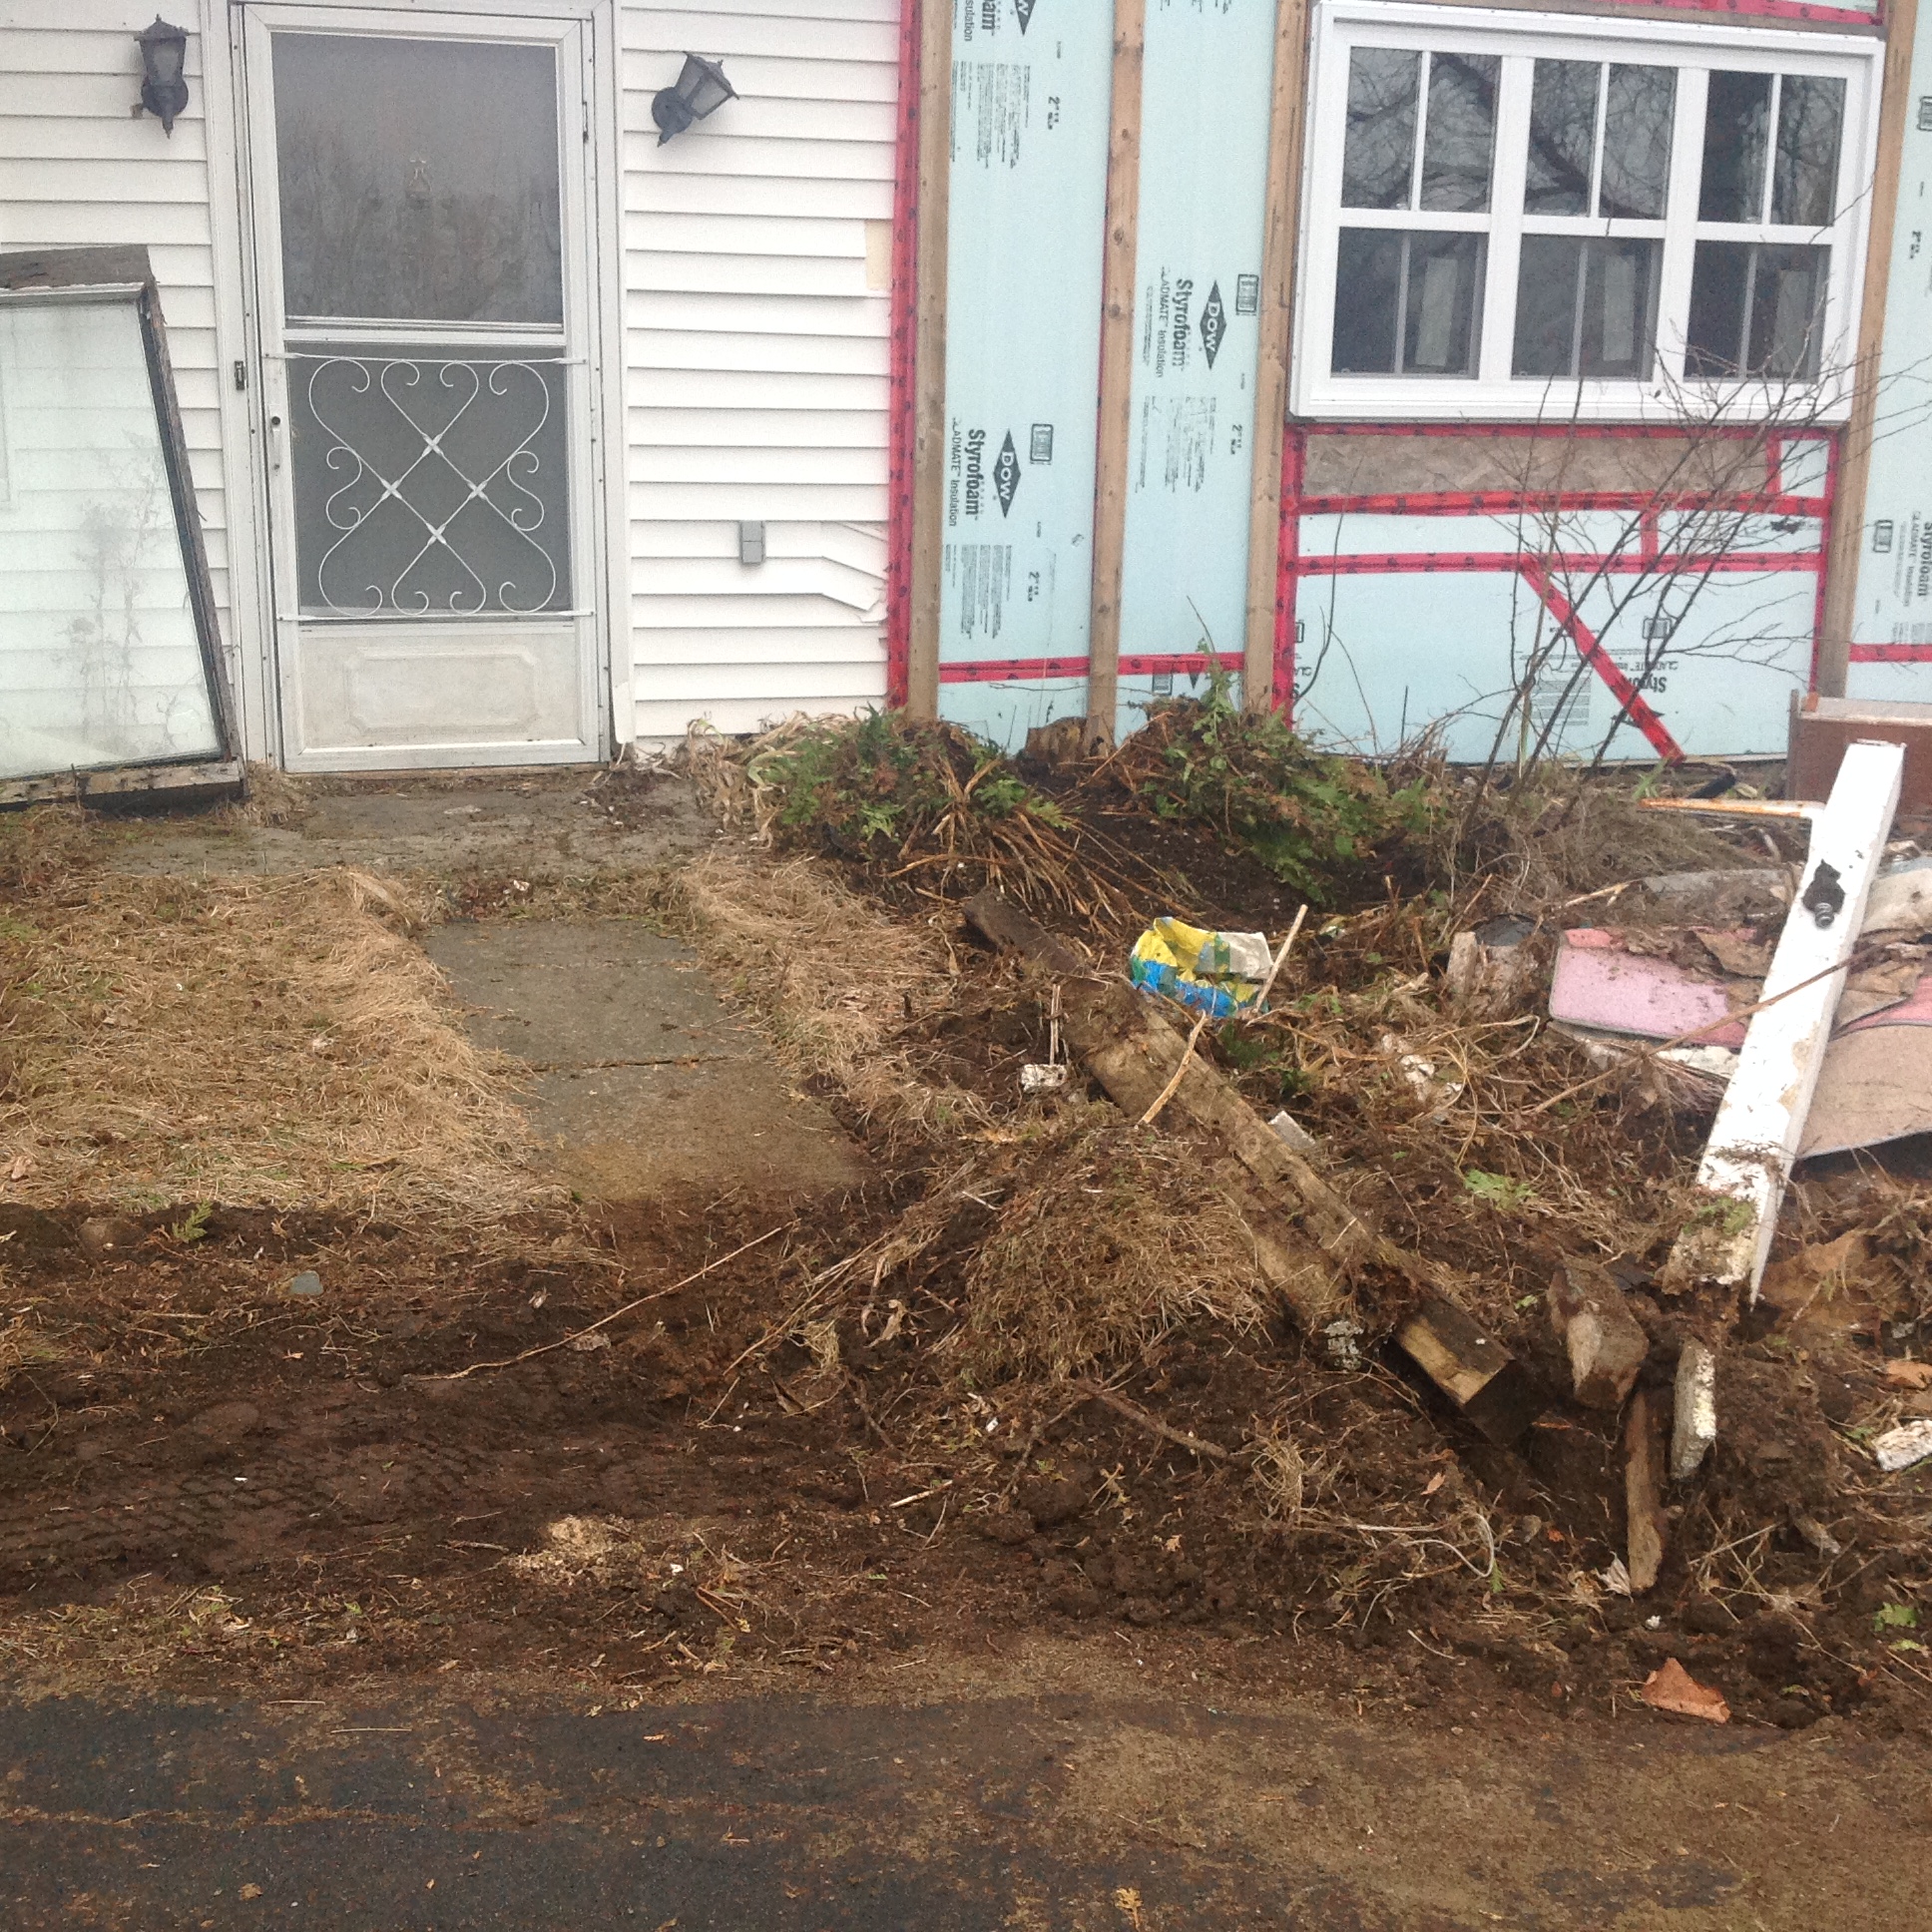
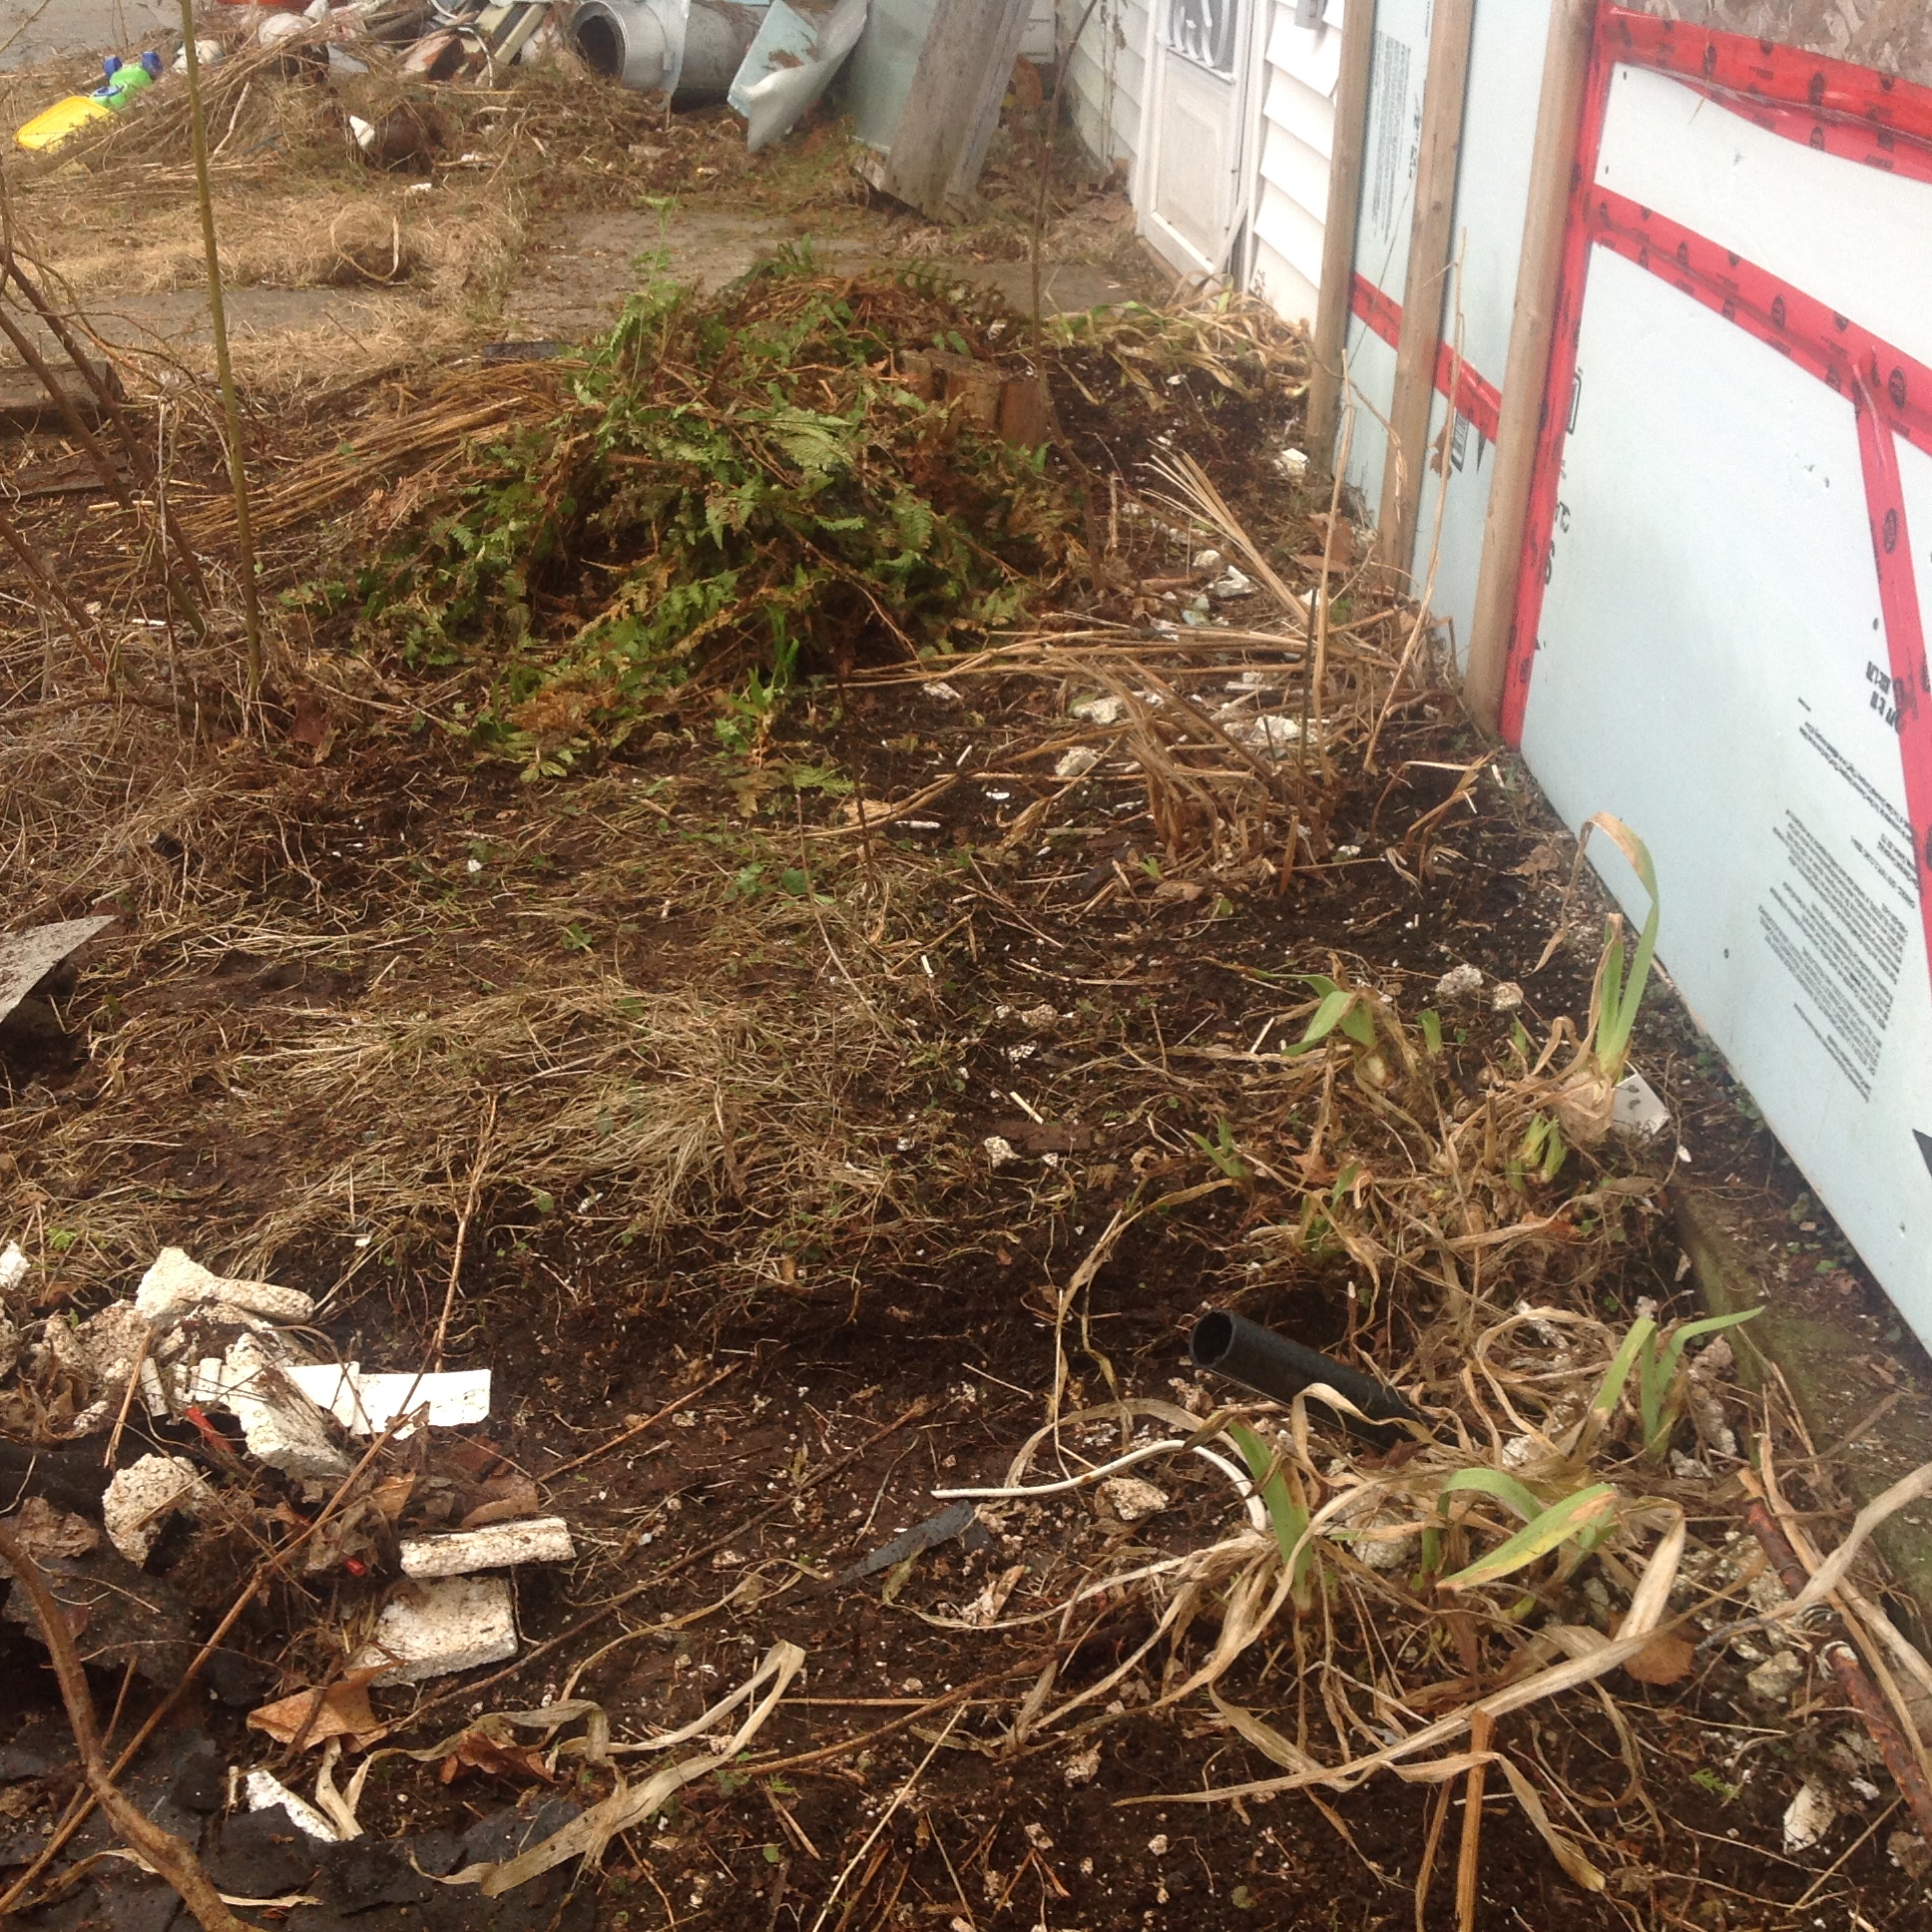
We had already identified a couple of large bunches of irises next to the back door, along the foundation. There were also a couple of ferns, a small maple tree in a pot (it might have just grown through the pot), and we were happy to find a quite tall rose bush. There were also some struggling bulbs that had poked up that Ron had found under garbage, so those were cleared out best we could without moving the whole pile.
While we were trimming back dead growth and moving some garbage to take inventory of what was growing, I was absolutely beside myself to start finding more peony bushes. They are all over the place and possibly quite large. Peonies are picky, so we did a lot of research online abut moving them and worked out a plan. There are at least half a dozen large root systems, and eventually will need to be divided, so we will not want for peonies.
Ron had found a red maple in this side garden and had moved it over to a stand of trees on the other side of the driveway. The small grove has lots of flowering shrubs and a couple of downed trees that we were still clearing up. So the red maple will make a nice replacement here.
Ron also removed the pile of bricks that was at the end of the walkway to the mud room door. Mostly because it made it hard to turn around in the driveway. The rickety post with the bird feeder also came down.
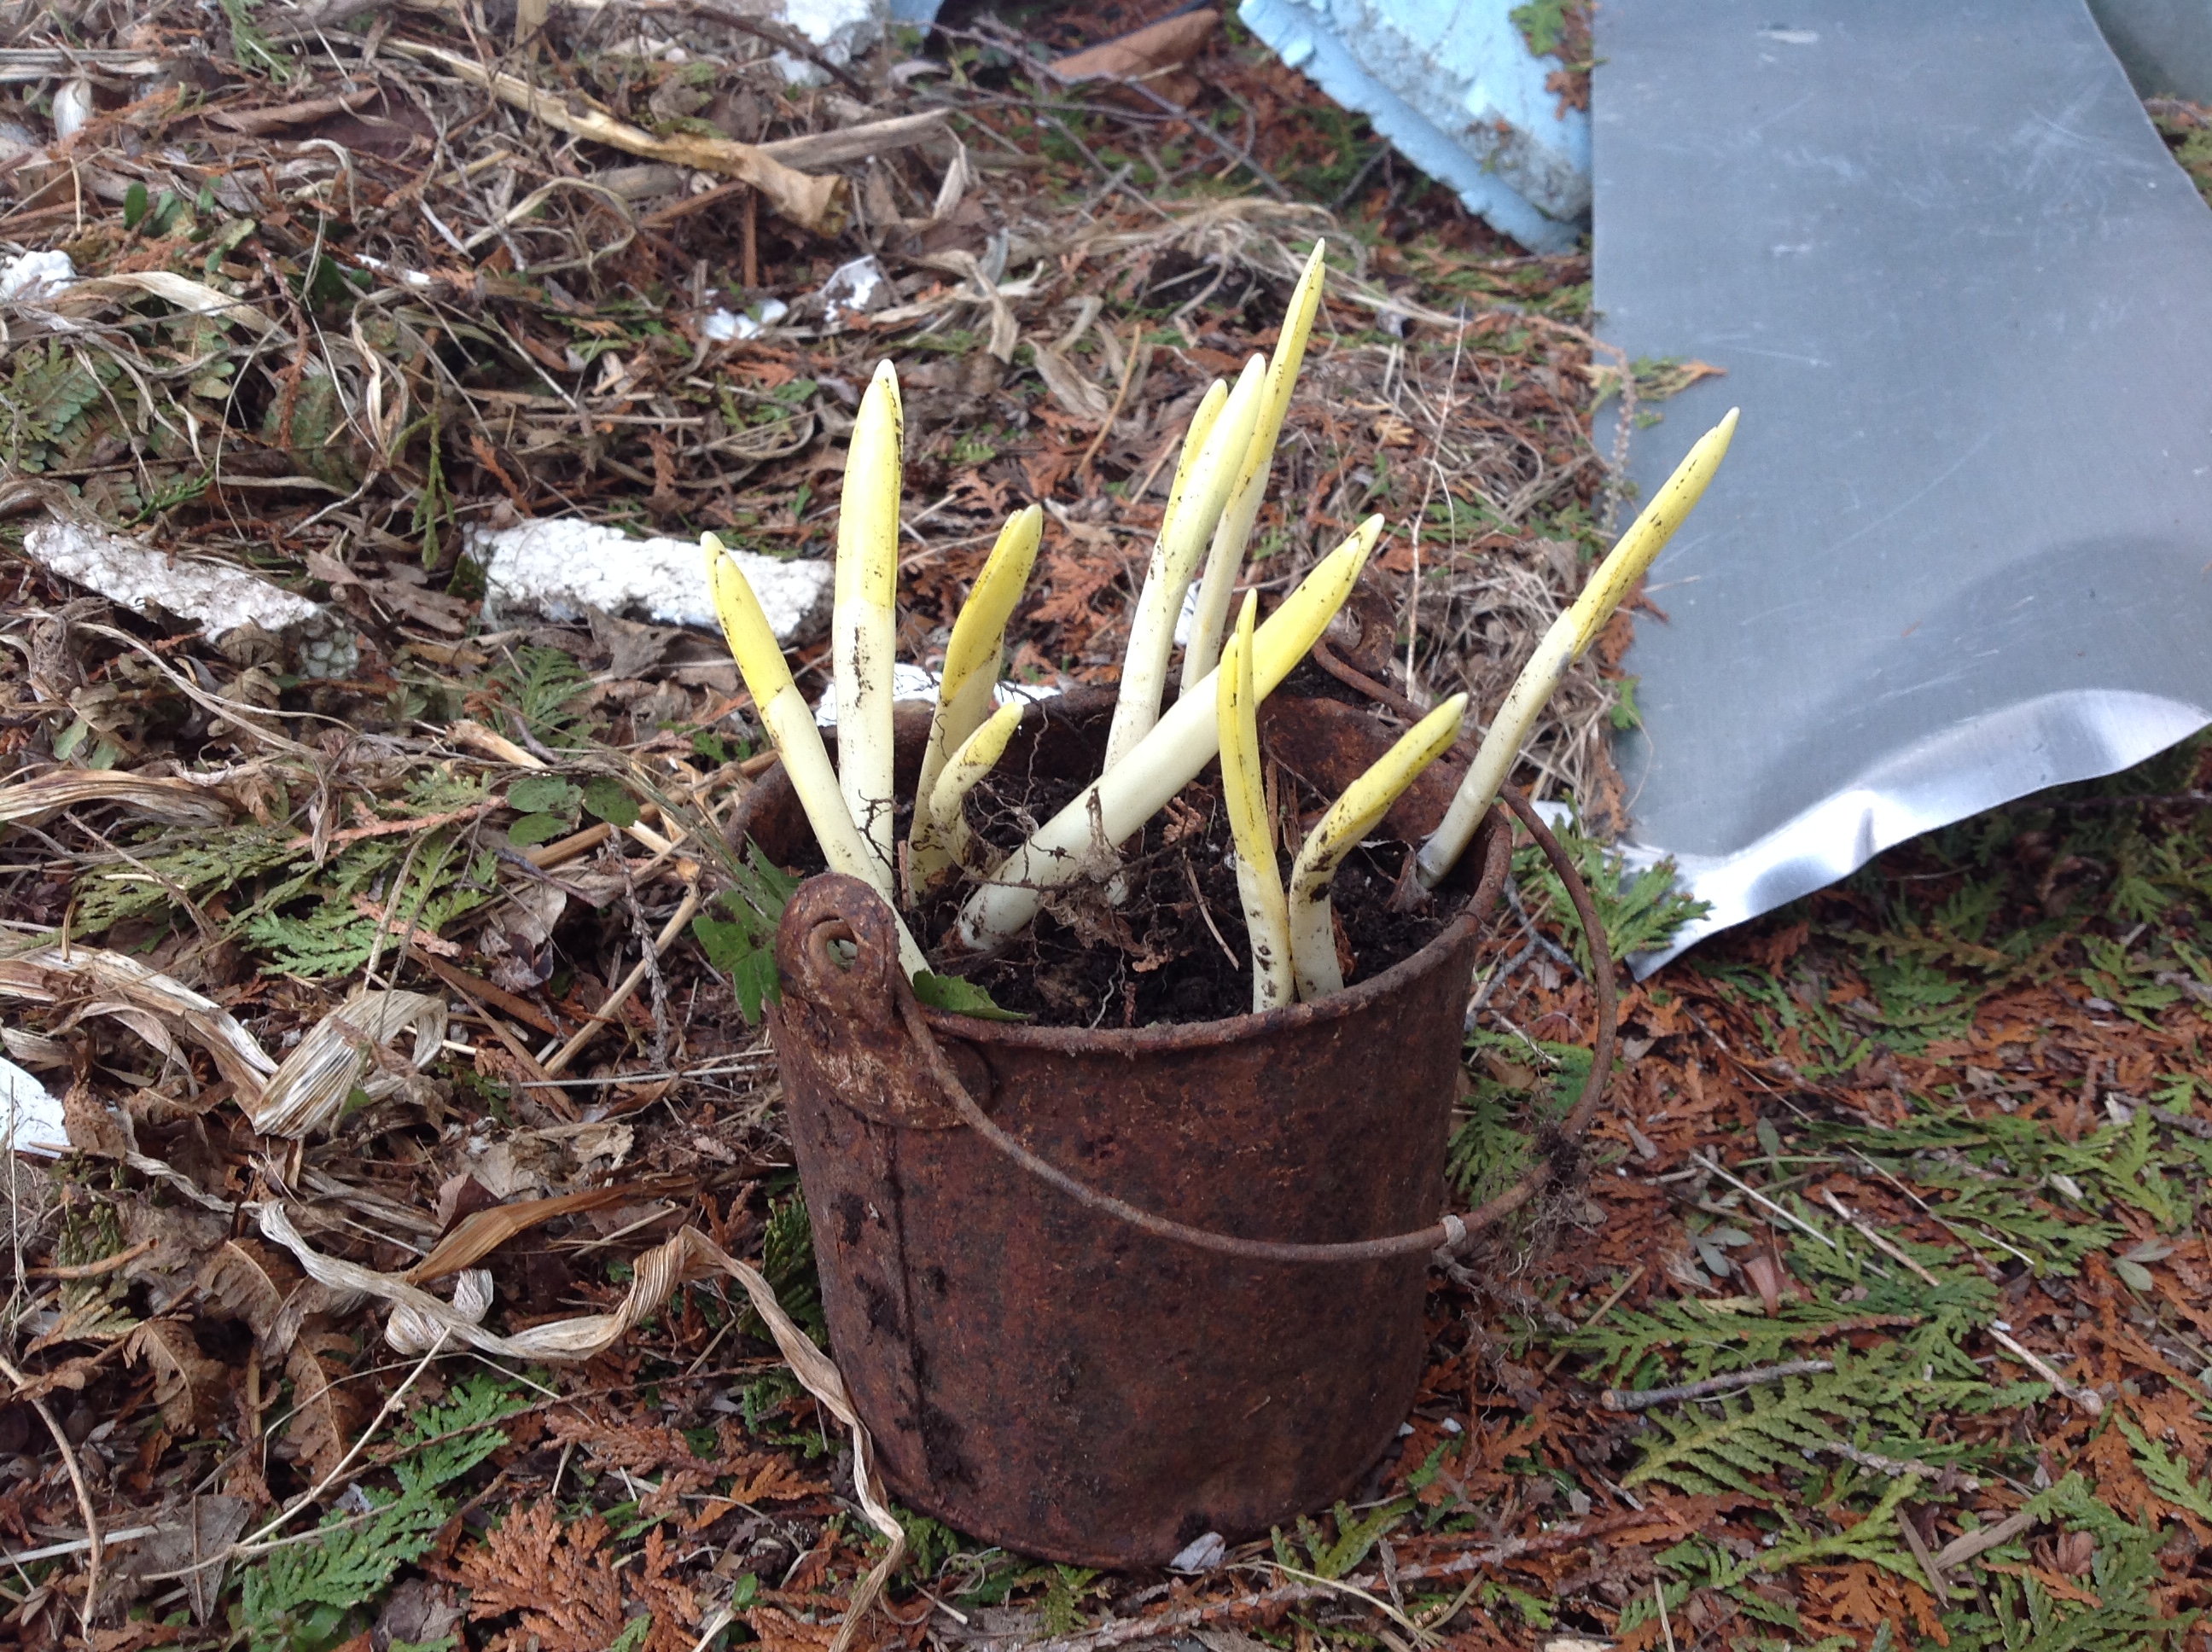
When we started to move some plants, we found a cluster of some sort of bulb completely under one of the ferns. I rescued those and placed then in a pot I’d found in the yard. Once the bulbs are spent I can move them to a bed, store them, or place in their final home.
The new nursery bed to the side of the house now contains two ferns, two rose bushes with dead growth removed & pruned, and a thick row of irises which will be divided whenever I put them back. For now,everything in this side area will stay here for at least a year. We can grow some happy, healthy, tended plants while we work on the old basement foundation and clean up the front garden, taking our time to do it right.
Coming up soon: we’ll rent a dumpster and finally start clearing out all the building material garbage and old sheet metal roofing. That stuff has sharp edges.
Cabinet Update 9 Feb 2015 6:52 PM (10 years ago)
Andrea mentioned the island in the last post & included a picture with placeholder cabinets. A drain pipe had already been installed. Since there wasn’t a spot in the existing cabinet arrangement for a dishwasher, we concluded that’s what the island drain was for.
While planning the island design I kept in mind that the cabinets would essentially be freestanding. Secondly, the location of the drain was such that the dishwasher couldn’t really be installed at the end of the island.
The design I came up with was to have the dishwasher between two cabinets that were facing the ends of the island. There wasn’t a wall to anchor the cabinets to so I built a frame anchored to the floor for the cabinets to back against. There will be a small set of shelves behind the dishwasher but I won’t add those until it has been plumbed and wired.
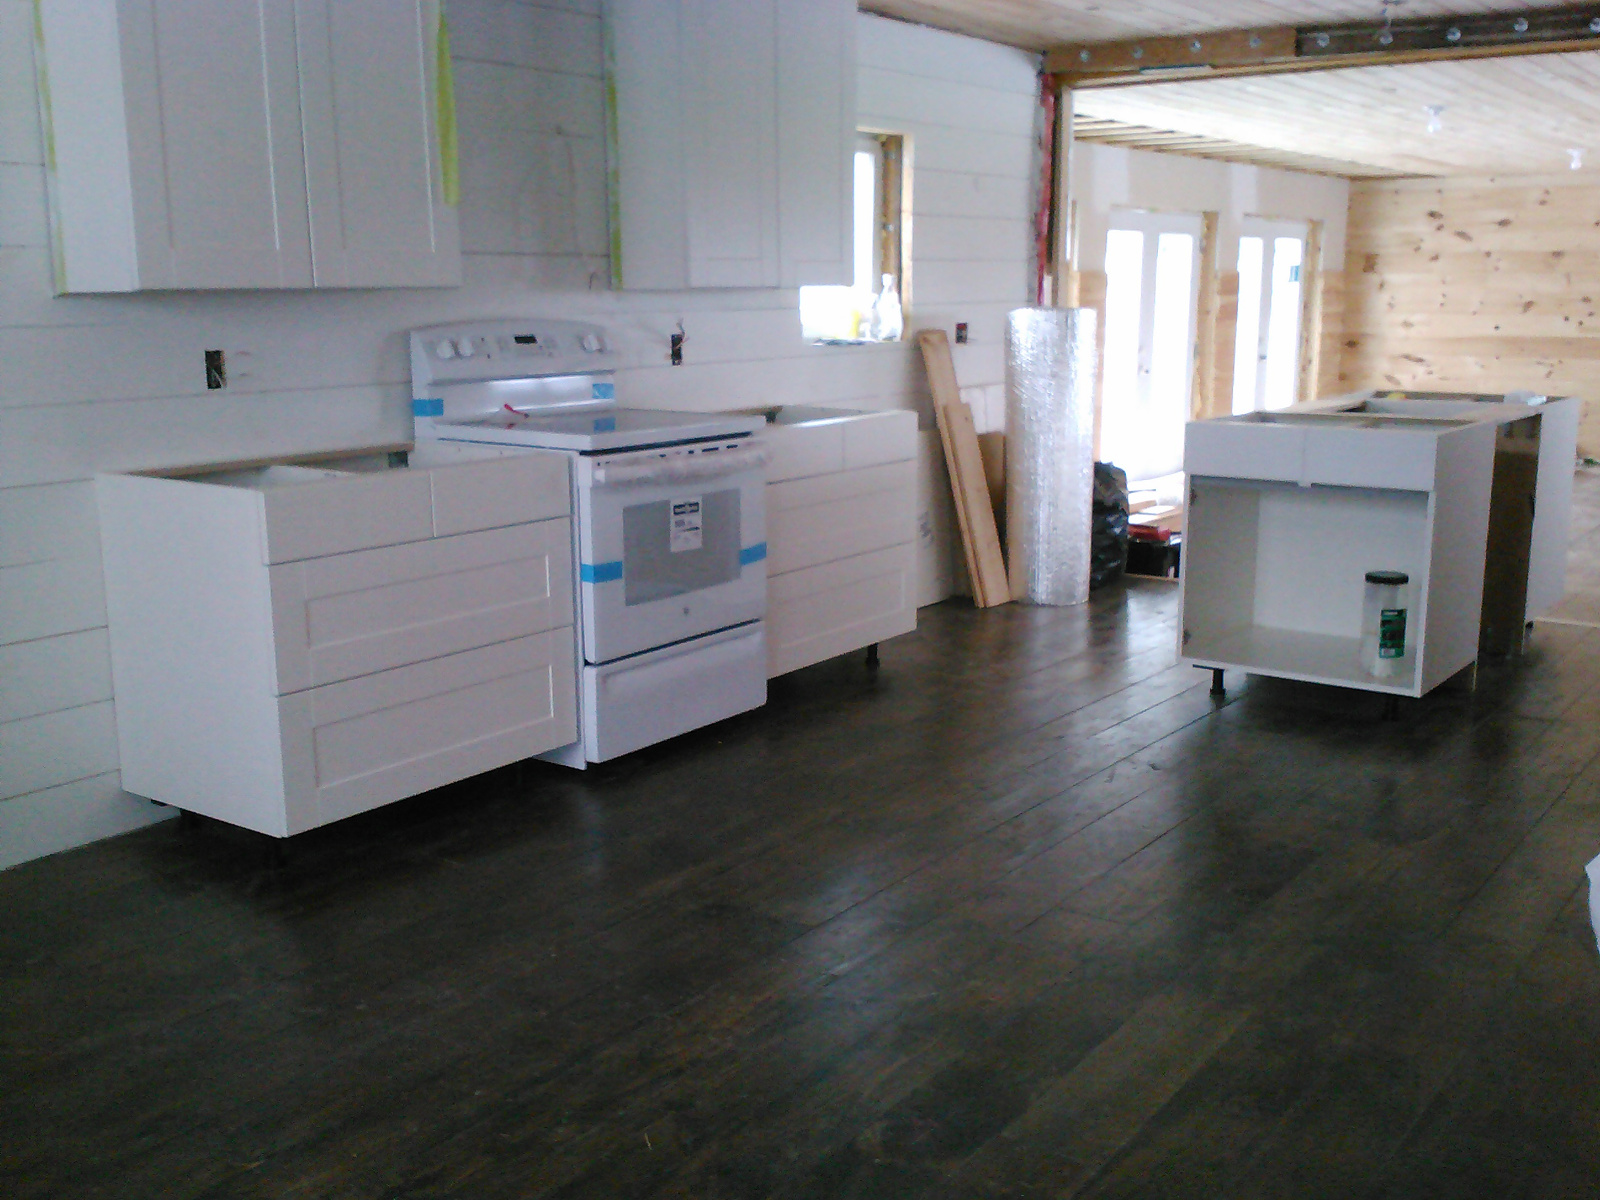
The upper cabinets on either side of the space for the electric range had been installed but the lower ones had just been pushed approximately in place. I hadn’t realized that right away and was happy when I discovered it.
We bought the range and dishwasher months before we needed them so that we could position the cabinets around them.
As it turned out, one of the counter outlets didn’t have a wire that went to the electrical panel. Pulling that wire was easier because the cabinet was mounted to the wall.
All the kitchen cabinets are now levelled & anchored in place. The next task will be templating for the countertop.
The thing with the kitchen cabinets 6 Dec 2014 12:24 PM (10 years ago)
When we first walked through the house, I was glad to see they had already ordered the cabinets, assembled them, and had them roughly in place. This gave us a good idea for where things were supposed to go, as far as appliances, etc.
There was no sink, but on our second visit I found the sink in a box in the other room. It is this DOMSJÖ porcelain apron sink from IKEA. By then we had pretty much decided to buy the house, so I was super excited.
My Pinterest board for kitchens is covered with images of apron sinks in country farmhouse kitchens. As my mom would say, this was A Sign.
Once we visited the house a few times, and started thinking and planning the kitchen, we had a good look at how the cabinets were installed.
Or rather how they weren’t.
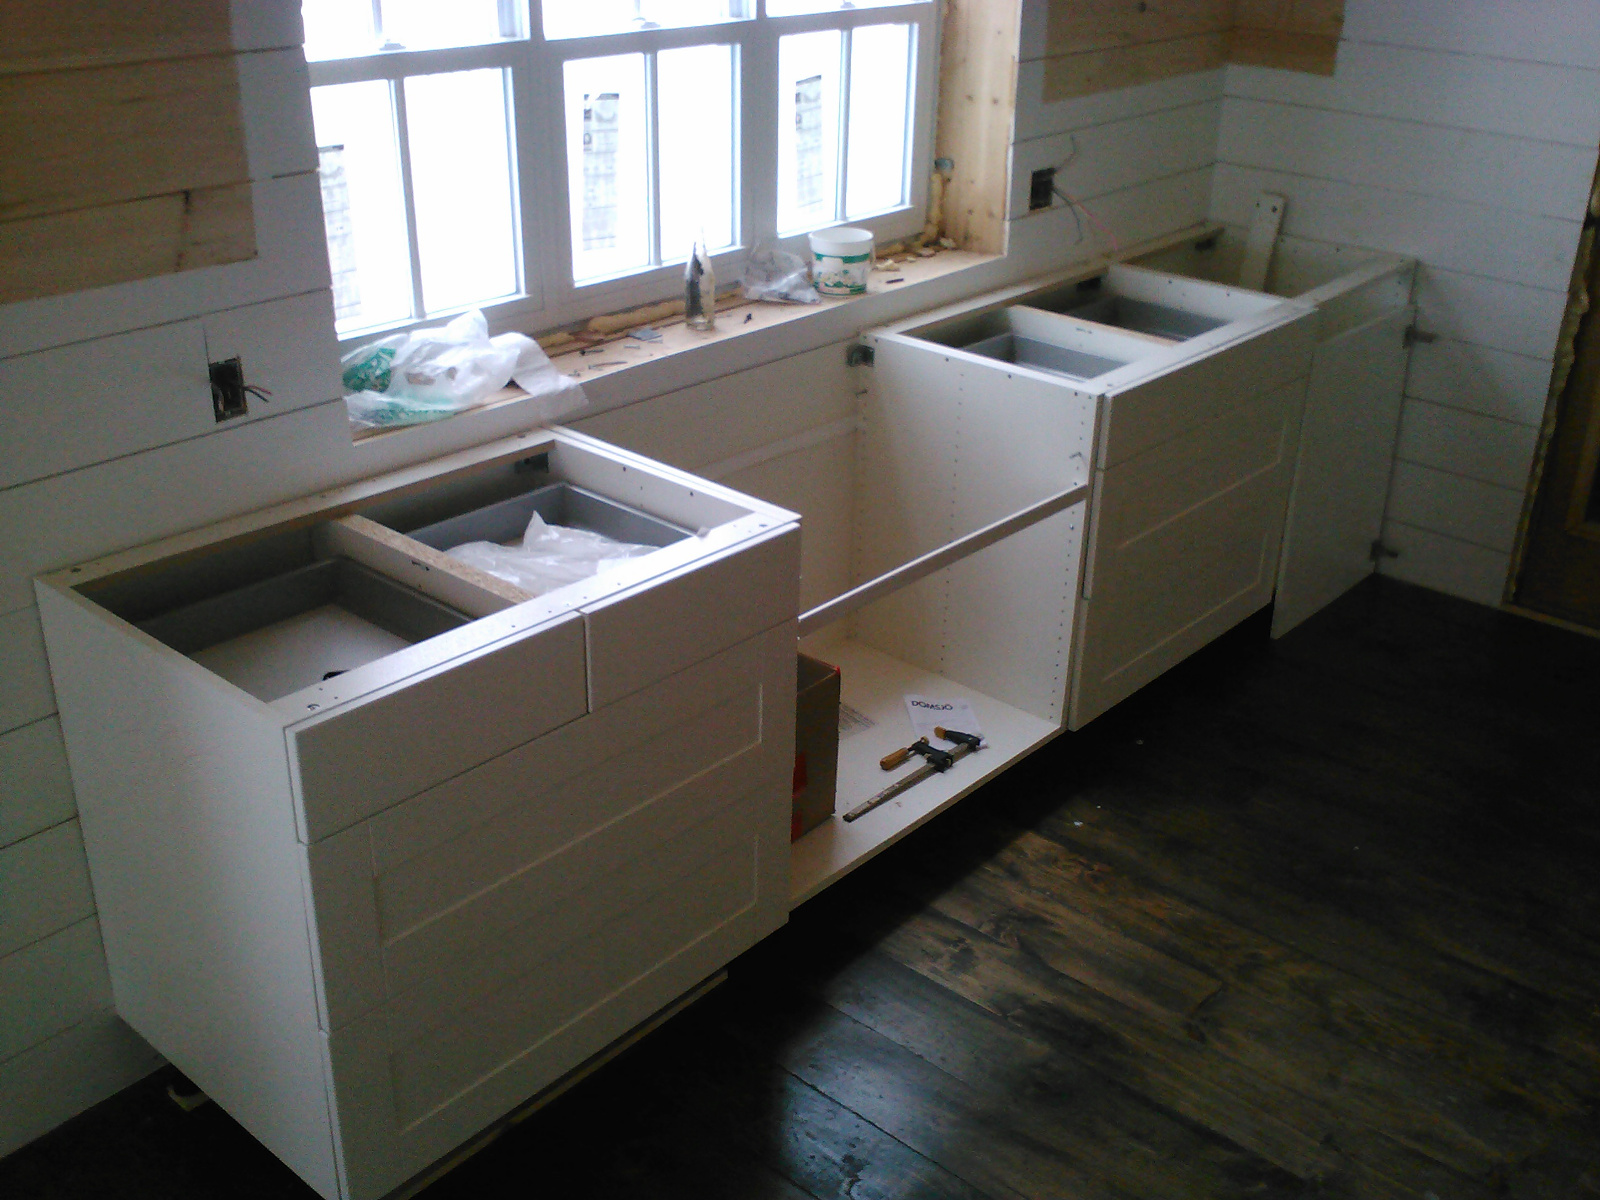
While the upper cabinets were anchored to the walls, the bottoms ones were not. We also realized the layout of the cabinet pieces by the sink were… less than symmetrical.
As you can see, there was a drawer cabinet, the sink cabinet, a cupboard with a door, then another drawer cabinet. Once we noticed it bothered the crap out of both of us.
So we moved them around.
We also took down the upper cabinets with a thought of using them maybe elsewhere. It really opened up that wall, and the best part was, when you come in the front door you’re not greeted in the face by the side of a cabinet.
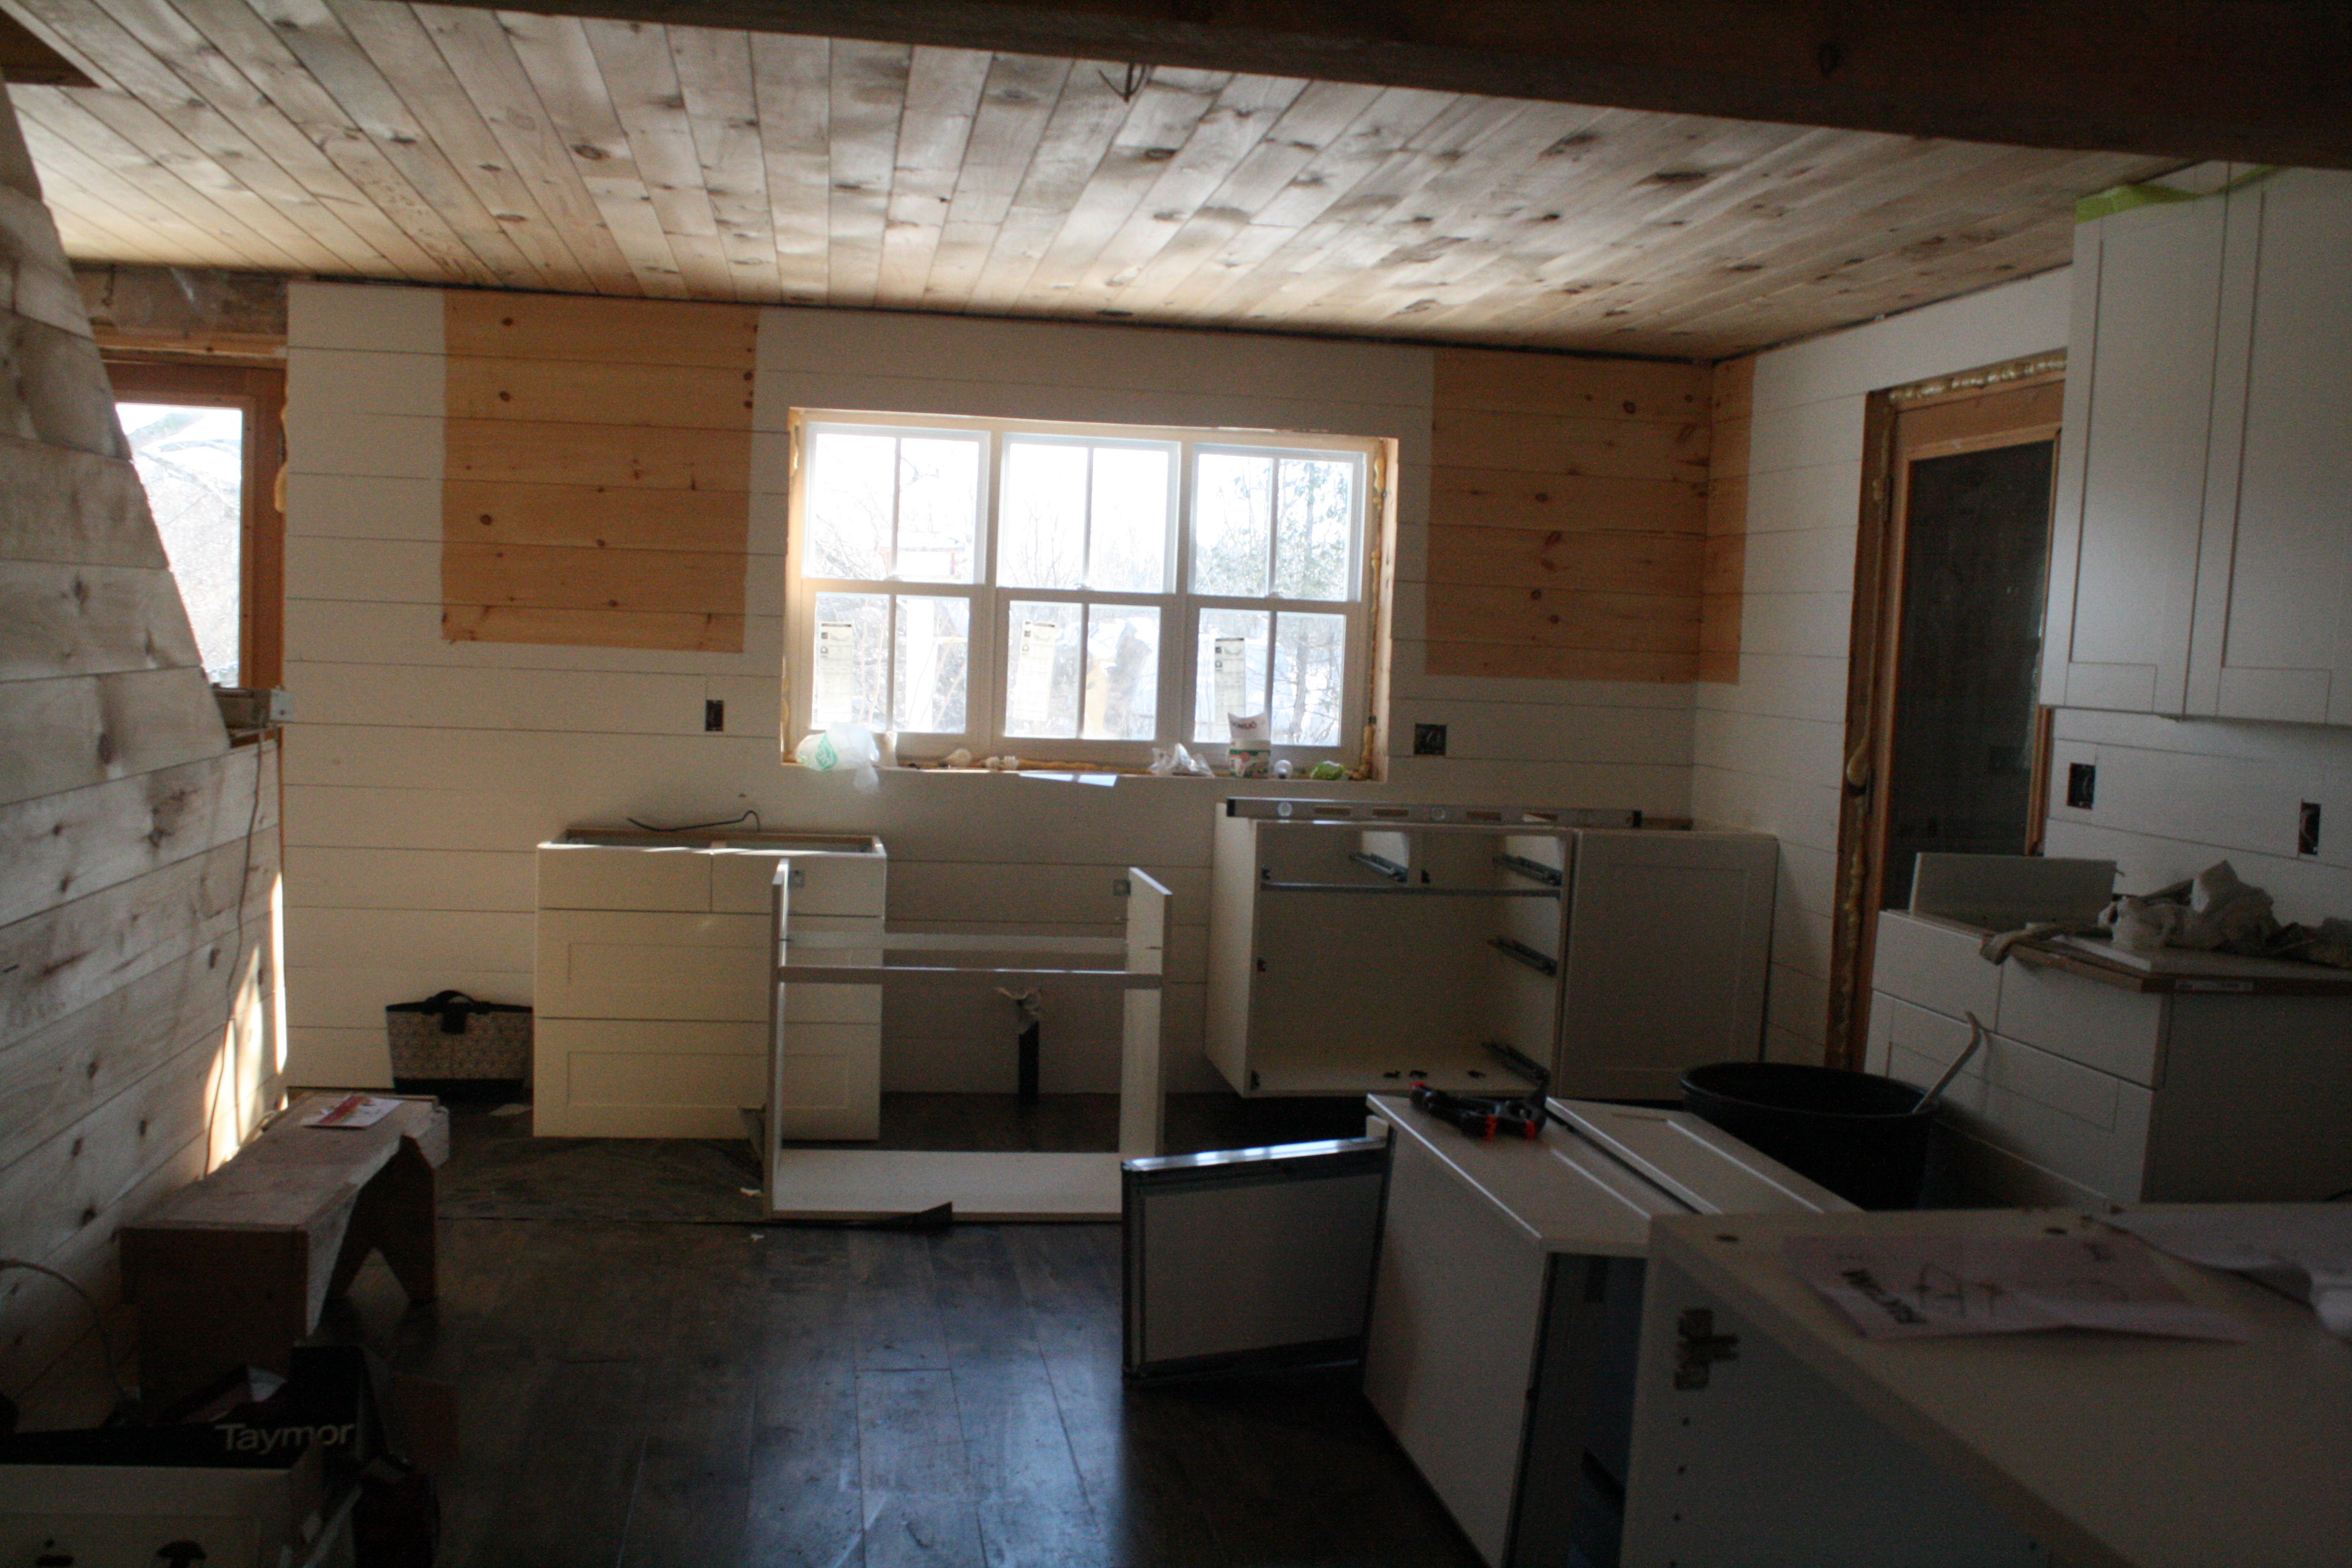
Some open shelving will go here instead – nice and white painted wood with some solid white wood curved brackets. We also made sure that the sink cabinet will be centred under the window.
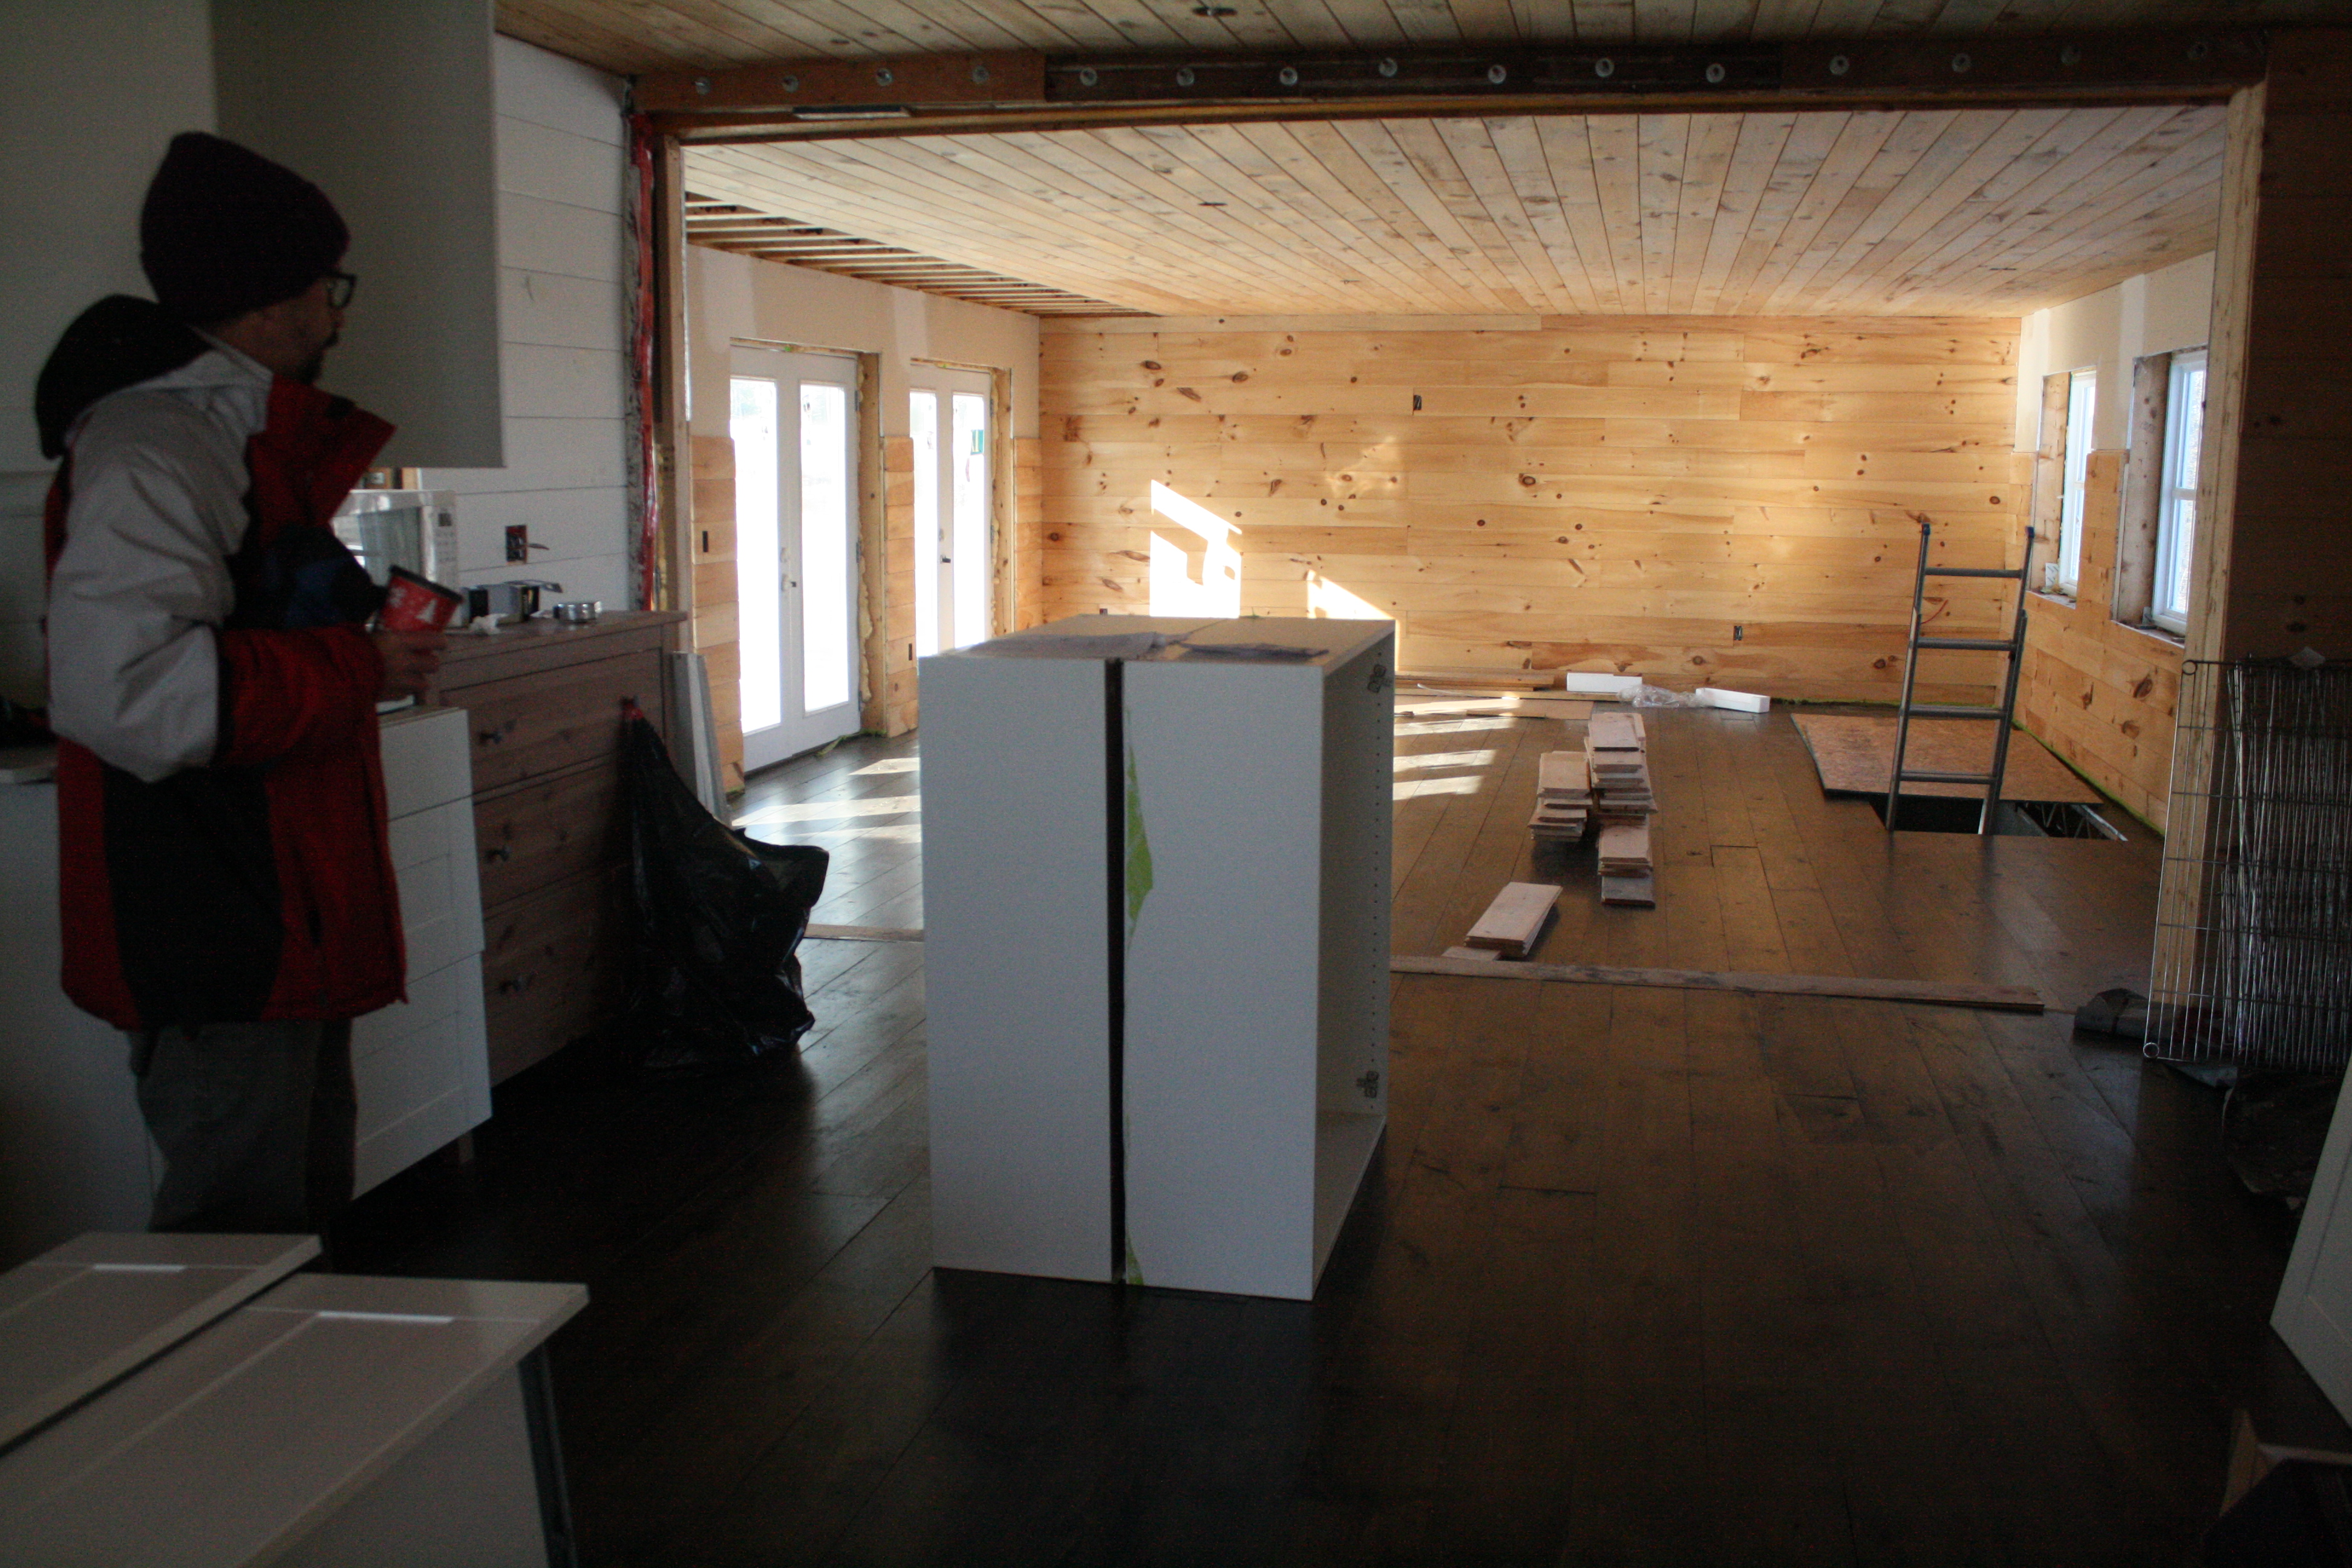
The island in the kitchen, we also planned out using the upper cabinets, just as placeholders. This helped us decide exactly how far away from the other cabinets it should be, how long and where exactly the dishwasher goes. There is a pipe coming up in the floor already for the dishwasher, so that’s what we worked around.
And a good thing, too, because the next Monday IKEA had a free shipping sale that day only. We ordered exactly the matching cabinets we needed, and the extra legs we also discovered we needed.
On another day, Ron also went back and levelled the base cabinets next to the sink and anchored them to the wall. He even started cutting the holes in the sink cabinet for the drain pipes, since they come up from the floor.
While we had our daughter Sarah there today, we showed her what we had done and then had an idea about the fridge placement as well. It’s still along the same wall, except we’re going to try it in the pantry alcove instead of the wall near the door.
So we do have progress, it’s just slow. We have loads of time.
Cleaning up from Arthur 1 Dec 2014 5:32 AM (10 years ago)
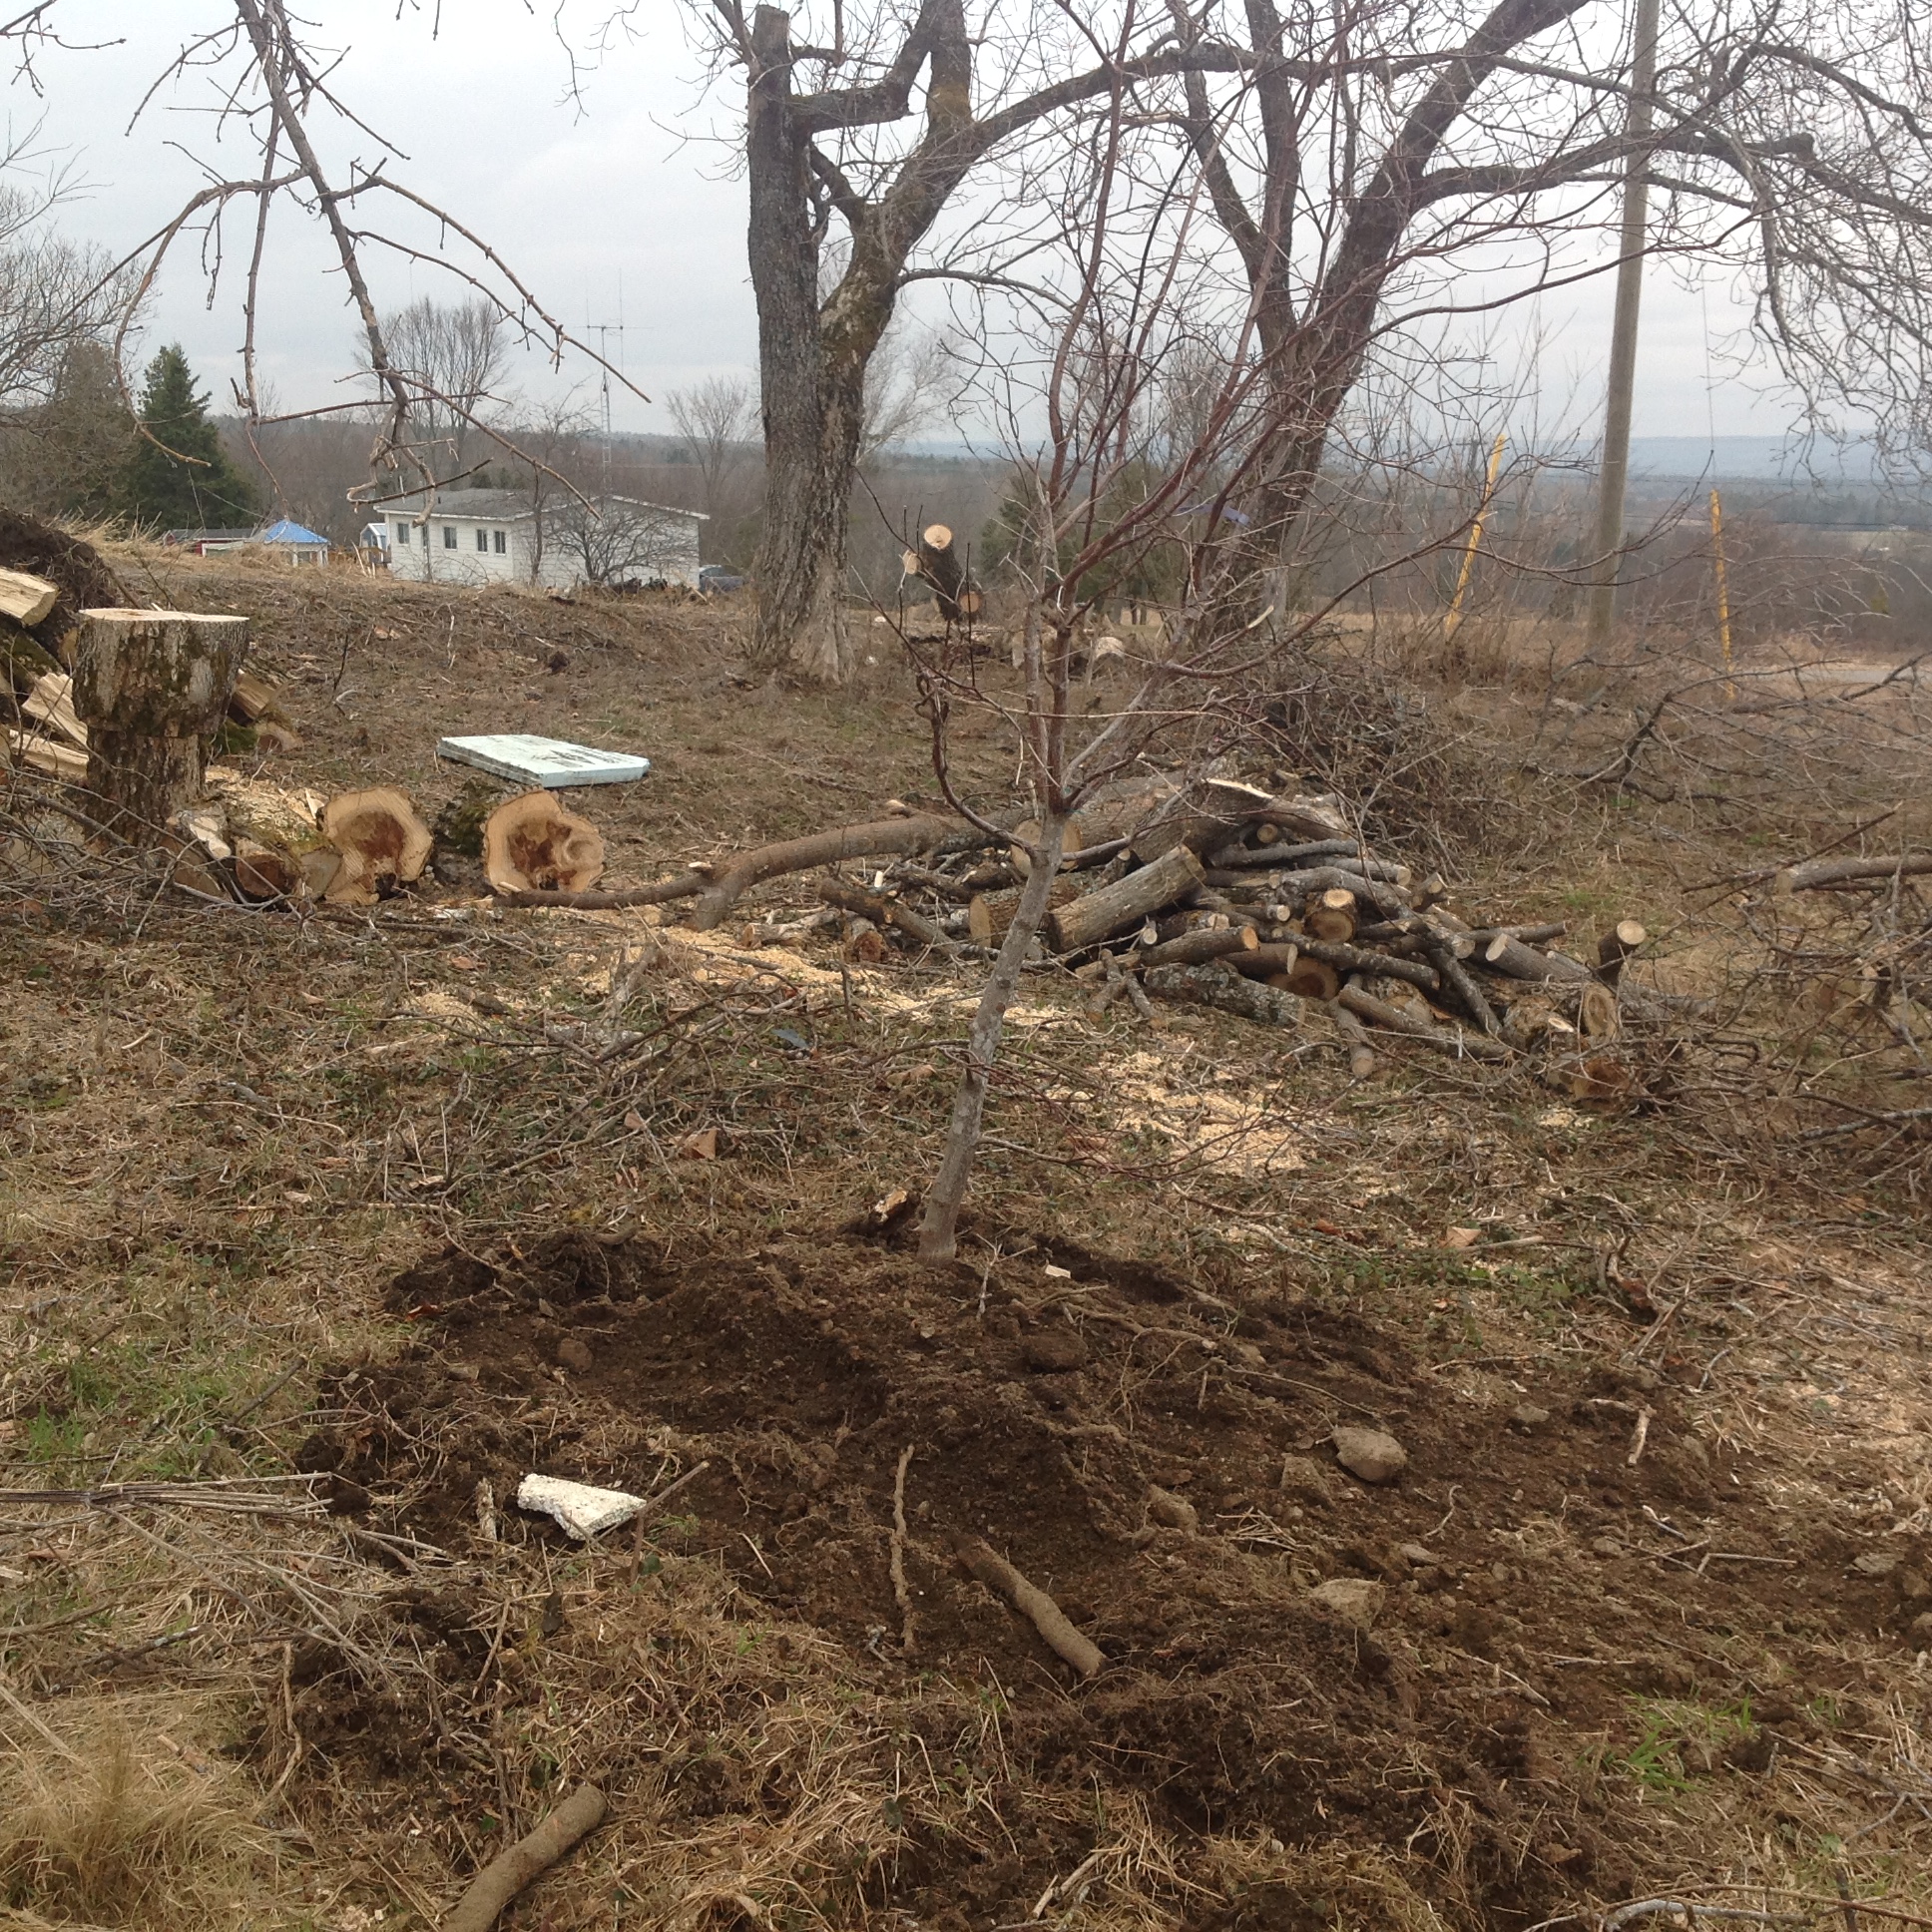
Tropical storm Arthur came through New Brunswick and downed so many trees that we were 8 days without power. The longest power outage I had experienced prior to that was under 36 hours.
Our new property had 10 trees blown over. I expect that all of them were taken down by Arthur. While the trees don’t need to be cleaned up right away, the longer they sit there the more work it takes to clean them up. It’s also more work once the snow gets so deep. Since we aren’t trying to move in as soon as possible, cleaning them up sooner is better.
I grew up around chainsaws. We had a woodlot and had heated our place in Wirral with wood so I’ve spent a few hundred hours working with chain saws. Over the last 10 years I’ve had hardly any reason to use one so running one started out as both familiar and unfamiliar at the same time.
Almost 30 years ago, I took a job doing pre-commercial thinning which I did for 3 years. The weapon of choice for forestry thinning is a bush saw that hangs from a harness that you wear.
If I remember correctly, my brush saw weighed 25 lbs, my safety gear weigh another 10, thinning an acre required walking an average of 17 miles, and your goal was to thin an acre a day. Running a brush saw could wear you out.
The trick to running a brush saw for 6-8 hours a day was developing a rhythm and letting the saw do the work. You job is to keep track of your footing, where trees, obstacles, etc. are, and guide the saw.
While I was cutting up the tree on the front lawn I realized that I also had a rhythm with the chainsaw. It had probably taken about a half hour for me to get it back. The rhythm isn’t the same as a brush saw because they are different equipment doing different jobs. But, the rhythm is based on the same things: footing, obstacles, what’s next & letting the saw do the work.
It’s safe to say I sleep well after an afternoon on the business end of a chainsaw but I find it relaxing. Given I spend Monday to Friday sitting in front of a computer there are definitely benefits to keeping my heart rate up for most of an afternoon.